
1. 简介
Gemini Cloud Assist 是一款功能全面的代理,可支持您的 Google Cloud 工作负载。该代理可帮助您设计新应用或更新现有应用、在 Google Cloud 中部署和运行工作负载、排查工作负载问题,以及优化工作负载的费用和性能。
Gemini Cloud Assist 可帮助您更好地应对意外错误和停机。
学习内容
- 部署:如何将基本后端和数据库部署到 Google Cloud。
- 调试:Gemini Cloud Assist 如何自动调查和分析云端及代码问题的根本原因。
- 补救:Gemini Cloud Assist 如何根据根本原因帮助确定修复方案。
2. 项目设置
Google 账号
如果您还没有个人 Google 账号,则必须先创建一个 Google 账号。
请改用个人账号,而不是工作账号或学校账号。
登录 Google Cloud 控制台
使用个人 Google 账号登录 Google Cloud 控制台。
启用结算功能
设置个人结算账号
如果您使用 Google Cloud 抵用金设置了结算,则可以跳过此步骤。
如需设置个人结算账号,请点击此处在 Cloud 控制台中启用结算功能。
注意事项:
- 完成本实验的 Cloud 资源费用应不到 1 美元。
- 您可以按照本实验末尾的步骤删除资源,以避免产生更多费用。
- 新用户符合参与 $300 USD 免费试用计划的条件。
创建项目(可选)
如果您没有要用于此实验的当前项目,请在此处创建一个新项目。
3. 打开 Cloud Shell Editor
- 点击此链接可直接前往 Cloud Shell 编辑器
- 如果系统在今天任何时间提示您进行授权,请点击授权继续。
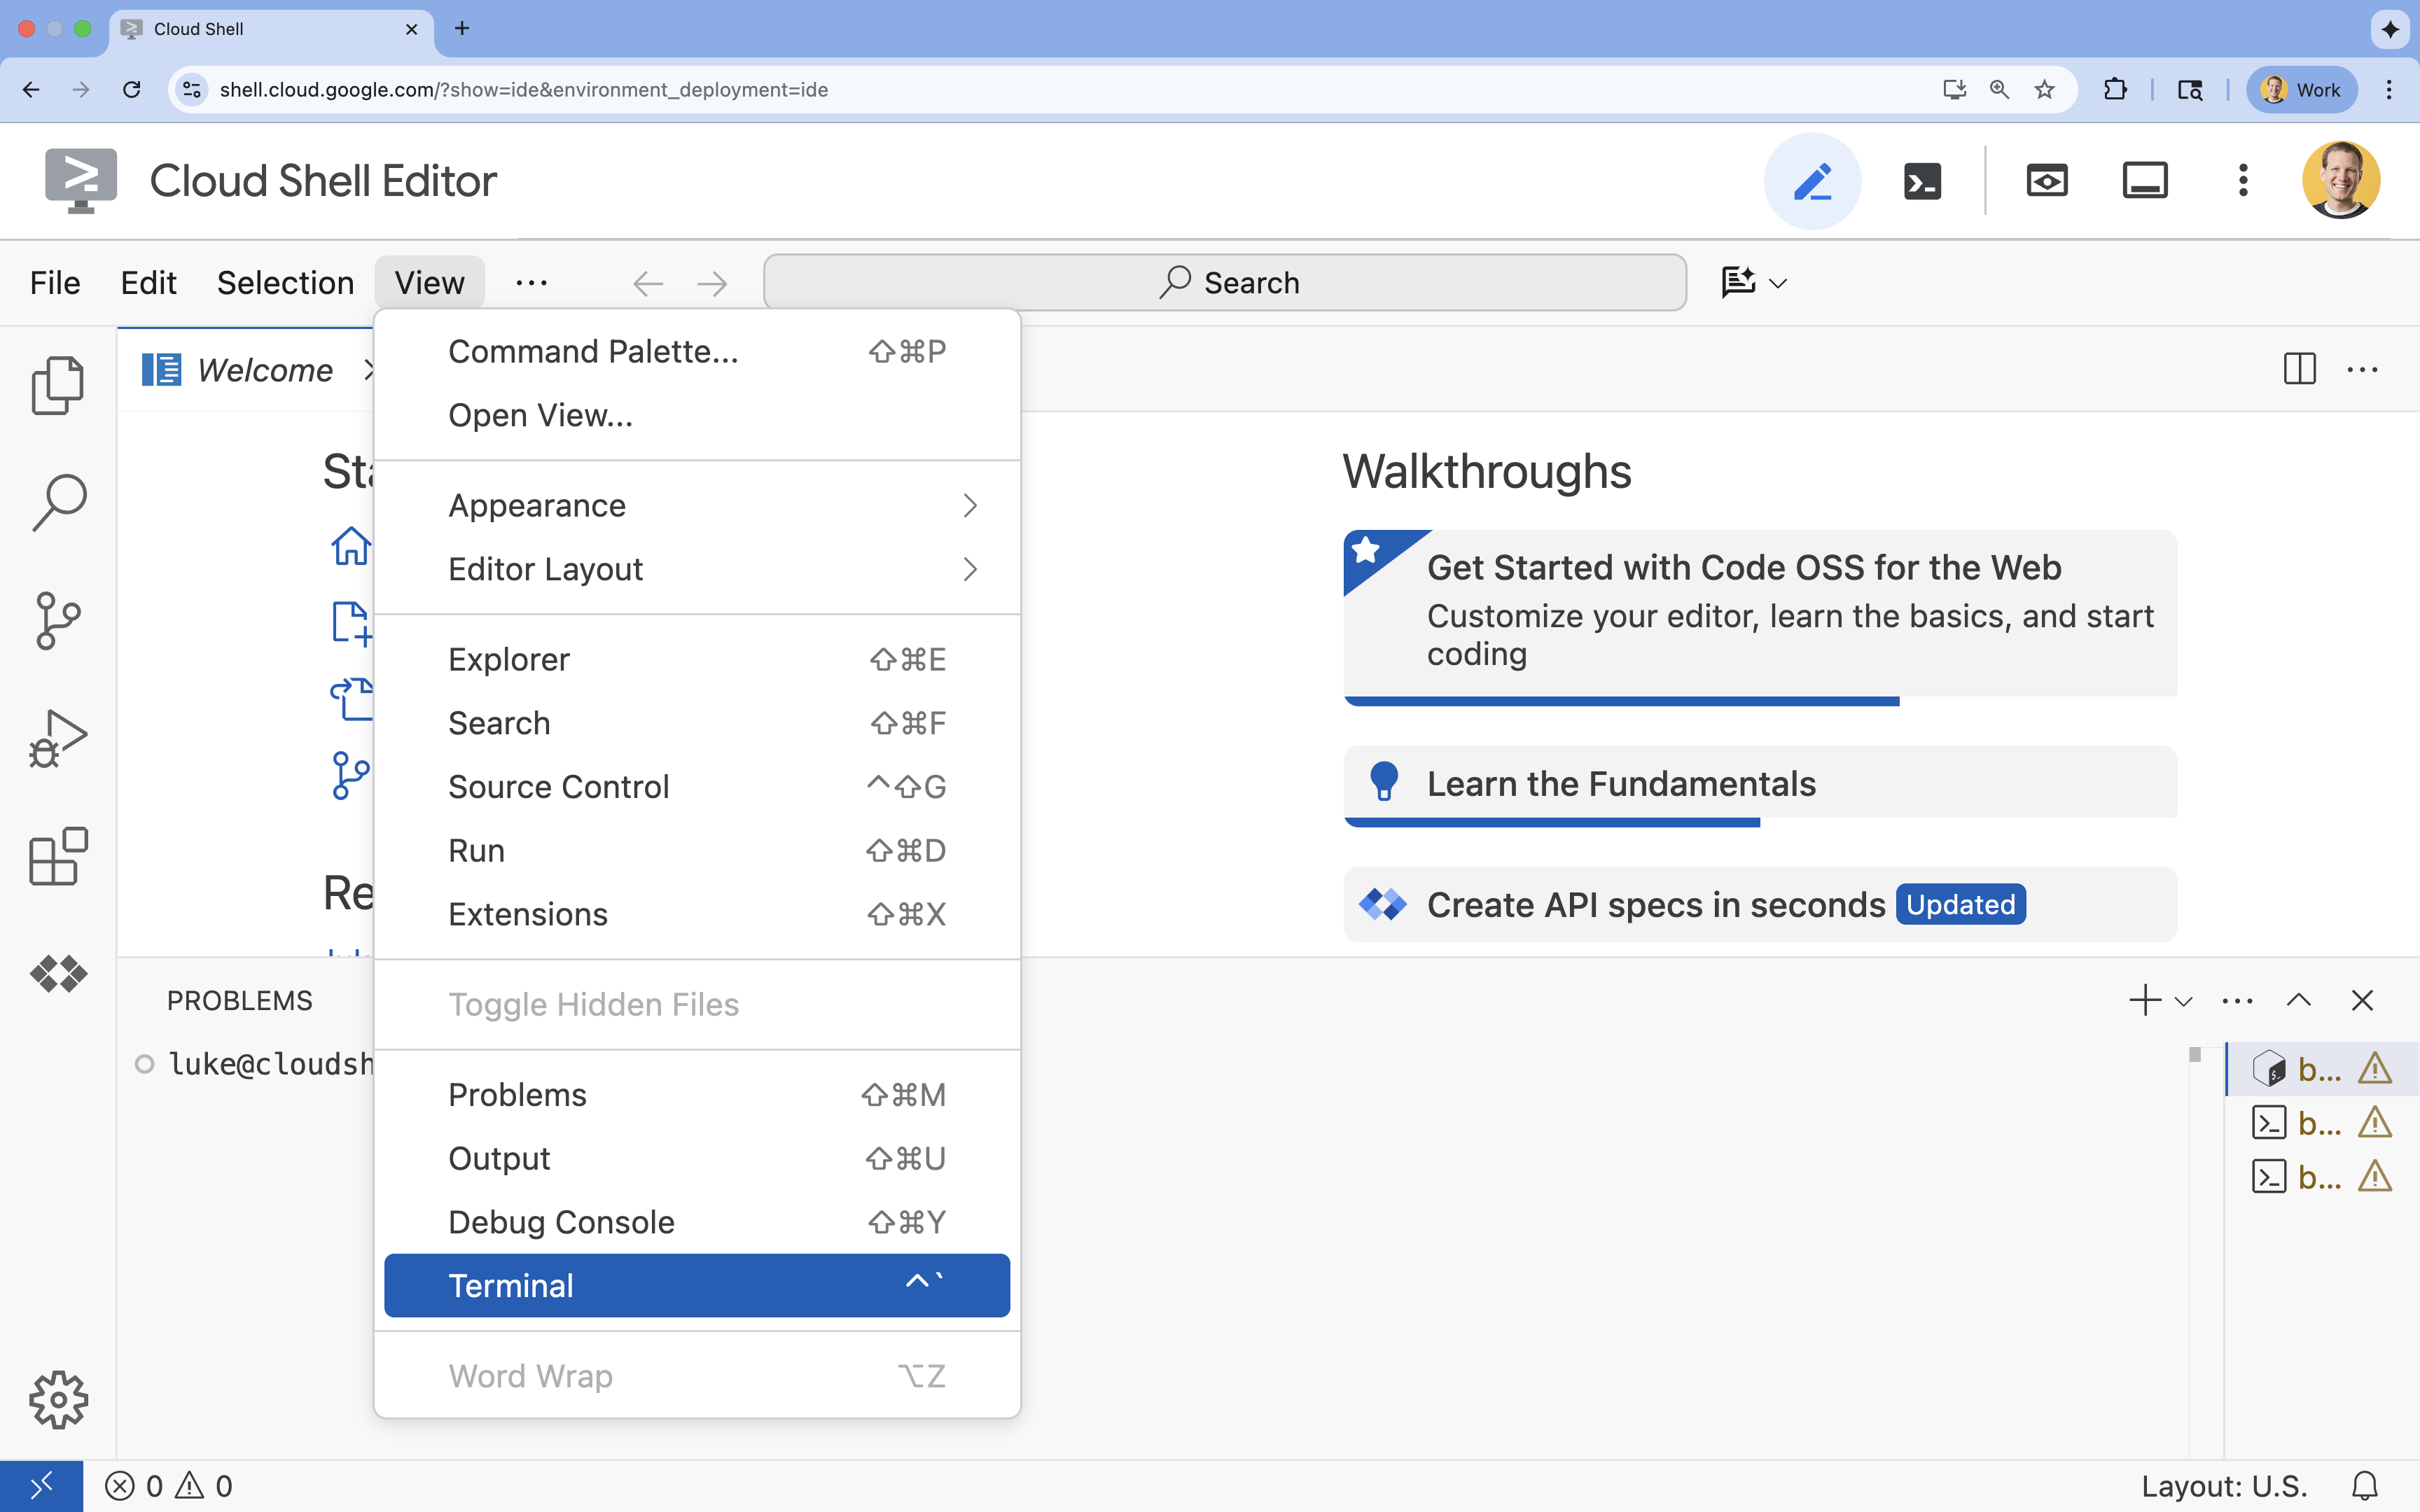
- 如果终端未显示在屏幕底部,请打开它:
- 点击查看
- 点击终端
- 在终端中,使用以下命令设置项目:
gcloud config set project [PROJECT_ID]- 示例:
gcloud config set project lab-project-id-example - 如果您不记得自己的项目 ID,可以使用以下命令列出所有项目 ID:
gcloud projects list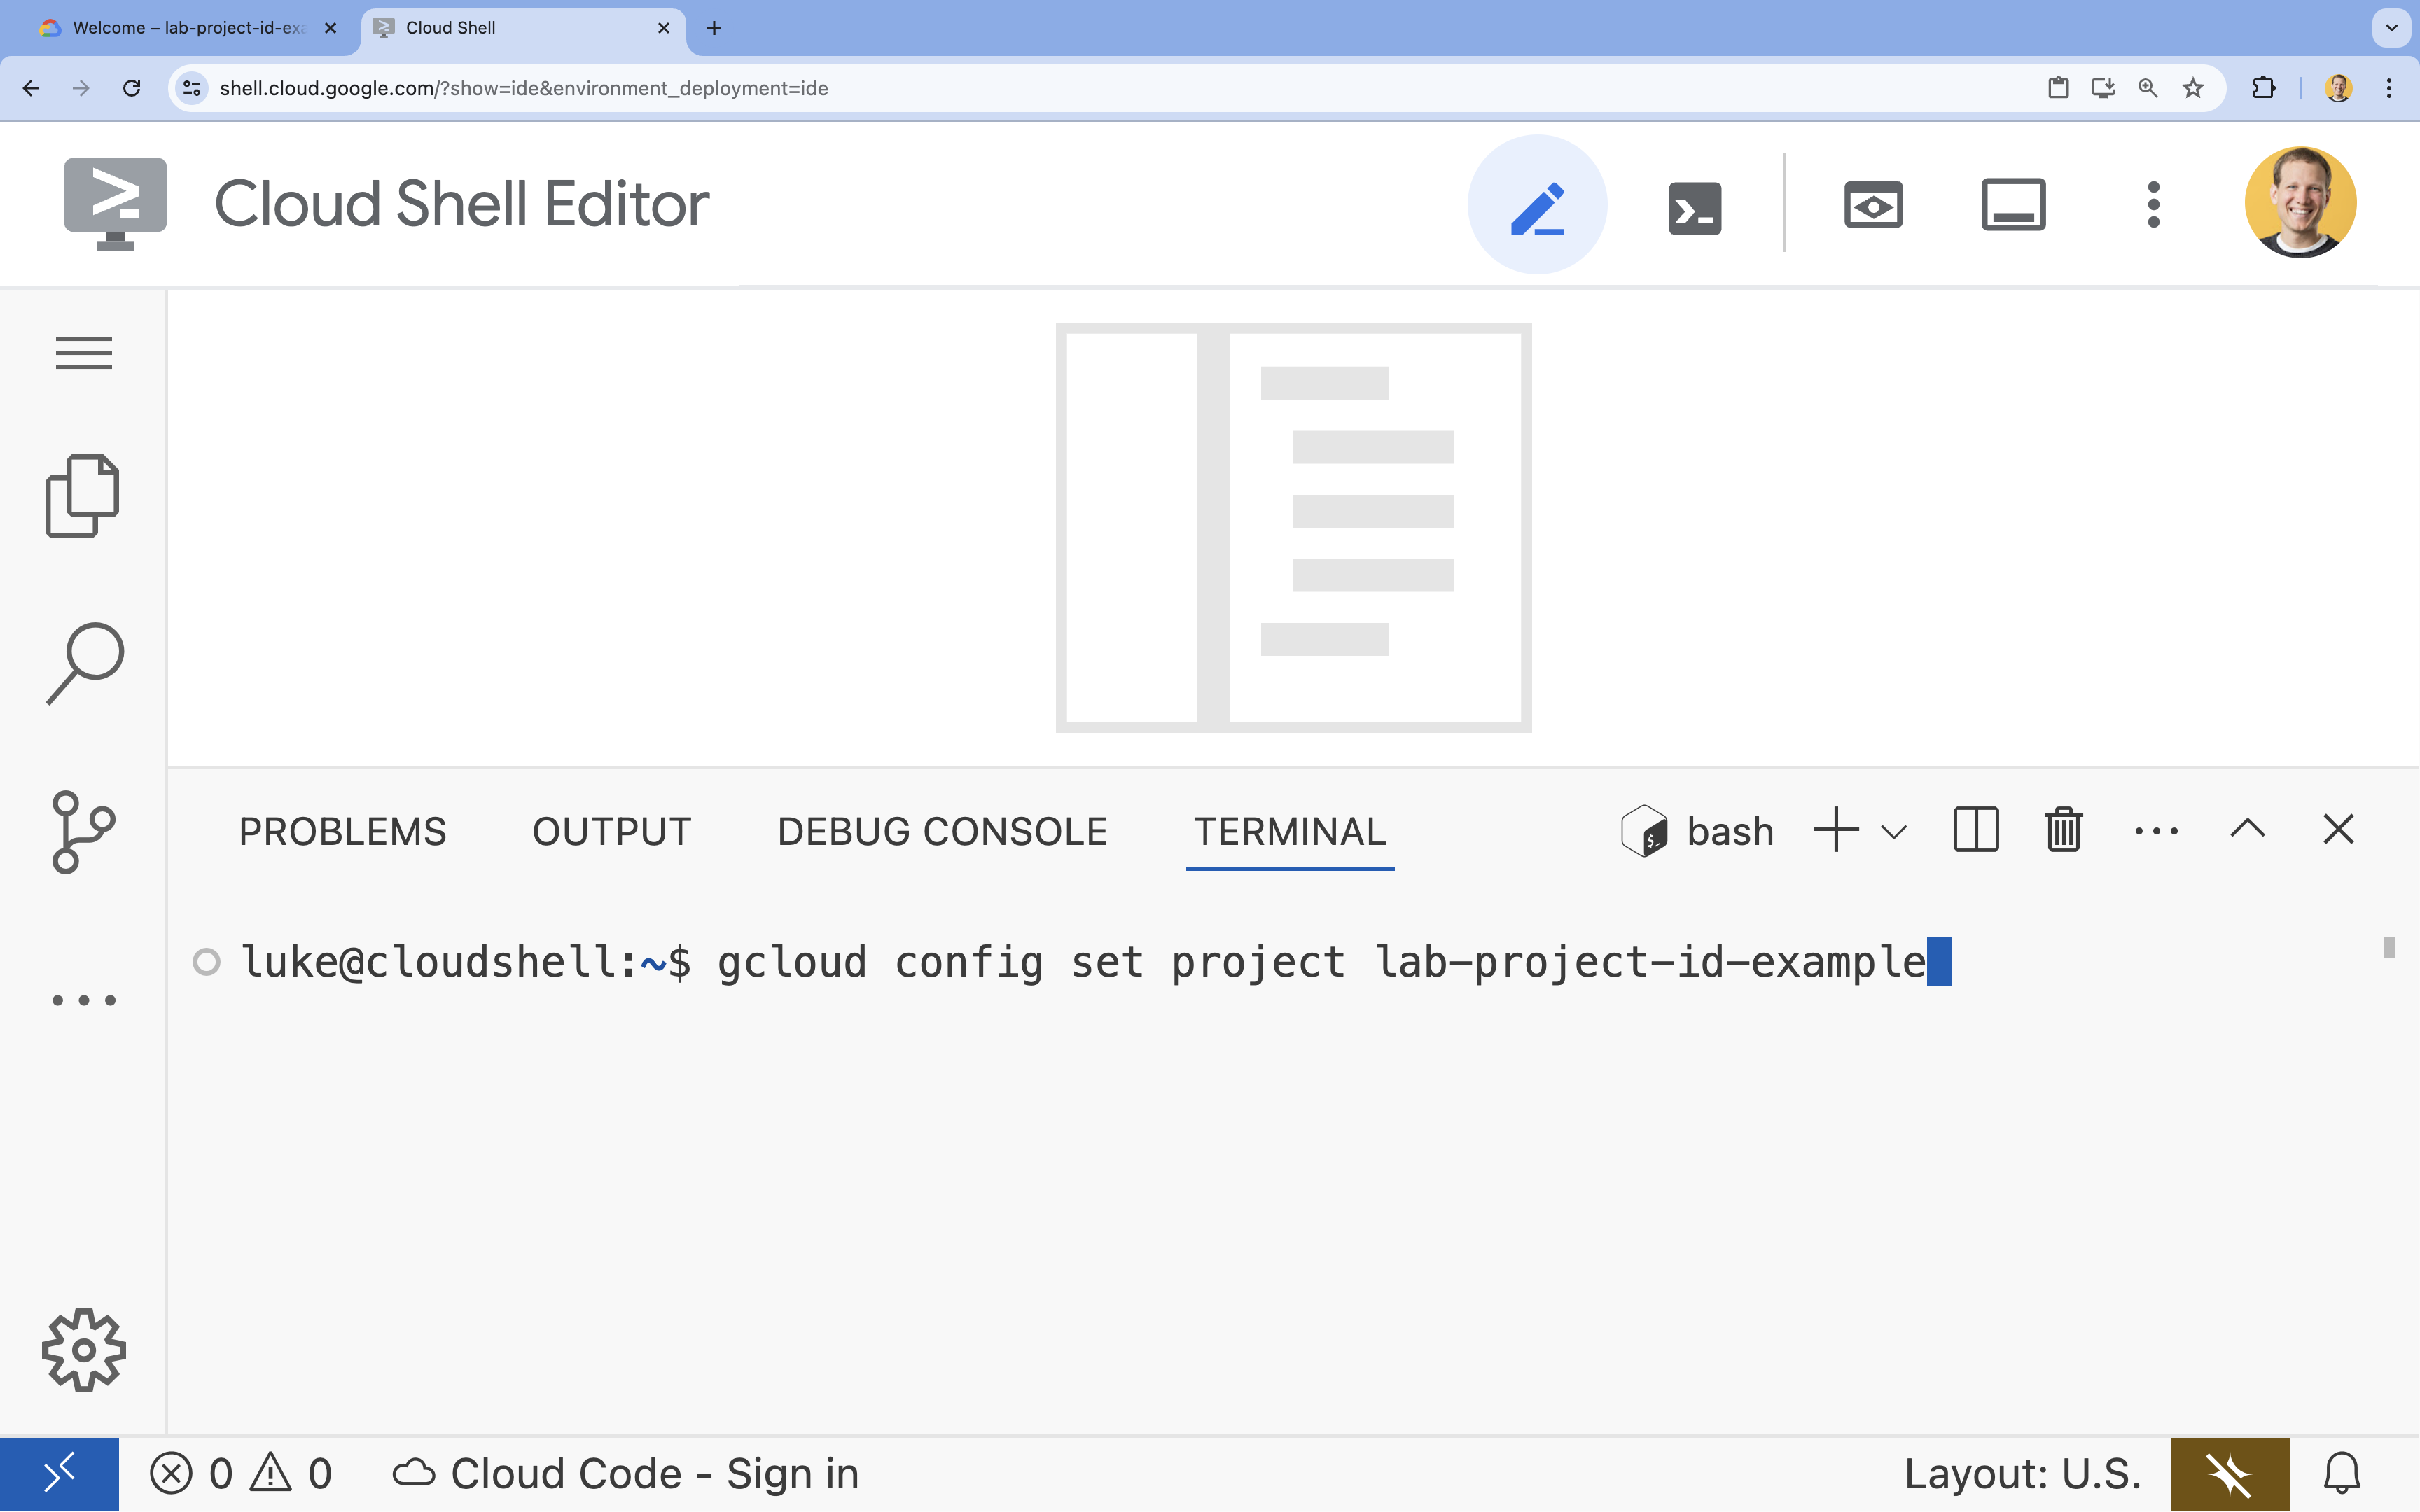
- 示例:
- 您应会看到以下消息:
Updated property [core/project].
4. 启用 API
启用以下 API,以便部署应用组件并使用 Google Cloud Assist:
在终端中,启用以下 API:
```bash
gcloud services enable \
  container.googleapis.com \
  artifactregistry.googleapis.com \
  cloudbuild.googleapis.com \
  alloydb.googleapis.com \
  run.googleapis.com
```
<br>
When the command finishes, you should see an output like the following:
<br>

```console
Operation "operations/acf.p2-176675280136-b03ab5e4-3483-4ebf-9655-43dc3b345c63" finished successfully.
```
5. 准备项目
您将创建基本应用和部署,以便测试 Cloud Assist。
创建目录
- 打开 Cloud Shell 编辑器或您选择的开发者环境。
- 创建新文件夹:
mkdir -p ~/gemini-cloud-assist-debug mkdir -p ~/gemini-cloud-assist-debug/auth_issue_demo mkdir -p ~/gemini-cloud-assist-debug/terraform cd ~/gemini-cloud-assist-debug - 在终端中,运行以下命令以打开 Cloud Shell 编辑器工作区:
cloudshell open-workspace ~/gemini-cloud-assist-debug
创建文件
现在,您将为应用创建必要的初始文件。
- 在终端中运行以下命令,创建 Dockerfile。此文件用于处理应用容器的创建。
cat <<EOF > ~/gemini-cloud-assist-debug/auth_issue_demo/Dockerfile
FROM python:3.11-slim

WORKDIR /app

COPY requirements.txt .
RUN pip install --no-cache-dir -r requirements.txt

COPY main.py .

CMD ["gunicorn", "--bind", "0.0.0.0:8080", "main:app"]
EOF
- 通过在终端中运行以下命令来创建
main.py文件。此文件包含使用 Python 编写的应用。
cat <<EOF > ~/gemini-cloud-assist-debug/auth_issue_demo/main.py
import os
import logging
from flask import Flask
from google.cloud.alloydb.connector import Connector
import sqlalchemy

app = Flask(__name__)

# Configure logging
logging.basicConfig(level=logging.INFO)
logger = logging.getLogger(__name__)

# Configuration from Environment Variables
# The fully qualified instance URI: projects/<PROJECT>/locations/<REGION>/clusters/<CLUSTER>/instances/<INSTANCE>
ALLOYDB_URI = os.environ.get("ALLOYDB_URI")
DB_USER = os.environ.get("DB_USER", "auth-debug")
DB_PASS = os.environ.get("DB_PASS", "debug-auth")
DB_NAME = os.environ.get("DB_NAME", "postgres")
USE_PUBLIC_IP = os.environ.get("USE_PUBLIC_IP", "false").lower() == "true"

# Initialize Connector lazily
_connector = None

def get_connector():
    global _connector
    if _connector is None:
        _connector = Connector()
    return _connector

def getconn():
    connector = get_connector()
    ip_type = "PUBLIC" if USE_PUBLIC_IP else "PRIVATE"

    conn = connector.connect(
        ALLOYDB_URI,
        "pg8000",
        user=DB_USER,
        password=DB_PASS,
        db=DB_NAME,
        ip_type=ip_type
    )
    return conn

@app.route("/")
def index():
    return "AlloyDB Auth Demo. /connect to test.", 200

@app.route("/connect")
def connect_db():
    if not ALLOYDB_URI:
        return "FAILURE: ALLOYDB_URI env var is not set.", 500

    try:
        logger.info(f"Attempting connection to {ALLOYDB_URI} with user {DB_USER}...")

        # Create connection pool
        pool = sqlalchemy.create_engine(
            "postgresql+pg8000://",
            creator=getconn,
        )

        with pool.connect() as db_conn:
            # Simple query to validate connection
            result = db_conn.execute(sqlalchemy.text("SELECT NOW()")).fetchone()
            timestamp = result[0]

        msg = f"SUCCESS: Connected to AlloyDB! DB Time: {timestamp}"
        logger.info(msg)
        return msg, 200

    except Exception as e:
        logger.exception("Connection failed")
        # Return the error to the caller to visualize the auth failure
        return f"FAILURE: Connection Error.\nDetails: {str(e)}", 500

if __name__ == "__main__":
    app.run(host="0.0.0.0", port=int(os.environ.get("PORT", 8080)))
EOF
- 通过在终端中运行以下命令来创建
requirements.txt文件。此文件用于处理 Python 软件包要求。
cat <<EOF > ~/gemini-cloud-assist-debug/auth_issue_demo/requirements.txt
flask==3.1.3
gunicorn==25.3.0
google-cloud-alloydb-connector[pg8000]==1.12.1
sqlalchemy==2.0.49
EOF
- 通过在终端中运行以下命令来创建
main.tf文件。此文件用于处理要创建的 Google Cloud 资源。
cat <<EOF > ~/gemini-cloud-assist-debug/terraform/main.tf
provider "google" {
  project = var.project_id
  region  = var.region
}

# Enable APIs
locals {
  apis = [
    "alloydb.googleapis.com",
    "run.googleapis.com",
    "artifactregistry.googleapis.com",
    "compute.googleapis.com",
    "geminicloudassist.googleapis.com",
    "monitoring.googleapis.com",
    "cloudasset.googleapis.com",
    "cloudbuild.googleapis.com",
    "recommender.googleapis.com",
    "appoptimize.googleapis.com"
  ]
}

resource "random_password" "db_pass" {
  count            = var.db_password == null ? 1 : 0
  length           = 16
  special          = true
  override_special = "!#$%&*()-_=+[]{}<>:?"
}

locals {
  db_password = var.db_password != null ? var.db_password : random_password.db_pass[0].result
}

resource "google_project_service" "apis" {
  for_each           = toset(local.apis)
  service            = each.value
  disable_on_destroy = false
}

# Service Account
resource "google_service_account" "auth_demo_sa" {
  account_id   = var.service_account_name
  display_name = "Auth Demo SA"
}

# AlloyDB Cluster
resource "google_alloydb_cluster" "rma_cluster" {
  cluster_id = var.cluster_id
  location   = var.region

  # Initial password, managed via variable or generated randomly
  initial_user {
    password = local.db_password
  }

  # Use default network as in the manual setup
  network_config {
    network = "projects/${var.project_id}/global/networks/default"
  }

  depends_on = [google_project_service.apis["alloydb.googleapis.com"]]
}

# AlloyDB Instance
resource "google_alloydb_instance" "rma_instance_1" {
  cluster       = google_alloydb_cluster.rma_cluster.name
  instance_id   = var.instance_id
  instance_type = "PRIMARY"

  machine_config {
    cpu_count = 2
  }

  network_config {
    enable_public_ip = true
  }

  depends_on = [google_alloydb_cluster.rma_cluster]
}

# Cloud Run Service
resource "google_cloud_run_service" "auth_issue_demo" {
  name     = var.cloud_run_service_name
  location = var.region

  template {
    spec {
      containers {
        image = var.cloud_run_image
        env {
          name  = "ALLOYDB_URI"
          value = "projects/${var.project_id}/locations/${var.region}/clusters/${var.cluster_id}/instances/${var.instance_id}"
        }
        env {
          name  = "DB_USER"
          value = "postgres"
        }
        env {
          name  = "DB_PASS"
          value = local.db_password
        }
        env {
          name  = "USE_PUBLIC_IP"
          value = "true"
        }
      }
      service_account_name = google_service_account.auth_demo_sa.email
    }
  }

  traffic {
    percent         = 100
    latest_revision = true
  }

  depends_on = [google_project_service.apis["run.googleapis.com"], google_alloydb_instance.rma_instance_1]
}

# Allow unauthenticated access to Cloud Run service (matching --allow-unauthenticated)
resource "google_cloud_run_service_iam_member" "public_access" {
  location = google_cloud_run_service.auth_issue_demo.location
  project  = google_cloud_run_service.auth_issue_demo.project
  service  = google_cloud_run_service.auth_issue_demo.name
  role     = "roles/run.invoker"
  member   = "allUsers"
}
EOF
- 通过在终端中运行以下命令来创建
variables.tf文件。此文件用于处理 Google Cloud 资源的 Terraform 变量。
cat <<EOF > ~/gemini-cloud-assist-debug/terraform/variables.tf
variable "project_id" {
  description = "The ID of the Google Cloud project."
  type        = string
}

variable "region" {
  description = "The region to deploy resources in."
  type        = string
  default     = "us-central1"
}

variable "cluster_id" {
  description = "The ID of the AlloyDB cluster."
  type        = string
  default     = "rma-cluster"
}

variable "instance_id" {
  description = "The ID of the AlloyDB instance."
  type        = string
  default     = "rma-instance-1"
}

variable "service_account_name" {
  description = "The name of the service account."
  type        = string
  default     = "auth-demo-sa"
}

variable "cloud_run_service_name" {
  description = "The name of the Cloud Run service."
  type        = string
  default     = "auth-issue-demo"
}

variable "cloud_run_image" {
  description = "The container image for the Cloud Run service."
  type        = string
}

variable "db_password" {
  description = "The database password. If not provided, a random one will be generated."
  type        = string
  sensitive   = true
  default     = null
}
EOF
- 通过在终端中运行以下命令来创建
setup_via_tf.sh文件。此文件用于处理 Python 软件包要求。
cat <<EOF > ~/gemini-cloud-assist-debug/setup_via_tf.sh
#!/bin/bash
set -e

# Get script directory and change to project root
SCRIPT_DIR="$( cd "$( dirname "${BASH_SOURCE[0]}" )" && pwd )"
cd "$SCRIPT_DIR"

# Load configuration from .env
if [ -f .env ]; then
    set -a
    source .env
    set +a
else
    echo "ERROR: .env file not found. Please create one with PROJECT_ID."
    exit 1
fi

if [ -z "$PROJECT_ID" ]; then
    echo "ERROR: PROJECT_ID is not set in .env file."
    exit 1
fi

REGION="us-central1"
CLUSTER_ID="rma-cluster"
INSTANCE_ID="rma-instance-1"
SA_NAME="auth-demo-sa"
SERVICE_NAME="auth-issue-demo"

echo "--- Terraform Setup for Auth Demo ---"
echo "Using Project: $PROJECT_ID"

# Get current Cloud Run image
echo "Fetching current Cloud Run image..."
IMAGE=$(gcloud run services describe $SERVICE_NAME --region=$REGION --project=$PROJECT_ID --format="value(spec.template.spec.containers[0].image)" 2>/dev/null || true)

if [ -z "$IMAGE" ]; then
    echo "WARNING: Could not find existing Cloud Run service image."
    echo "Using a placeholder image (gcr.io/cloudrun/hello) for initial Terraform apply."
    IMAGE="gcr.io/cloudrun/hello"
fi

echo "Found Image: $IMAGE"

cd terraform

# Initialize Terraform
echo "Initializing Terraform..."
terraform init

echo "Formatting Terraform files..."
terraform fmt

echo "Validating Terraform configuration..."
terraform validate

echo "------------------------------------------------"
echo "Applying changes..."
echo "------------------------------------------------"

terraform apply -var="project_id=$PROJECT_ID" -var="cloud_run_image=$IMAGE" -auto-approve

echo "------------------------------------------------"
echo "Building and deploying updated Cloud Run service..."
echo "------------------------------------------------"

gcloud run deploy $SERVICE_NAME \
  --source ../auth_issue_demo \
  --region $REGION \
  --project $PROJECT_ID \
  --service-account $SA_NAME@$PROJECT_ID.iam.gserviceaccount.com \
  --quiet
EOF
- 运行以下命令,使 shell 脚本可执行:
chmod +x ~/gemini-cloud-assist-debug/setup_via_tf.sh
- 创建一个
.env文件,其中包含您的 Google Cloud 项目 ID 以供部署。更新YOUR_PROJECT_ID字段:
cat <<EOF > ~/gemini-cloud-assist-debug/.env
PROJECT_ID=YOUR_PROJECT_ID
USE_PUBLIC_IP=true
EOF
6. 部署应用
应用代码和 Google Cloud 资源已准备就绪,可以部署了。此过程最多可能需要 15 分钟才能完成。
在终端中运行以下命令:
cd ~/gemini-cloud-assist-debug
./setup_via_tf.sh
在组件部署期间,您可以在 Cloud Shell Editor 中浏览文件以了解详情。
7. 创建并调试错误
现在,我们将触发应用中的错误。在左侧窗格中打开 Cloud Run。然后,点击 auth-issue-demo 服务。
- 服务详情页面顶部会显示一个网址。复制该网址,然后打开新的浏览器标签页。粘贴网址,然后向其中添加
/connect。您的网址将如下所示:
https://auth-issue-demo-
- 前往相应网址。Cloud Run 实例可能需要几秒钟才能启动。否则,您会收到错误提示。
- 返回到 Cloud Run 服务详情页面。点击可观测性,然后点击日志。您将看到容器的日志,其中包含错误。如果错误日志尚未提供,请等待几秒钟,然后使用右上角的图标刷新页面。
- 点击错误日志可了解详情。点击主日志行中的调查图标。然后,点击 Investigate Log
系统将打开 Cloud Assist 对话窗格。调查需要 2 到 3 分钟才能完成。
调查完成后,您可以查看结果和建议。建议向服务账号添加适当的授权,以便 Cloud Run 访问 AlloyDB 实例。
8. 修正错误
修正服务账号权限错误。
- 前往 Cloud IAM。
- 点击授予访问权限按钮。在主账号窗格中,先输入
auth-demo,然后等待服务账号显示出来。 - 接下来,向服务账号添加
AlloyDB Client角色,然后点击保存。
此过程最多可能需要一分钟才能完成。
等待一段时间后,返回并刷新应用。您现在会看到来自 AlloyDB 数据库的成功消息。
9. 恭喜
恭喜!您已成功完成本课程,了解了 Cloud Investigations 以及在 Google Cloud 上调试应用权限的过程。
接下来怎么做?
- 探索其他指南和示例,了解如何在不同场景中使用 Gemini Cloud Assist:
- 如需详细了解 Gemini Cloud Assist 的功能,请参阅 Gemini Cloud Assist 文档。