1. Overview
In this lab, you'll use the co-hosting model feature in Vertex AI to host multiple models on the same VM for online predictions.
What you learn
You'll learn how to:
- Create a
DeploymentResourcePool - Deploy models within a
DeploymentResourcePool
The total cost to run this lab on Google Cloud is about $2.
2. Intro to Vertex AI
This lab uses the newest AI product offering available on Google Cloud. Vertex AI integrates the ML offerings across Google Cloud into a seamless development experience. Previously, models trained with AutoML and custom models were accessible via separate services. The new offering combines both into a single API, along with other new products. You can also migrate existing projects to Vertex AI. If you have any feedback, please see the support page.
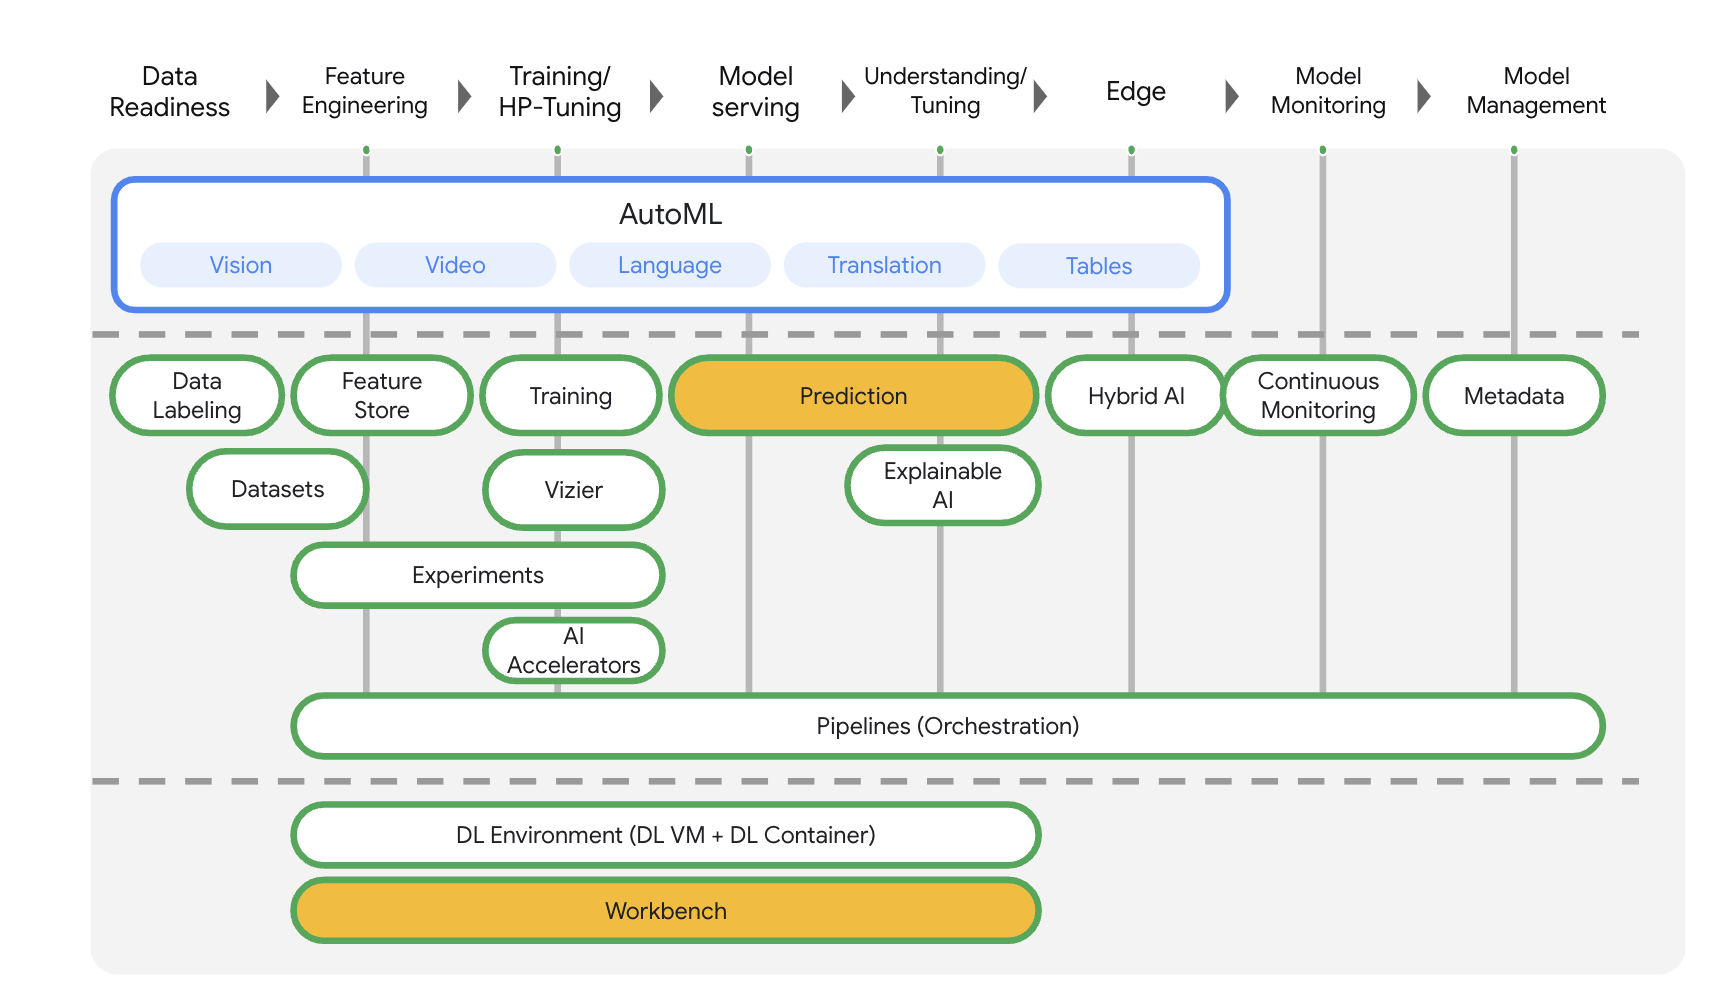
Vertex AI includes many different products to support end-to-end ML workflows. This lab will focus on the products highlighted below: Predictions and Workbench
3. Use case overview
When deploying models to the Vertex AI prediction service, each model is by default deployed to its own VM. To make hosting more cost effective you can host multiple models on the same VM, resulting in better utilization of memory and computational resources. The number of models you choose to deploy to the same VM will depend on model sizes and traffic patterns, but this feature is particularly useful for scenarios where you have many deployed models with sparse traffic.
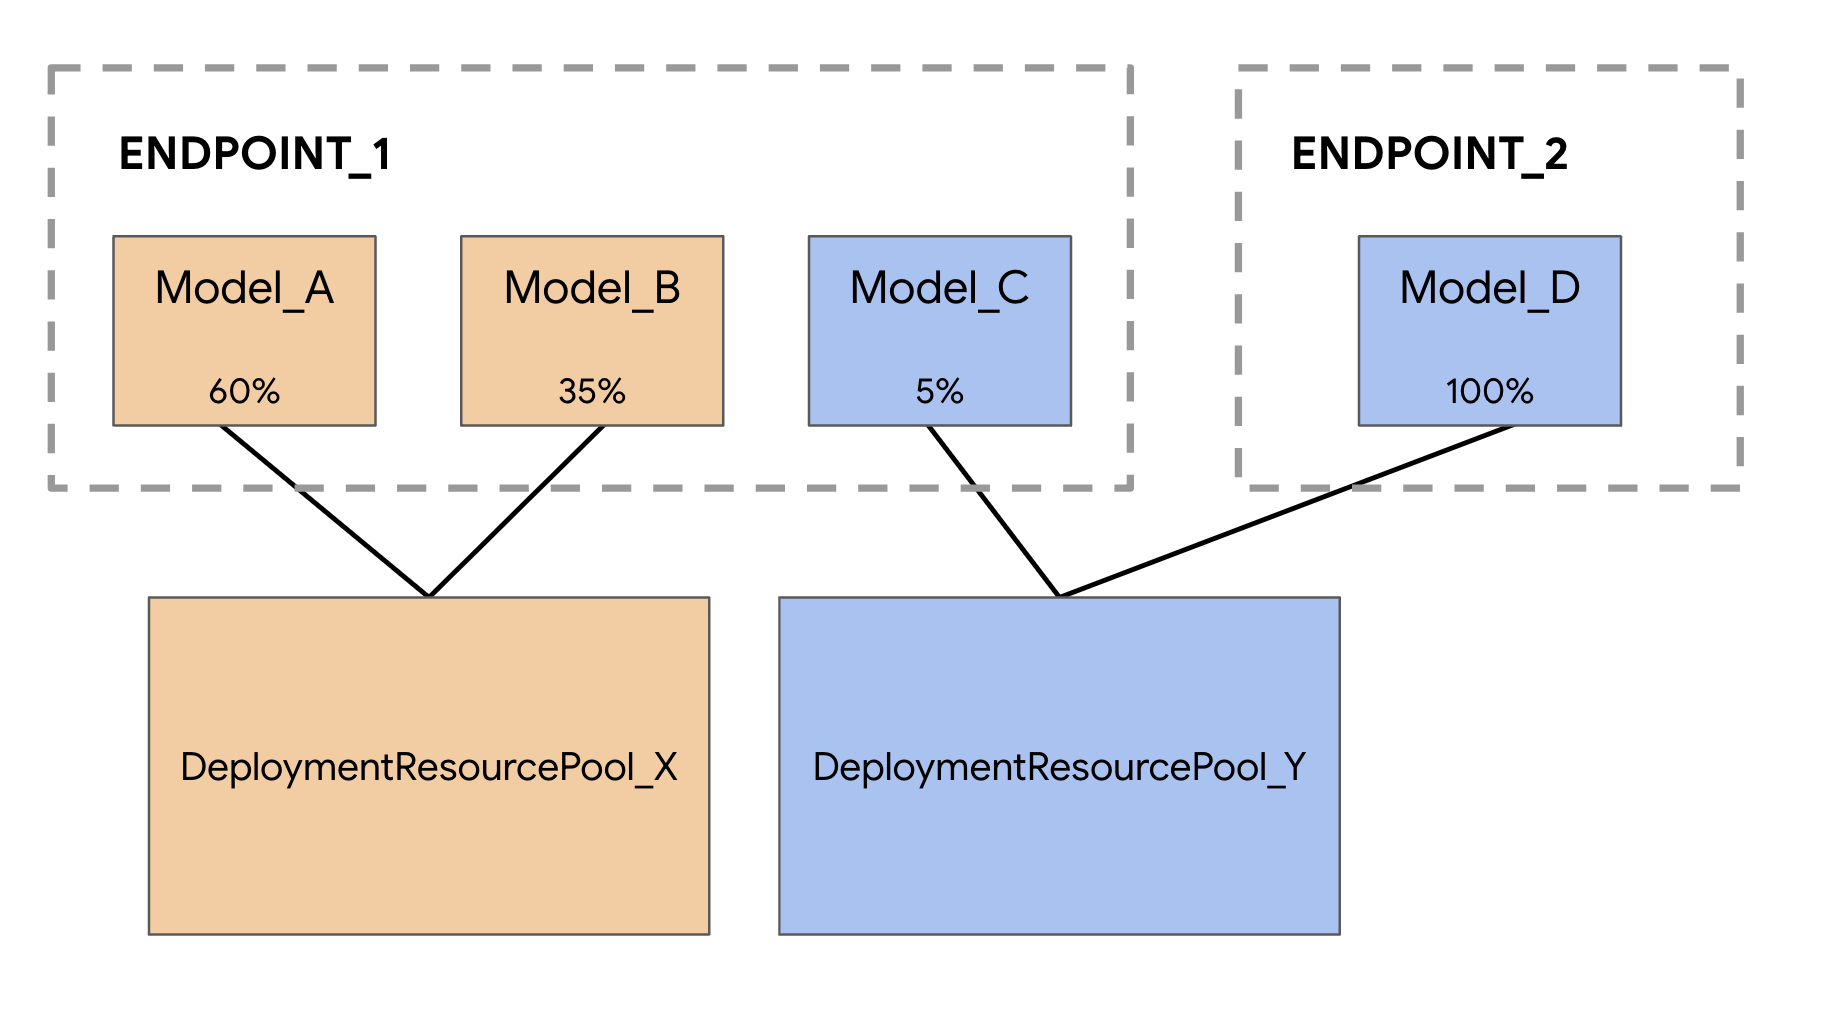
Co-hosting model support introduces the concept of Deployment Resource Pool, which groups together models to share resources within a VM. Models can share a VM if they share an endpoint, and also if they are deployed to different endpoints. Currently, models in the same resource pool must have the same container image including framework version of Vertex Prediction prebuilt containers. Additionally, only Vertex Prediction prebuilt containers with the Tensorflow model framework are supported in this release, other model frameworks and custom containers are not yet supported.
4. Set up your environment
You'll need a Google Cloud Platform project with billing enabled to run this codelab. To create a project, follow the instructions here.
Step 1: Enable the Compute Engine API
Navigate to Compute Engine and select Enable if it isn't already enabled.
Step 2: Enable the Vertex AI API
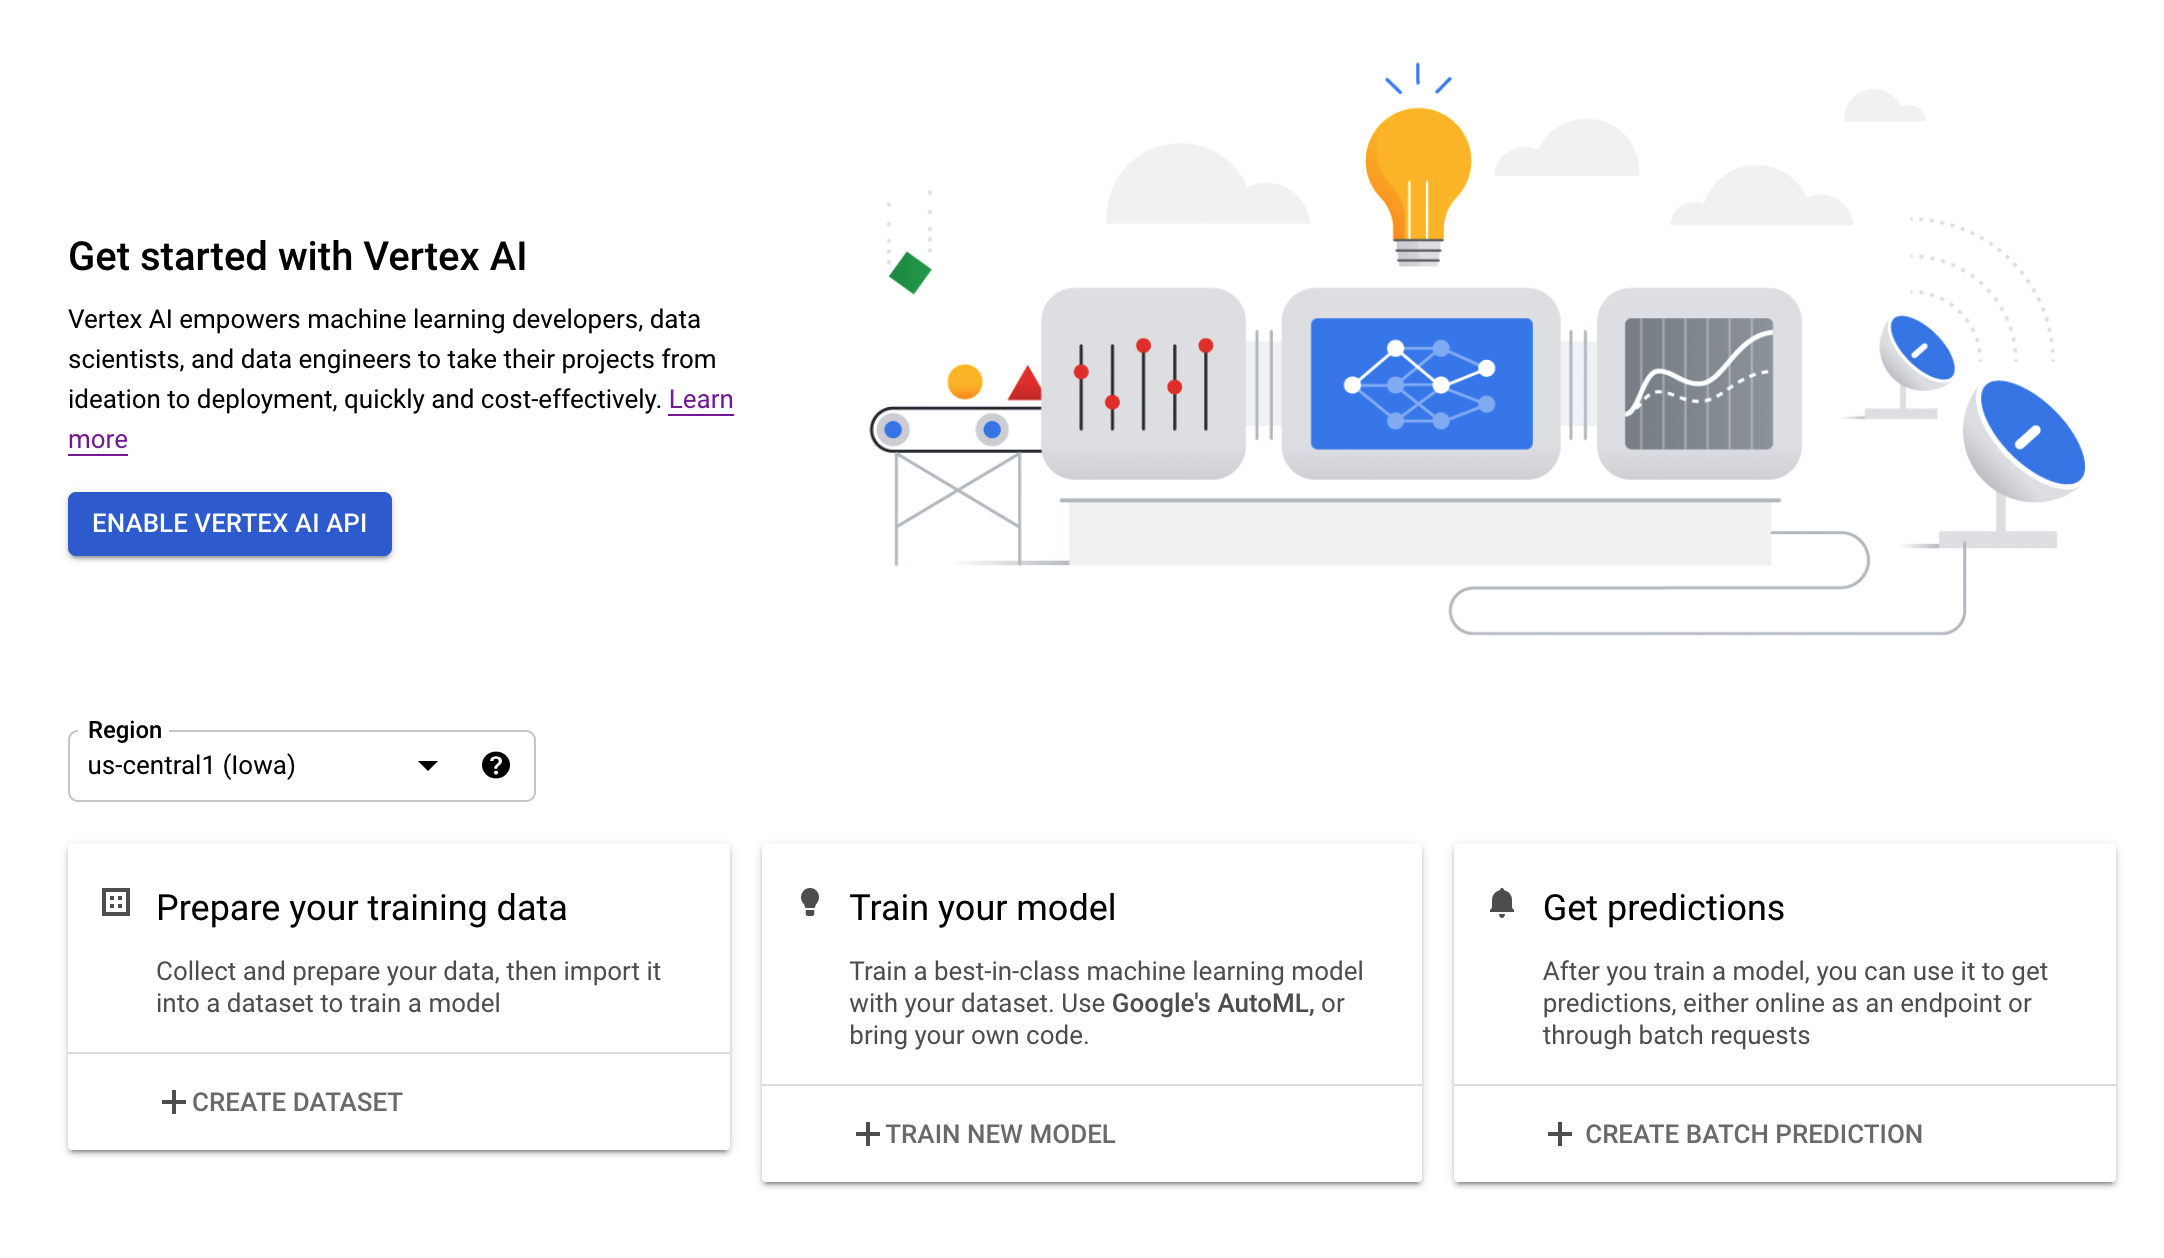
Navigate to the Vertex AI section of your Cloud Console and click Enable Vertex AI API.
Step 3: Create a Vertex AI Workbench instance
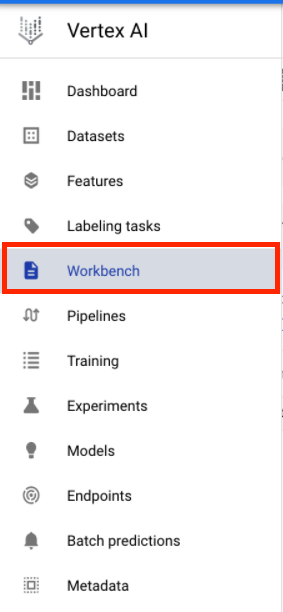
From the Vertex AI section of your Cloud Console, click on Workbench:
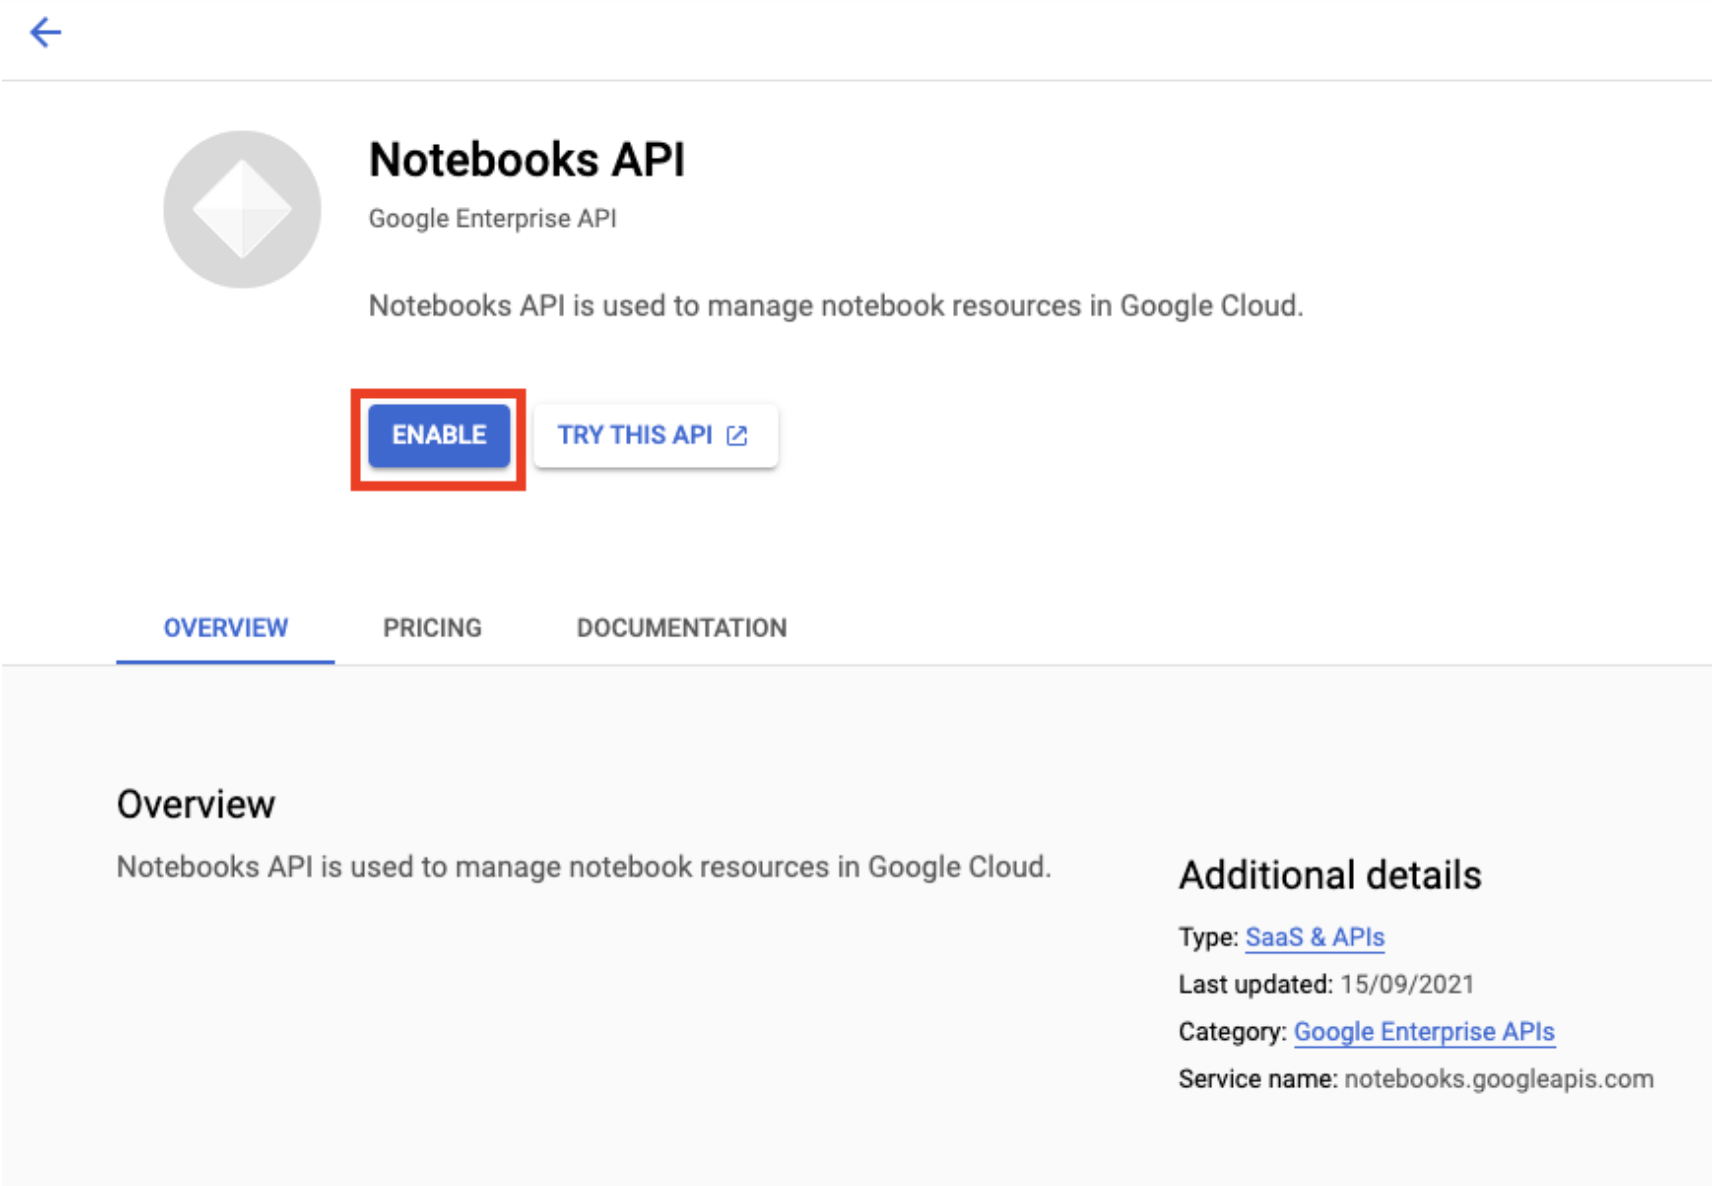
Enable the Notebooks API if it isn't already.
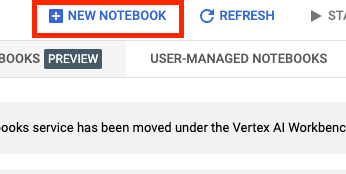
Once enabled, click MANAGED NOTEBOOKS:

Then select NEW NOTEBOOK.
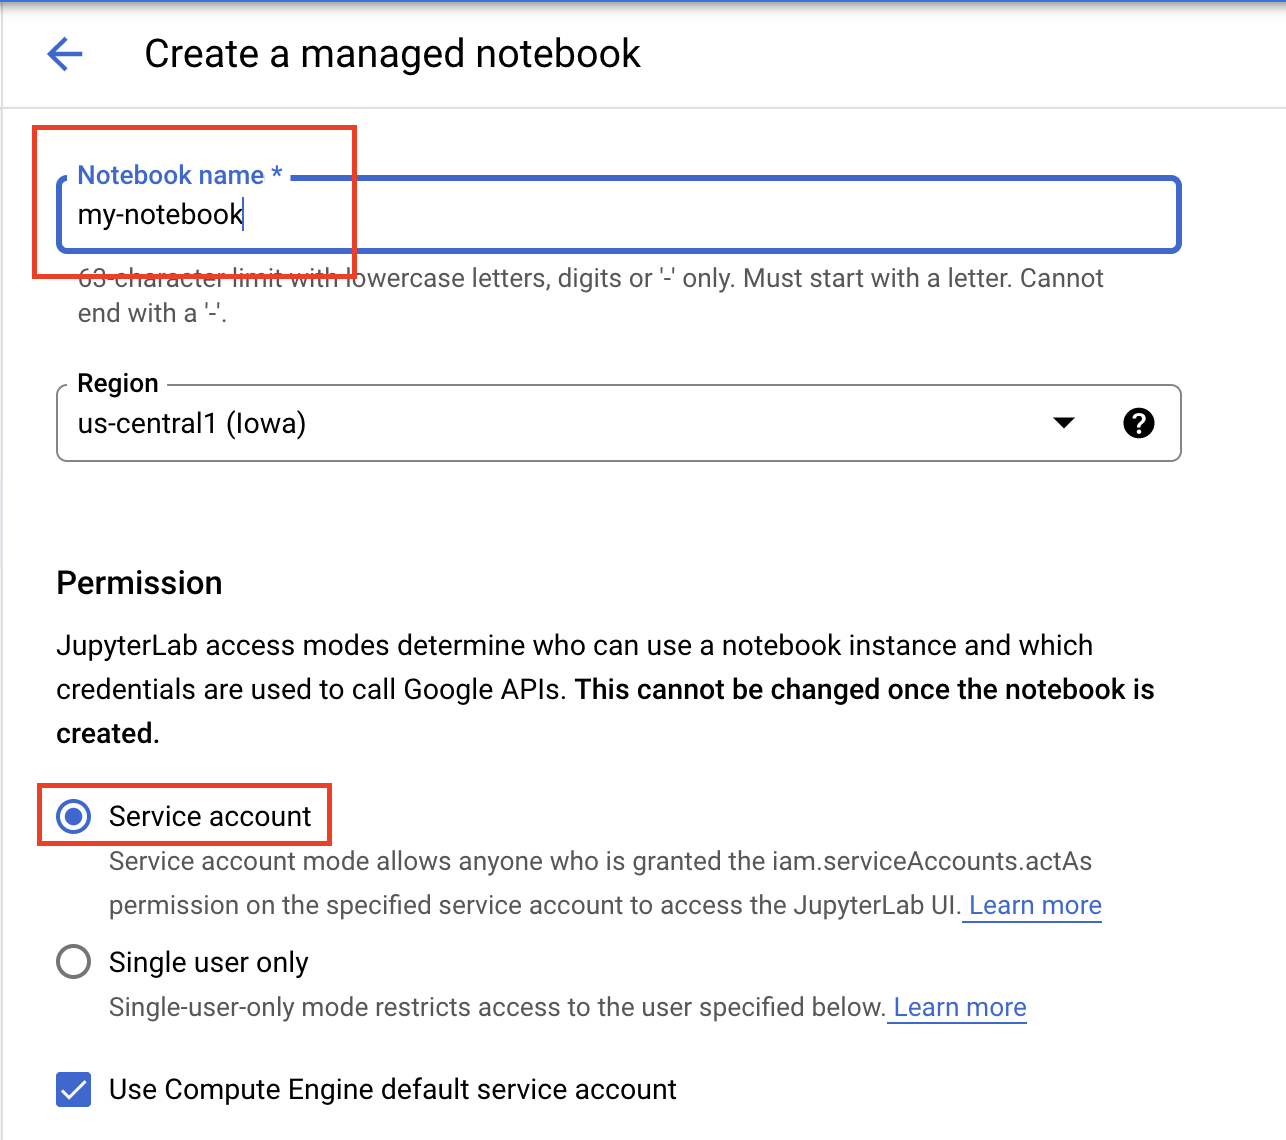
Give your notebook a name, and under Permission select Service account
Select Advanced Settings.
Under Security select "Enable terminal" if it is not already enabled.
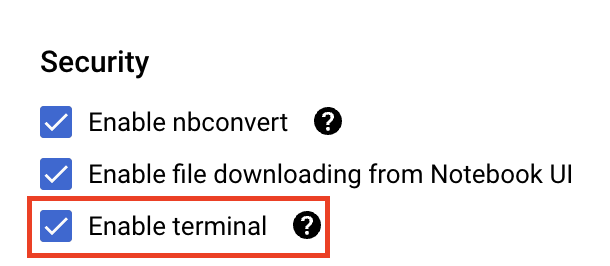
You can leave all of the other advanced settings as is.
Next, click Create. The instance will take a couple minutes to be provisioned.
Once the instance has been created, select OPEN JUPYTERLAB.

5. Train model
Before we can try out the co-hosting feature, we first need to train a model and store the saved model artifacts to a Cloud Storage bucket. We'll use the Workbench notebook executor to launch the training job.
Step 1: Create a Cloud Storage bucket
If you have an existing bucket in your project that you'd like to use, you can skip this step. Otherwise, from the launcher open up a new terminal session.
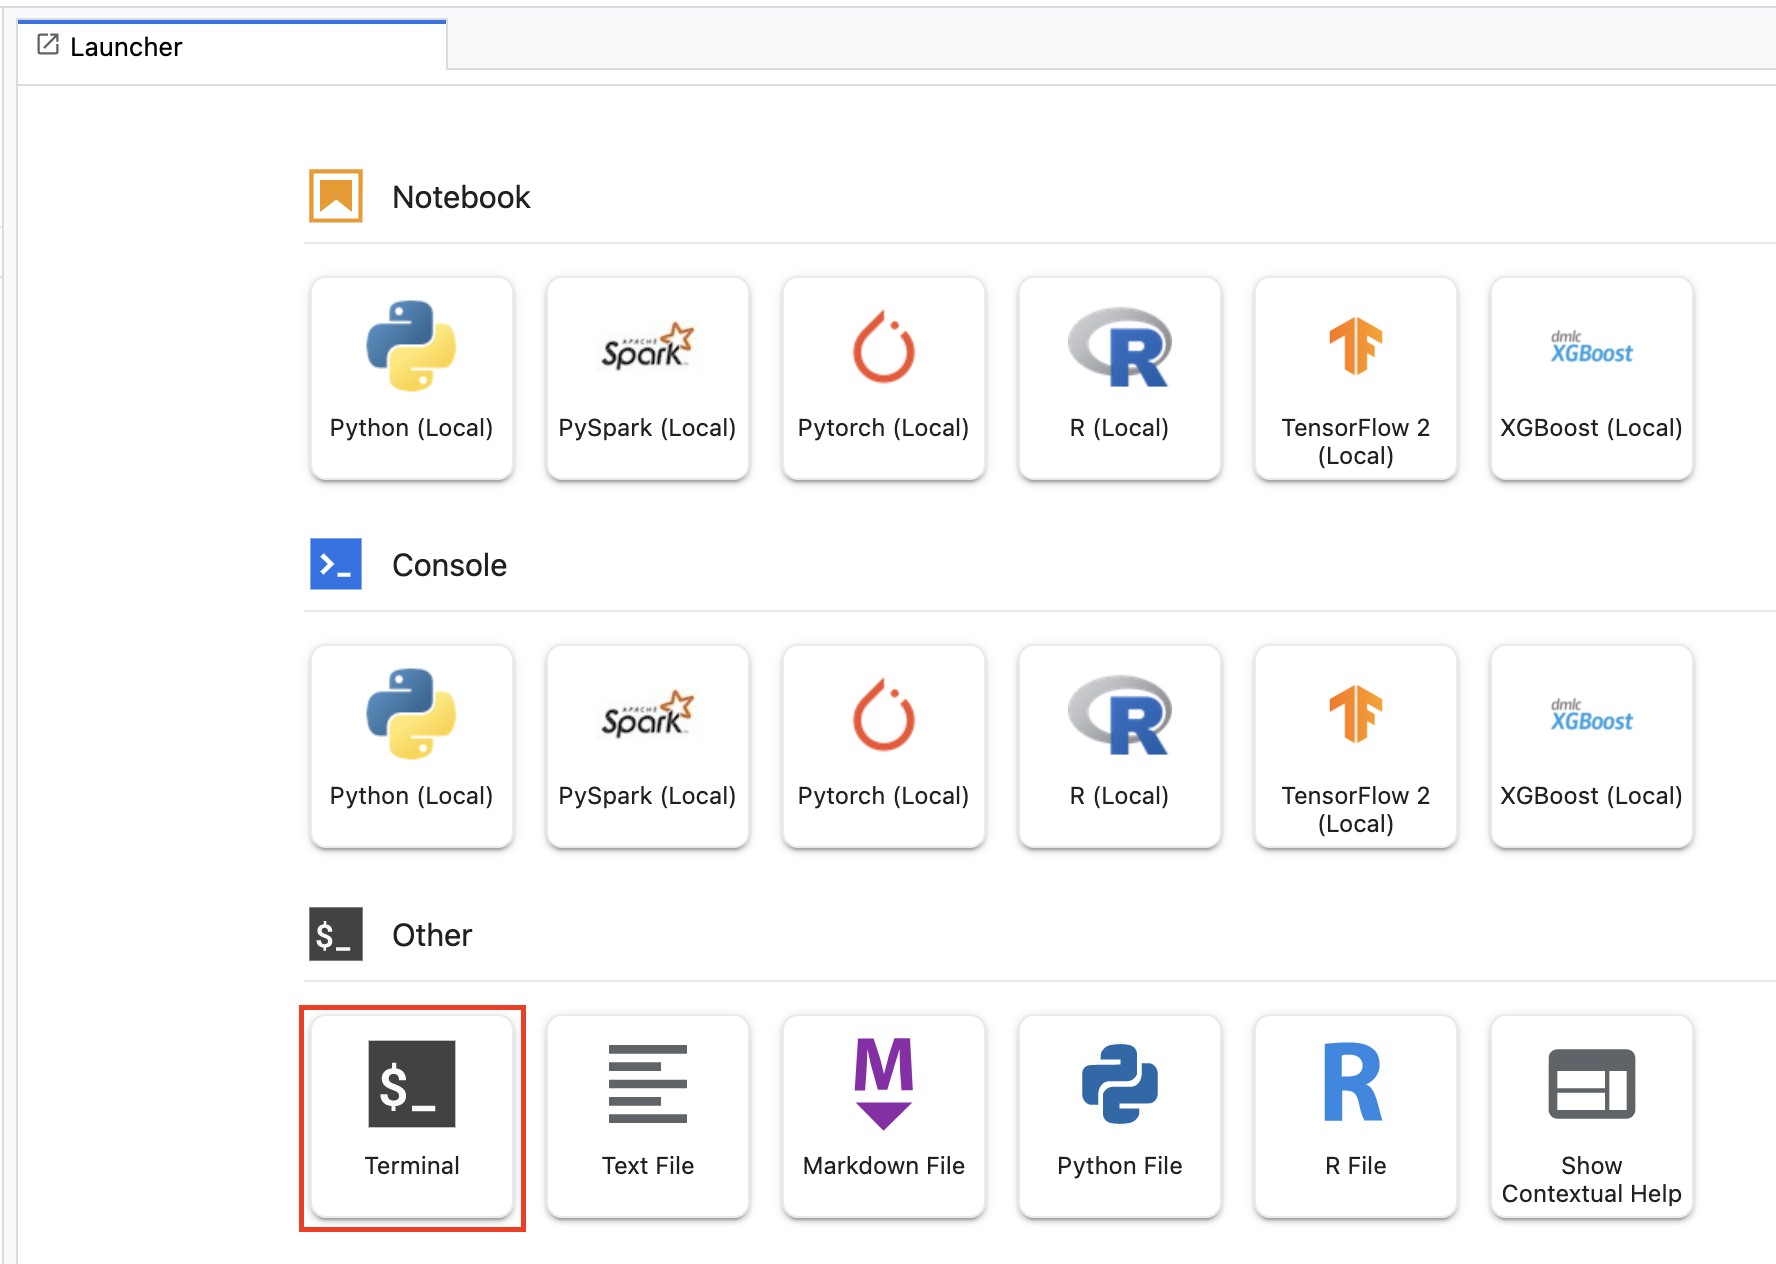
From the terminal, run the following to define an env variable for your project, making sure to replace your-cloud-project with the ID of your project:
PROJECT_ID='your-cloud-project'
Next, run the following command to create a new bucket in your project.
BUCKET="gs://${PROJECT_ID}-bucket"
gsutil mb -l us-central1 $BUCKET
Step 2: Launch notebook execution
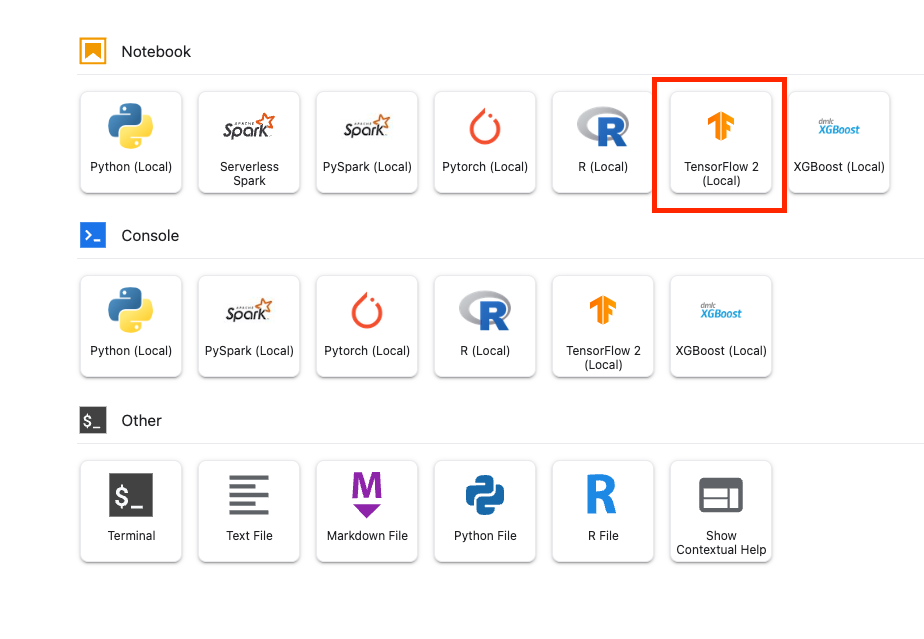
From the launcher of your Workbench instance, open up a new TensorFlow 2 notebook.
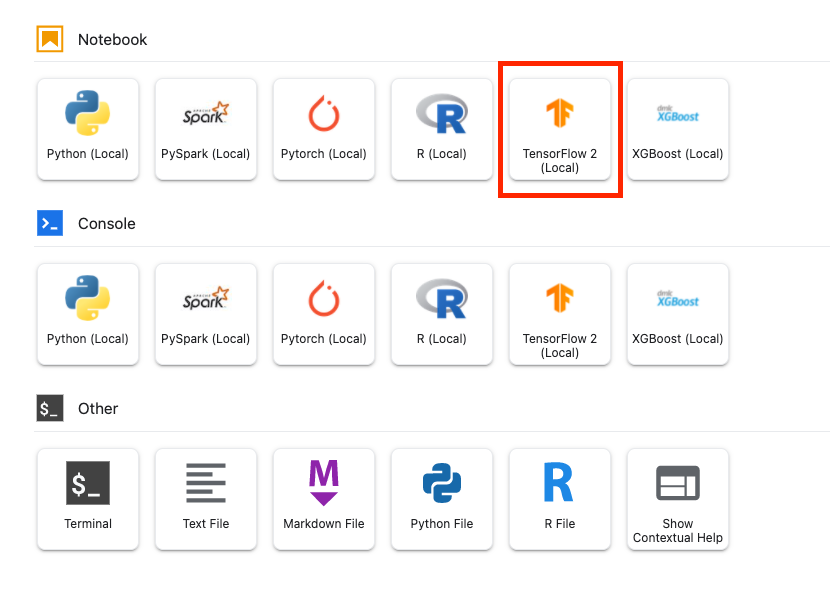
The code below trains a binary sentiment classifier (positive or negative) on the IMDB movies review dataset. Paste the code into your notebook.
Make sure you replace {YOUR_BUCKET} with the bucket that you created in the previous step (or another bucket in your project). This is where we'll store the saved model artifacts, which we'll need later when we upload the model to Vertex AI Model Registry.
import numpy as np

import tensorflow_datasets as tfds
import tensorflow as tf

# REPLACE WITH YOUR BUCKET!
OUTPUT_PATH='gs://{YOUR_BUCKET}/model_output'

BUFFER_SIZE = 10000
BATCH_SIZE = 64
VOCAB_SIZE = 1000

# Load data
dataset, info = tfds.load('imdb_reviews', with_info=True,
                          as_supervised=True)
train_dataset, test_dataset = dataset['train'], dataset['test']

train_dataset = train_dataset.shuffle(BUFFER_SIZE).batch(BATCH_SIZE).prefetch(tf.data.AUTOTUNE)
test_dataset = test_dataset.batch(BATCH_SIZE).prefetch(tf.data.AUTOTUNE)

# Create text encoder
encoder = tf.keras.layers.TextVectorization(
    max_tokens=VOCAB_SIZE)
encoder.adapt(train_dataset.map(lambda text, label: text))

# Create model
model = tf.keras.Sequential([
    encoder,
    tf.keras.layers.Embedding(
        input_dim=len(encoder.get_vocabulary()),
        output_dim=64,
        # Use masking to handle the variable sequence lengths
        mask_zero=True),
    tf.keras.layers.Bidirectional(tf.keras.layers.LSTM(64)),
    tf.keras.layers.Dense(64, activation='relu'),
    tf.keras.layers.Dense(1)
])

# Compile model
model.compile(loss=tf.keras.losses.BinaryCrossentropy(from_logits=True),
              optimizer=tf.keras.optimizers.Adam(1e-4),
              metrics=['accuracy'])

# Fit model
history = model.fit(train_dataset, epochs=10,
                    validation_data=test_dataset,
                    validation_steps=30)

# Save model
model.save(OUTPUT_PATH)
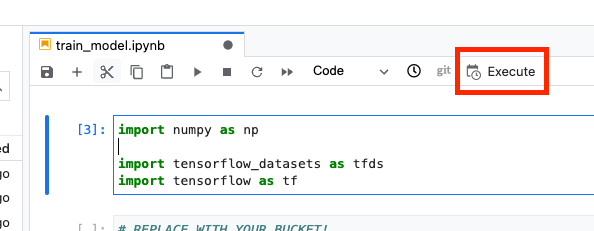
Next, select the Execute button.
Then configure your execution as follows and click SUBMIT
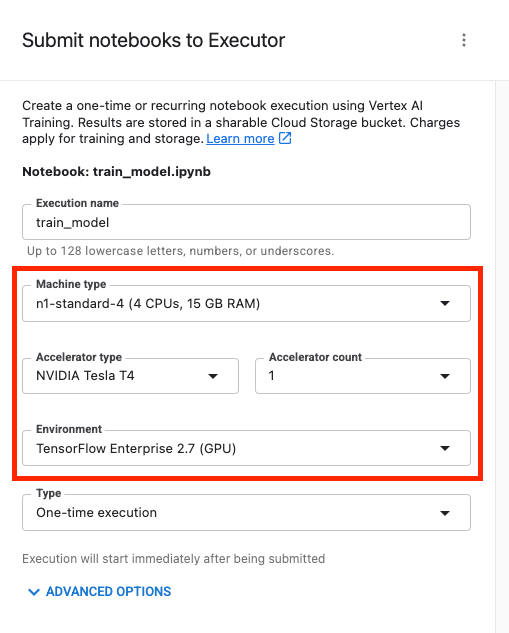
From the Executions tab in the console, you can track the status of your training job.

6. Deploy model
Step 1: Upload model
When the execution completes, return to the Workbench notebook to upload the model. Create a new TensorFlow notebook.
First, import the Vertex AI Python SDK
from google.cloud import aiplatform
Then upload the model, replacing {YOUR_BUCKET} with the bucket you specified in the training code.
# replace {YOUR_BUCKET}
model_1 = aiplatform.Model.upload(display_name='text-model-1',
                                  artifact_uri='gs://{YOUR_BUCKET}/model_output',
                                  serving_container_image_uri='us-docker.pkg.dev/vertex-ai/prediction/tf2-cpu.2-8:latest')
For demonstration purposes, we'll upload this model twice, creating two different model resources in Vertex AI. This is so that we can test out deploying multiple models to a single endpoint within a deployment resource pool. In a real scenario, you would have two different models instead of creating models from the same saved artifacts, but this is a shortcut so we don't have to launch another training execution. Additionally, you could also choose to deploy the two models to different endpoints within the same deployment resource pool.
# replace {YOUR_BUCKET}
model_2 = aiplatform.Model.upload(display_name='text-model-2',
                                  artifact_uri='gs://{YOUR_BUCKET}/model_output',
                                  serving_container_image_uri='us-docker.pkg.dev/vertex-ai/prediction/tf2-cpu.2-8:latest')
In the Vertex AI Model Registry, you should now see both models. The deployment status is blank since we have not deployed the models yet.

Step 2: Create an endpoint
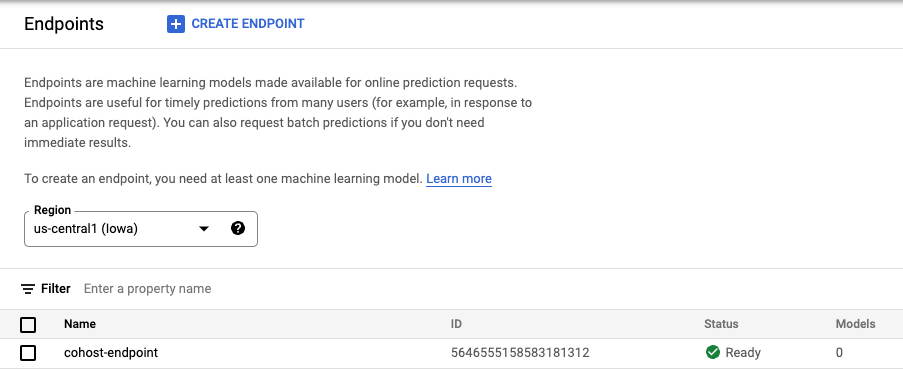
Create an endpoint. Note that this is different from deploying a model to an endpoint.
endpoint = aiplatform.Endpoint.create('cohost-endpoint')
When the endpoint is created, you'll see it in the console.
Step 3: Create the DeploymentResourcePool
You can create the DeploymentResourcePool with the following command. Be sure to replace {YOUR_PROJECT} with your project id.
# replace {YOUR_PROJECT}
PROJECT_ID={YOUR_PROJECT}
REGION="us-central1"
VERTEX_API_URL=REGION + "-aiplatform.googleapis.com"
VERTEX_PREDICTION_API_URL=REGION + "-prediction-aiplatform.googleapis.com"
MULTI_MODEL_API_VERSION="v1beta1"

# Give the pool a name
DEPLOYMENT_RESOURCE_POOL_ID="my-resource-pool"

import json
import pprint
pp = pprint.PrettyPrinter(indent=4)

CREATE_RP_PAYLOAD = {
  "deployment_resource_pool":{
    "dedicated_resources":{
      "machine_spec":{
        "machine_type":"n1-standard-4"
      },
      "min_replica_count":1,
      "max_replica_count":2
    }
  },
  "deployment_resource_pool_id":DEPLOYMENT_RESOURCE_POOL_ID
}
CREATE_RP_REQUEST=json.dumps(CREATE_RP_PAYLOAD)
pp.pprint("CREATE_RP_REQUEST: " + CREATE_RP_REQUEST)

!curl \
-X POST \
-H "Authorization: Bearer $(gcloud auth print-access-token)" \
-H "Content-Type: application/json" \
https://{VERTEX_API_URL}/{MULTI_MODEL_API_VERSION}/projects/{PROJECT_ID}/locations/{REGION}/deploymentResourcePools \
-d '{CREATE_RP_REQUEST}'
You can see the pool by running
!curl -X GET \
-H "Authorization: Bearer $(gcloud auth print-access-token)" \
-H "Content-Type: application/json" \
https://{VERTEX_API_URL}/{MULTI_MODEL_API_VERSION}/projects/{PROJECT_ID}/locations/{REGION}/deploymentResourcePools/{DEPLOYMENT_RESOURCE_POOL_ID}
Step 4: Deploy the models to the endpoint
Now that the resource pool has been created, we can deploy the models within the resource pool.
First, we'll deploy model_1. Be sure to replace MODEL_1_ID and ENDPOINT_ID with the respective IDs.
MODEL_1_ID="{MODEL_1_ID}"
ENDPOINT_ID="{ENDPOINT_ID}"
The following command will deploy model_1 to the endpoint within the resource pool.
MODEL_NAME = "projects/{project_id}/locations/{region}/models/{model_id}".format(project_id=PROJECT_ID, region=REGION, model_id=MODEL_1_ID)
SHARED_RESOURCE = "projects/{project_id}/locations/{region}/deploymentResourcePools/{deployment_resource_pool_id}".format(project_id=PROJECT_ID, region=REGION, deployment_resource_pool_id=DEPLOYMENT_RESOURCE_POOL_ID)

DEPLOY_MODEL_PAYLOAD = {
  "deployedModel": {
    "model": MODEL_NAME,
    "shared_resources": SHARED_RESOURCE
  },
  "trafficSplit": {
    "0": 100
  }
}
DEPLOY_MODEL_REQUEST=json.dumps(DEPLOY_MODEL_PAYLOAD)
pp.pprint("DEPLOY_MODEL_REQUEST: " + DEPLOY_MODEL_REQUEST)

!curl -X POST \
 -H "Authorization: Bearer $(gcloud auth print-access-token)" \
 -H "Content-Type: application/json" \
https://{VERTEX_API_URL}/{MULTI_MODEL_API_VERSION}/projects/{PROJECT_ID}/locations/{REGION}/endpoints/{ENDPOINT_ID}:deployModel \
-d '{DEPLOY_MODEL_REQUEST}'
This will take a few minutes, but when it's done you'll see the model deployed to the endpoint in the console.

Next, we can deploy model_2 within the same deployment pool. We'll deploy it to the same endpoint as model_1. However, you could also choose to deploymodel_2 to a different endpoint within the same resource pool.
Update MODEL_ID with the ID for model_2. Again, you can get this ID by running model_2.name
MODEL_2_ID="{MODEL_2_ID}"
Then deploy model_2. Since we already have model_1 deployed to the endpoint, we'll need to update trafficSplit so that the traffic is split between the two models. We would not have to update the trafficSplit if we choose to deploy model_2 to a different endpoint within the same resource pool.
To update the traffic split, you'll need to define the DeployedModel ID for model_1. Note that this is different from the model ID.
DEPLOYED_MODEL_1_ID = {DEPLOYED_MODEL_1_ID}
Then execute the following to deploy the second model.
MODEL_NAME = "projects/{project_id}/locations/{region}/models/{model_id}".format(project_id=PROJECT_ID, region=REGION, model_id=MODEL_2_ID)
SHARED_RESOURCE = "projects/{project_id}/locations/{region}/deploymentResourcePools/{deployment_resource_pool_id}".format(project_id=PROJECT_ID, region=REGION, deployment_resource_pool_id=DEPLOYMENT_RESOURCE_POOL_ID)

#`trafficSplit` is a map from a DeployedModel's ID to the percentage of this Endpoint's traffic that should be forwarded to that DeployedModel.
# The traffic percentage values for an endpoint must add up to 100.
# The key for the model being deployed is "0".

DEPLOY_MODEL_PAYLOAD = {
  "deployedModel": {
    "model": MODEL_NAME,
    "shared_resources": SHARED_RESOURCE
  },
  "trafficSplit": {
    "0": 50,
    DEPLOYED_MODEL_1_ID: 50
  }
}
DEPLOY_MODEL_REQUEST=json.dumps(DEPLOY_MODEL_PAYLOAD)
pp.pprint("DEPLOY_MODEL_REQUEST: " + DEPLOY_MODEL_REQUEST)

!curl -X POST \
 -H "Authorization: Bearer $(gcloud auth print-access-token)" \
 -H "Content-Type: application/json" \
https://{VERTEX_API_URL}/{MULTI_MODEL_API_VERSION}/projects/{PROJECT_ID}/locations/{REGION}/endpoints/{ENDPOINT_ID}:deployModel \
-d '{DEPLOY_MODEL_REQUEST}'
Again, in this example the two models were deployed to the same endpoint, but you can also co-host models to the same resource pool that are deployed to different endpoints. In that case you wouldn't have to worry about traffic splitting.
After the second model is deployed, you'll see both of them in the console.

Step 5: Get predictions
The final step is to test out the endpoint and get predictions.
First, define our test sentence.
x_test=['The movie was cool. The animation and the graphics were out of this world. I would recommend this movie.']
Then, call predict on the endpoint which will return a prediction from one of the models deployed to the endpoint.
endpoint.predict(instances=x_test)
🎉 Congratulations! 🎉
You've learned how to use Vertex AI to:
- Co-host models on the same VM for online predictions
To learn more about different parts of Vertex, check out the documentation.
7. Cleanup
You'll want to undeploy the models from the endpoint if you're not planning to use them. You can also delete the endpoint entirely. You can always redeploy a model to an endpoint if you need to.

Workbench managed notebooks time out automatically after 180 idle minutes, so you don't need to worry about shutting the instance down. If you would like to manually shut down the instance, click the Stop button on the Vertex AI Workbench section of the console. If you'd like to delete the notebook entirely, click the Delete button.

To delete the Storage Bucket, using the Navigation menu in your Cloud Console, browse to Storage, select your bucket, and click Delete:

