1. Overview
In this lab, you'll learn how to configure and launch notebook executions with Vertex AI Workbench.
What you learn
You'll learn how to:
- Use parameters in a notebook
- Configure and launch notebook executions from the Vertex AI Workbench UI
The total cost to run this lab on Google Cloud is about $2.
2. Intro to Vertex AI
This lab uses the newest AI product offering available on Google Cloud. Vertex AI integrates the ML offerings across Google Cloud into a seamless development experience. Previously, models trained with AutoML and custom models were accessible via separate services. The new offering combines both into a single API, along with other new products. You can also migrate existing projects to Vertex AI. If you have any feedback, please see the support page.
Vertex AI includes many different products to support end-to-end ML workflows. This lab will focus on Vertex AI Workbench.
Vertex AI Workbench helps users quickly build end-to-end notebook-based workflows through deep integration with data services (like Dataproc, Dataflow, BigQuery, and Dataplex) and Vertex AI. It enables data scientists to connect to GCP data services, analyze datasets, experiment with different modeling techniques, deploy trained models into production, and manage MLOps through the model lifecycle.
3. Use case overview
In this lab, you'll use transfer learning to train an image classification model on the DeepWeeds dataset from TensorFlow Datasets. You'll use TensorFlow Hub to experiment with feature vectors extracted from different model architectures, such as ResNet50, Inception, and MobileNet, all pre-trained on the ImageNet benchmark dataset. By leveraging the notebook executor via the Vertex AI Workbench UI, you'll launch jobs on Vertex AI Training that use these pre-trained models and retrain the last layer to recognize the classes from the DeepWeeds dataset.
4. Set up your environment
You'll need a Google Cloud Platform project with billing enabled to run this codelab. To create a project, follow the instructions here.
Step 1: Enable the Compute Engine API
Navigate to Compute Engine and select Enable if it isn't already enabled.
Step 2: Enable the Vertex AI API
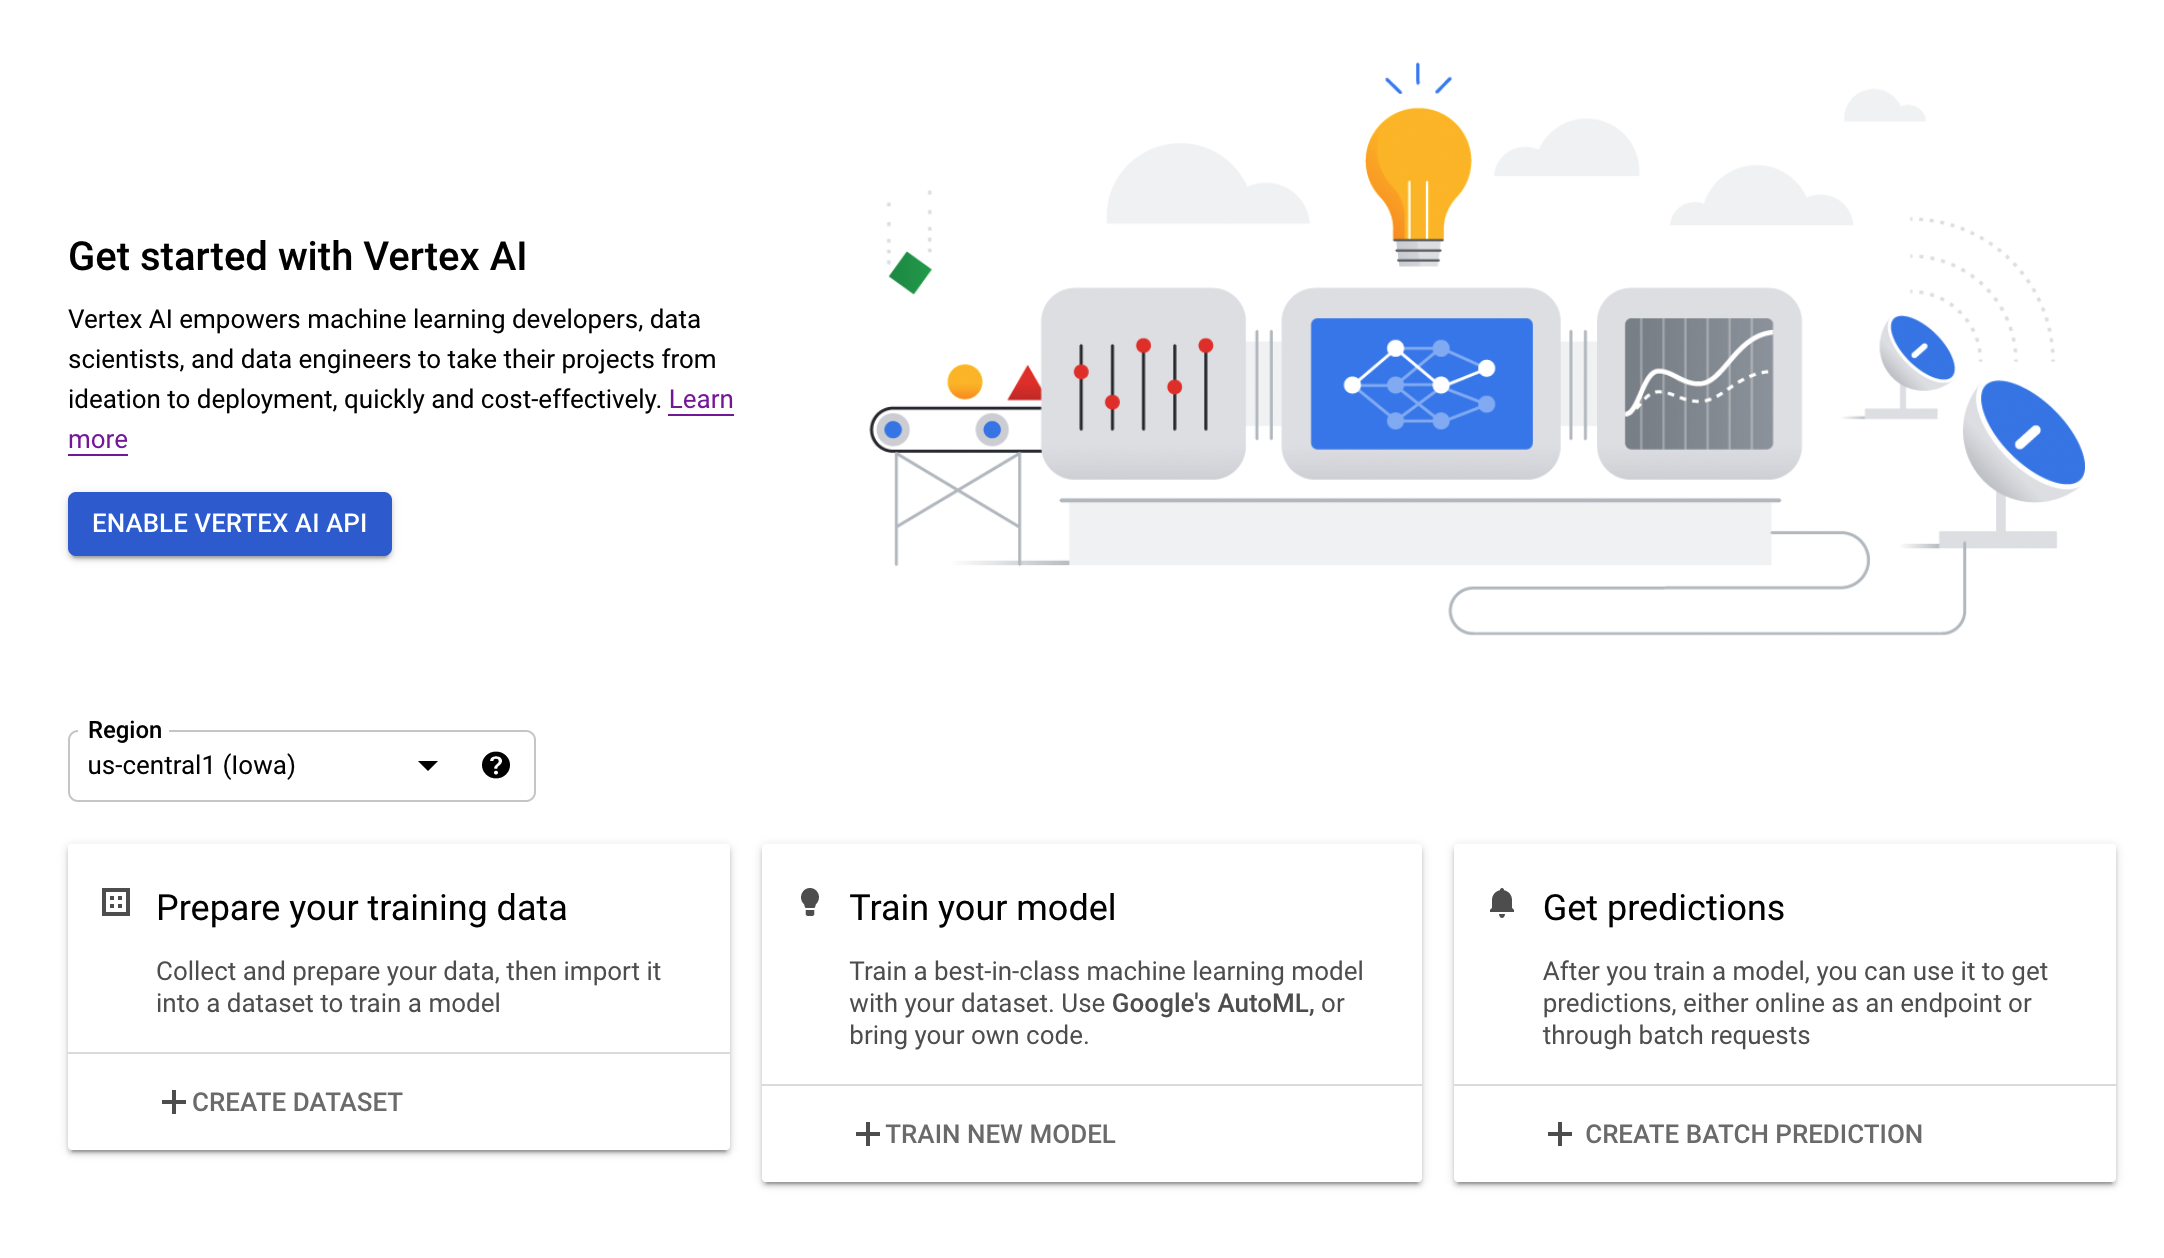
Navigate to the Vertex AI section of your Cloud Console and click Enable Vertex AI API.
Step 3: Create a Vertex AI Workbench instance
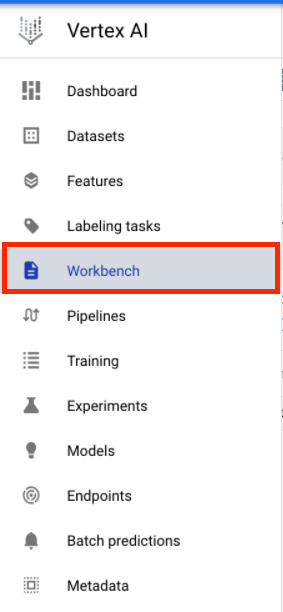
From the Vertex AI section of your Cloud Console, click on Workbench:
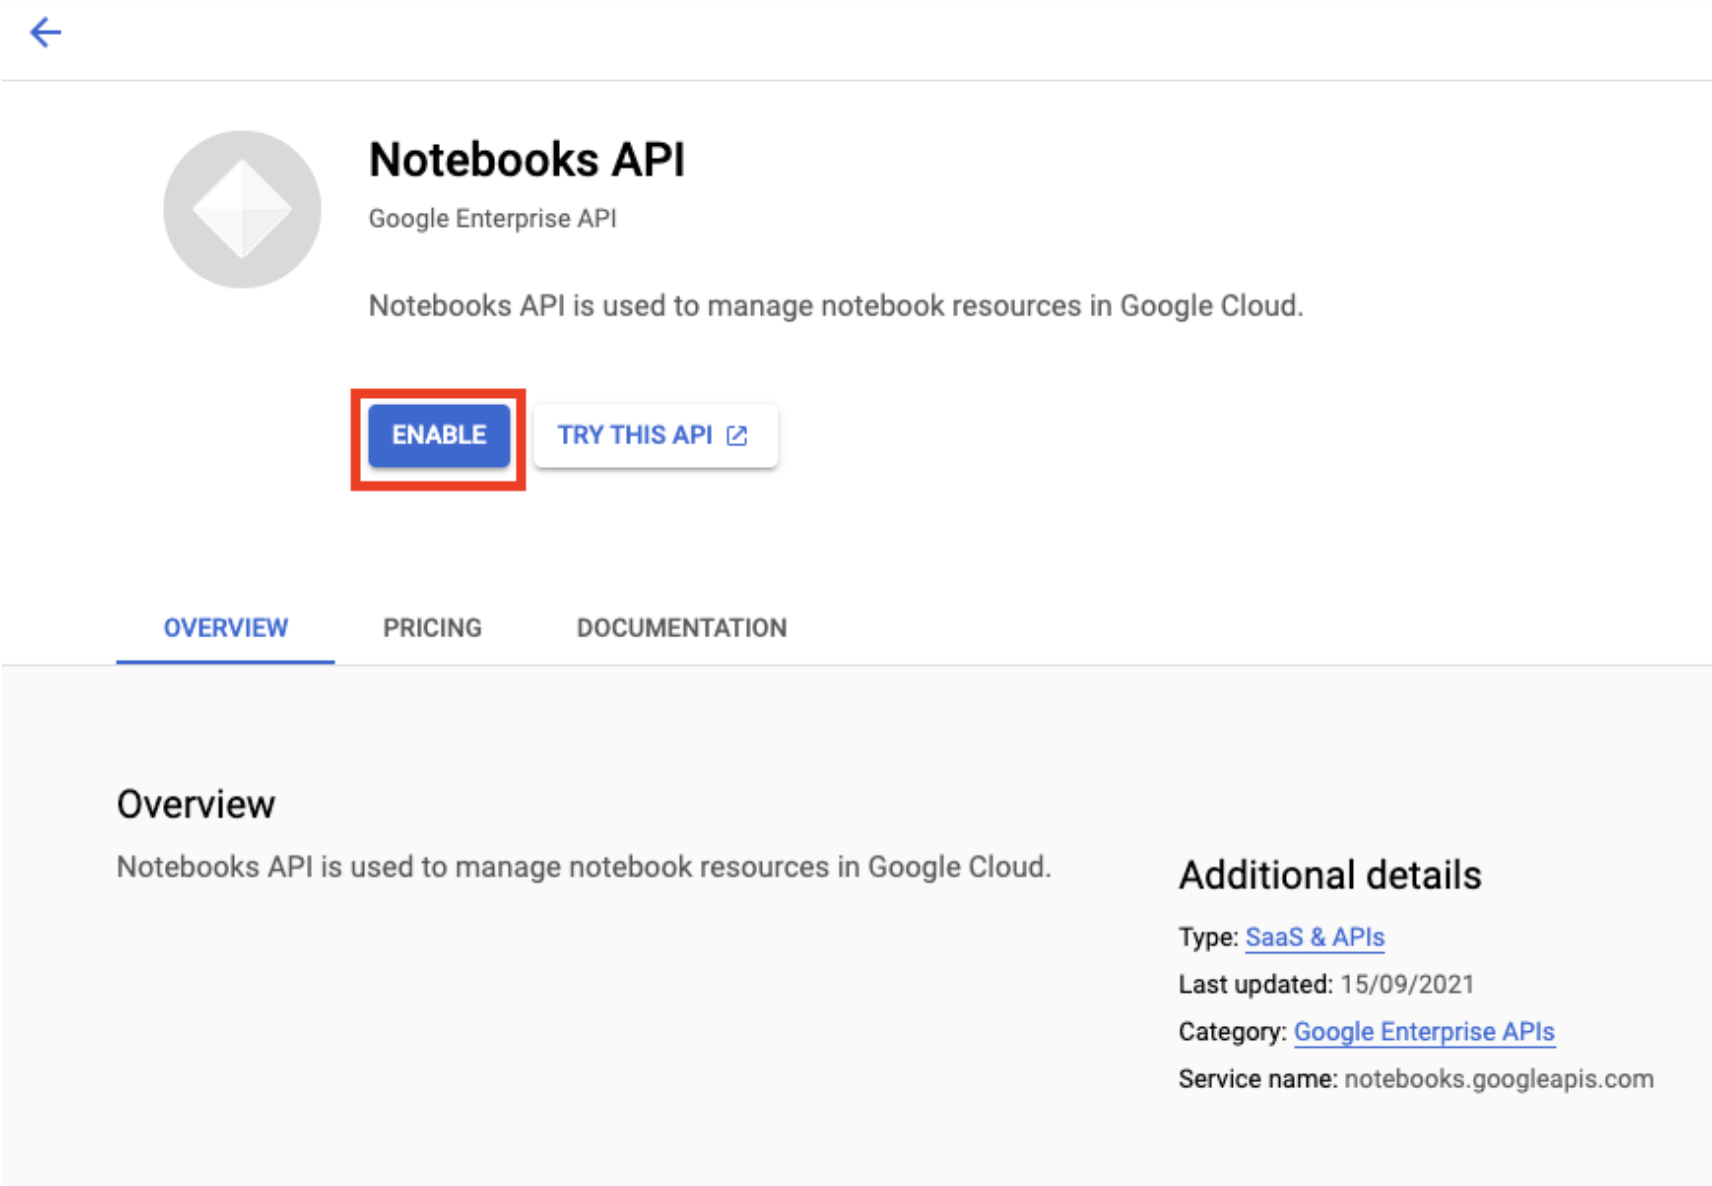
Enable the Notebooks API if it isn't already.
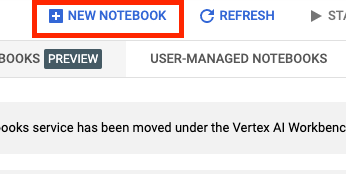
Once enabled, click MANAGED NOTEBOOKS:

Then select NEW NOTEBOOK.
Give your notebook a name, and then click Advanced Settings.
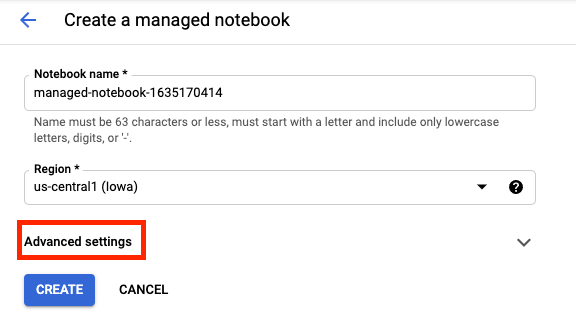
Under Advanced Settings, enable idle shutdown and set the number of minutes to 60. This means your notebook will shutdown automatically when not in use so you don't incur unnecessary costs.

You can leave all of the other advanced settings as is.
Next, click Create.
Once the instance has been created, select Open JupyterLab.

The first time you use a new instance, you'll be asked to authenticate.
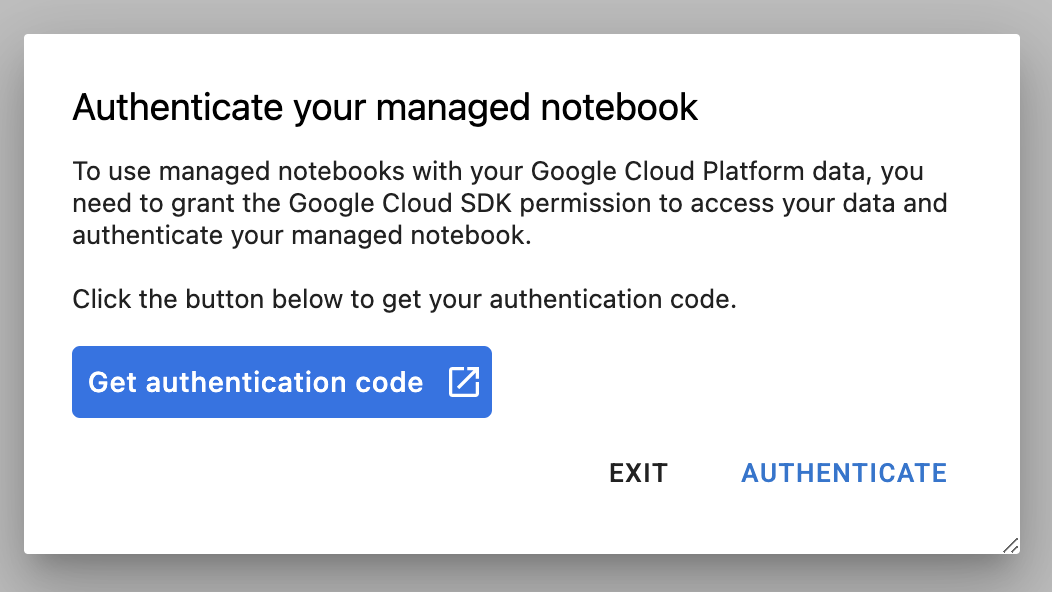
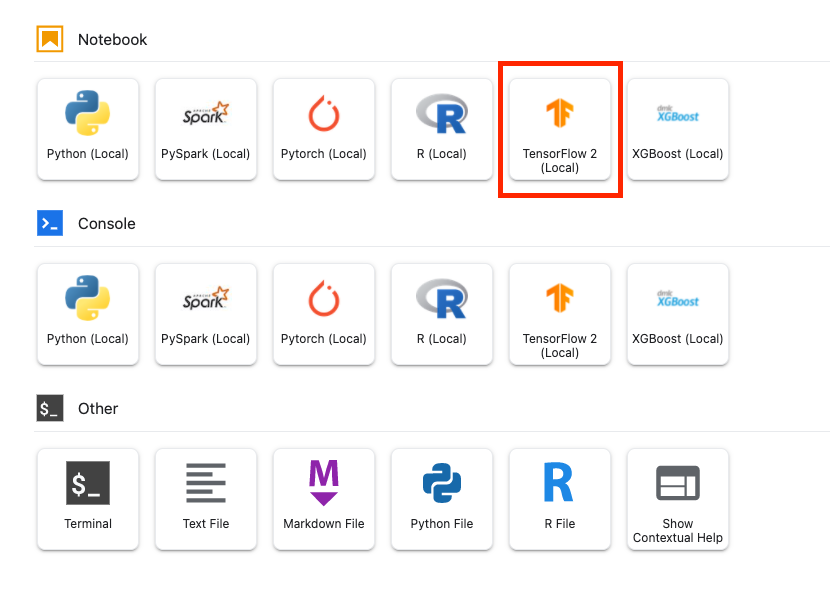
Vertex AI Workbench has a compute compatibility layer that allows you to launch kernels for TensorFlow, PySpark, R, etc, all from a single notebook instance. After authenticating, you'll be able to select the type of notebook you want to use from the launcher.
For this lab, select the TensorFlow 2 kernel.
5. Write training code
The DeepWeeds dataset consists of 17,509 images capturing eight different weed species native to Australia. In this section, you'll write the code to preprocess the DeepWeeds dataset and build and train an image classification model using feature vectors downloaded from TensorFlow Hub.
You'll need to copy the following code snippets into the cells of your notebook. Executing the cells is optional.
Step 1: Download and preprocess dataset
First, install the nightly version of TensorFlow datasets to make sure we're grabbing the latest version of the DeepWeeds dataset.
!pip install tfds-nightly
Then, import the necessary libraries:
import tensorflow as tf
import tensorflow_datasets as tfds
import tensorflow_hub as hub
Download the data from TensorFlow Datasets and extract the number of classes and dataset size.
data, info = tfds.load(name='deep_weeds', as_supervised=True, with_info=True)
NUM_CLASSES = info.features['label'].num_classes
DATASET_SIZE = info.splits['train'].num_examples
Define a preprocessing function to scale the image data by 255.
def preprocess_data(image, label):
  image = tf.image.resize(image, (300,300))
  return tf.cast(image, tf.float32) / 255., label
The DeepWeeds dataset does not come with train/validation splits. It only comes with a training dataset. In the code below you'll use 80% of that data for training, and the remaining 20% for validation.
# Create train/validation splits

# Shuffle dataset
dataset = data['train'].shuffle(1000)

train_split = 0.8
val_split = 0.2
train_size = int(train_split * DATASET_SIZE)
val_size = int(val_split * DATASET_SIZE)

train_data = dataset.take(train_size)
train_data  = train_data.map(preprocess_data)
train_data  = train_data.batch(64)

validation_data = dataset.skip(train_size)
validation_data  = validation_data.map(preprocess_data)
validation_data  = validation_data.batch(64)
Step 2: Create model
Now that you've created training and validation datasets, you're ready to build your model. TensorFlow Hub provides feature vectors, which are pre-trained models without the top classification layer. You'll create a feature extractor by wrapping the pre-trained model with hub.KerasLayer, which wraps a TensorFlow SavedModel as a Keras layer. You'll then add a classification layer and create a model with the Keras Sequential API.
First, define the parameter feature_extractor_model, which is the name of the TensorFlow Hub feature vector you'll use as the basis for your model.
feature_extractor_model = "inception_v3"
Next, you'll make this cell a parameter cell, which will allow you to pass in a value for feature_extractor_model at runtime.
First, select the cell and click on the property inspector on the right panel.
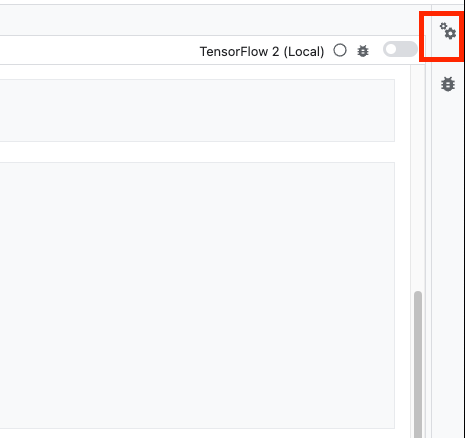
Tags are a simple way to add metadata to your notebook. Type "parameters" in the Add Tag box and hit Enter. Later when configuring your execution, you'll pass in the different values, in this case the TensorFlow Hub model, you want to test. Note that you must type the word "parameters" (and not any other word) as this is how the notebook executor knows which cells to parameterize.
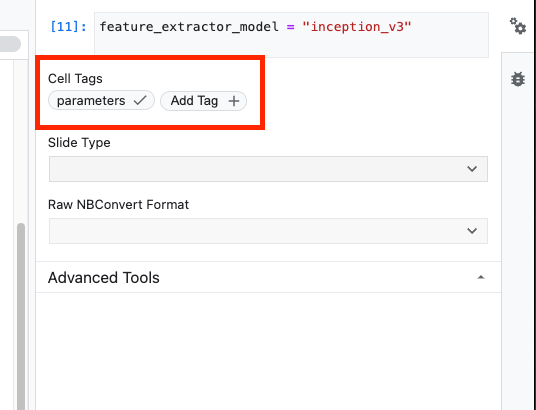
You can close out the property inspector by clicking on the double gear icon again.
Create a new cell and define the tf_hub_uri, where you'll use string interpolation to substitute in the name of the pre-trained model you want to use as the base model for a specific execution of your notebook. By default, you've set feature_extractor_model to "inception_v3", but other valid values are "resnet_v2_50" or "mobilenet_v1_100_224". You can explore additional options in the TensorFlow Hub catalog.
tf_hub_uri = f"https://tfhub.dev/google/imagenet/{feature_extractor_model}/feature_vector/5"
Next, create the feature extractor using hub.KerasLayer and passing in the tf_hub_uri you defined above. Set the trainable=False argument to freeze the variables so that training only modifies the new classifier layer that you'll add on top.
feature_extractor_layer = hub.KerasLayer(
    tf_hub_uri,
    trainable=False)
To complete the model, wrap the feature extractor layer in a tf.keras.Sequential model and add a fully-connected layer for classification. The number of units in this classification head should be equal to the number of classes in the dataset:
model = tf.keras.Sequential([
  feature_extractor_layer,
  tf.keras.layers.Dense(units=NUM_CLASSES)
])
Lastly, compile and fit the model.
model.compile(
  optimizer=tf.keras.optimizers.Adam(),
  loss=tf.keras.losses.SparseCategoricalCrossentropy(from_logits=True),
  metrics=['acc'])

model.fit(train_data, validation_data=validation_data, epochs=3)
6. Execute notebook
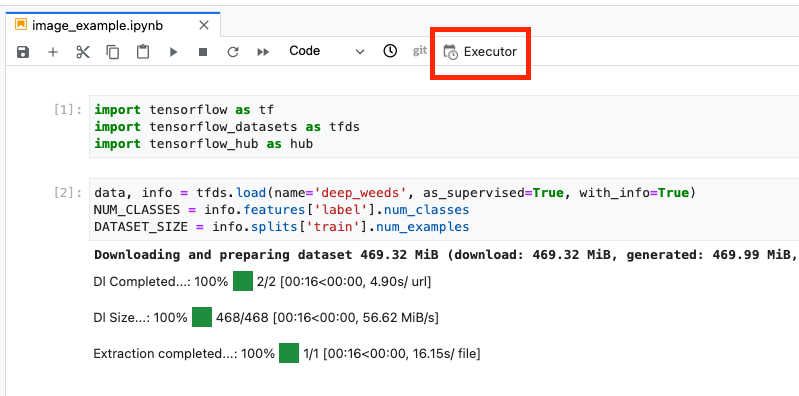
Click the Executor icon at the top of the notebook.
Step 1: Configure training job
Give your execution a name and provide a storage bucket in your project.
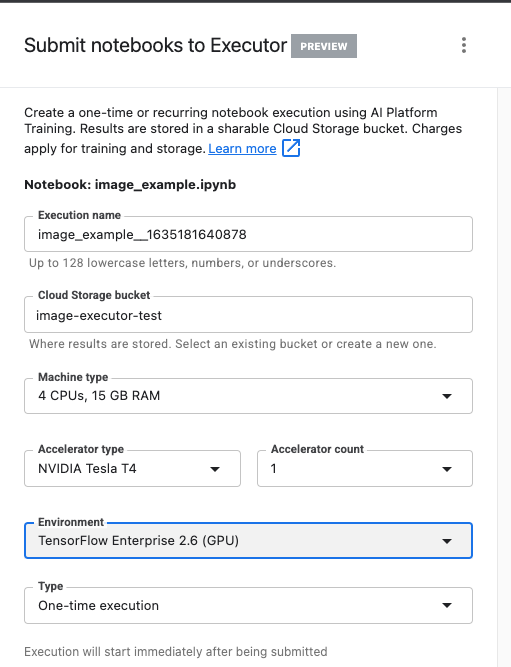
Set the Machine type to 4 CPUs, 15 GB RAM.
And add 1 NVIDIA GPU.
Set the environment to TensorFlow Enterprise 2.6 (GPU).
Choose One-time execution.
Step 2: Configure parameters
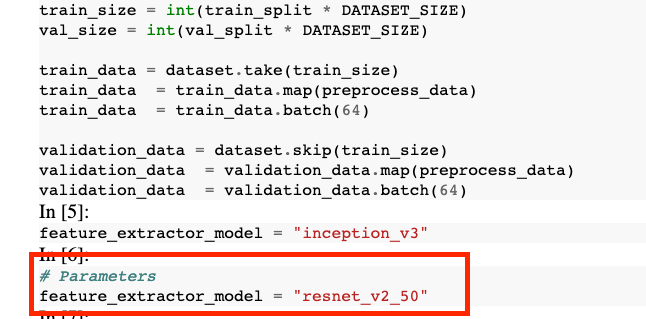
Click the ADVANCED OPTIONS drop down to set your parameter. In the box, type feature_extractor_model=resnet_v2_50. This will override inception_v3, the default value you set for this parameter in the notebook, with resnet_v2_50.
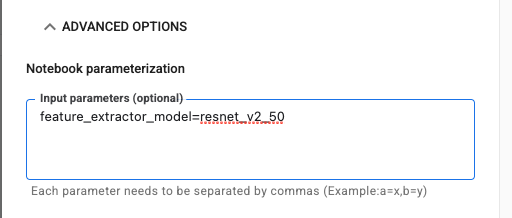
You can leave the use default service account box checked.
Then click SUBMIT
Step 3: Examine results
In the Executions tab in the Console UI, you'll be able to see the status of your notebook execution.

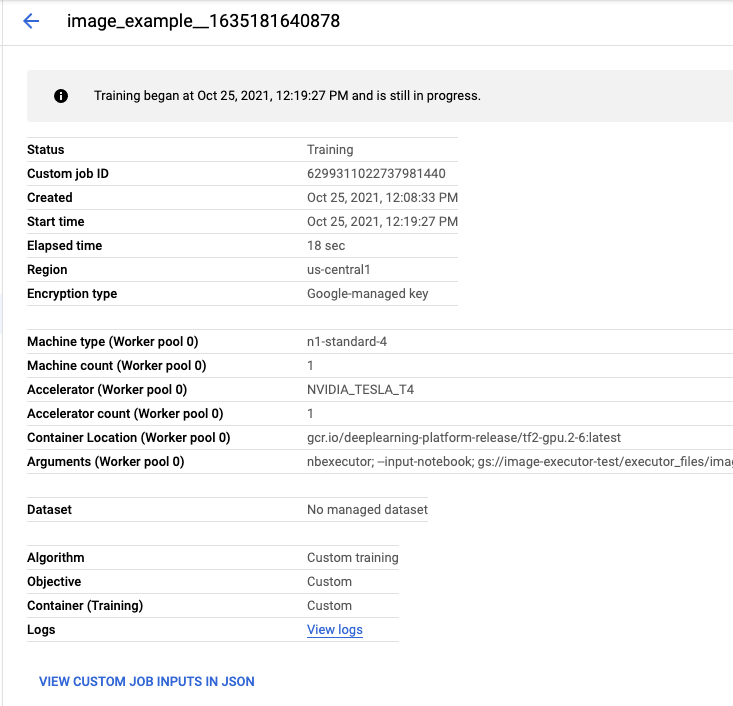
If you click on the execution name, you'll be taken to the Vertex AI Training job where your notebook is running.
When your job completes, you'll be able to see the output notebook by clicking VIEW RESULT.

In the output notebook, you'll see that the value for feature_extractor_model was overwritten by the value you passed in at runtime.
🎉 Congratulations! 🎉
You've learned how to use Vertex AI Workbench to:
- Use parameters in a notebook
- Configure and launch notebook executions from the Vertex AI Workbench UI
To learn more about different parts of Vertex AI, check out the documentation.
7. Cleanup
By default, managed notebooks shutdown automatically after 180 minutes of inactivity. If you would like to manually shut down the instance, click the Stop button on the Vertex AI Workbench section of the console. If you'd like to delete the notebook entirely, click the Delete button.

To delete the Storage Bucket, using the Navigation menu in your Cloud Console, browse to Storage, select your bucket, and click Delete:

