
1. Overview
This series of codelabs (self-paced, hands-on tutorials) aims to help Google App Engine (Standard) developers modernize their apps by guiding them through a series of migrations. The majority of such migrations involve moving away from original runtime bundled services because the next generation runtimes are more flexible, giving users a greater variety of service options. Another way to modernizing an app includes upgrading to a newer product, and that's the subject of this codelab.
App Engine users accessing Datastore with either the Cloud NDB or Cloud Datastore client libraries are good-to-go and don't need to migrate further. However, Cloud Firestore represents the latest, scalable, highly-available, NoSQL datastore with features from the Firebase real-time database.
You're in the right place if you are a developer who feels compelled to use Firestore to take advantage of its features or at least have enough interest to explore what the migration entails. This tutorial teaches you how to migrate an App Engine app using Cloud Datastore to Cloud Firestore.
You'll learn how to
- Recognize differences between Datastore and Firestore
- Migrate from Cloud Datastore to Cloud Firestore
What you'll need
- A Google Cloud Platform project with:
- Basic Python skills
- Working knowledge of common Linux commands
- Basic knowledge of developing and deploying App Engine apps
- You're recommended to complete the Module 3 codelab, including porting it to Python 3, before starting this one (Module 6).
- A working Module 3 Cloud Datastore Python 3 App Engine app.
Survey
How will you use this codelab?
2. Background
App Engine's Datastore became its own product in 2013, Google Cloud Datastore, and is now accessible to developers outside of App Engine. The following year, Firebase was acquired by Google. At the time, it was known for its real-time database.
Over the next few years, the Firebase and Cloud Datastore teams worked on integrating some of the Firebase features into Datastore. As a result, in 2017, the next generation of Cloud Datastore was released. To reflect inheriting some Firebase features, it was rebranded as Cloud Firestore.
Cloud Firestore became the default NoSQL storage mechanism for Google Cloud projects. New apps can use Cloud Firestore natively, while existing Datastore databases were converted to Firestore under-the-hood and now operate as "Firestore in Datastore mode" to preserve compatibility with Datastore operations. As a result, applications can only operate Cloud Firestore in one of those modes, and once set, cannot be changed.
Currently when users create new projects and select a NoSQL solution, they're prompted to select either Firestore in Datastore mode or Firestore in native mode. Once users add Datastore entities, they cannot change to Firestore, and similarly, once Firestore native mode is selected, they can no longer switch back to Datastore (or rather, Firestore in Datastore mode). Read the choosing between Cloud Firestore in Datastore mode or native Firestore mode page in the documentation for more details. In order to migrate an app to Firestore, a new project must be created, Datastore exported then imported into Firestore. The purpose of this tutorial is to give developers an idea of the differences between using Cloud Datastore and Cloud Firestore.
This migration is not one we expect users to perform, which is why it is optional migration. While there are obvious advantages to using Cloud Firestore natively such as client auth, Firebase rules integration, and of course, the Firebase real-time database, the migration steps are "inconvenient:"
- You must use a different project that your current app's project.
- A project where an app has added Datastore entities cannot be switched to Firestore in native mode
- Similarly, a project which has selected Firestore in native mode cannot revert back to Firestore in Datastore mode.
- There is no migration tool that can stream data from one project to another.
- Some critical Datastore features, including namespaces and a higher write throughput (>10k/s), are not available from Firestore.
- The export and import tools are "primitive" and "all or nothing" scenarios.
- If your app has many Datastore entities, it can take many hours to export then import into Firestore.
- During this time, your application/service won't be able write/update data.
- Migration activities count towards normal usage; you may want to spread it out (across daily quotas if possible) to minimize costs.
- Because your new service runs in a different project, you'll need a window for DNS updates to propagate.
- Datastore and Firestore have similar but different data models so migration requires updating how the app/service works
- Ancestor queries from Datastore are now Firestore Collection queries (the default)
- Broad type queries from Datastore are Firestore Collection group queries
- Indexes and handling are different, etc.
All that said, if you have a fairly straightforward app to consider for migration, preparing to simulate such a migration, or simply here to learn about Datastore vs. Firestore, then please continue!
Python 2 users: This optional migration codelab is presented only in Python 3, however since Cloud Firestore also supports 2.x, users can interpolate the differences in use. One example is that Firestore records use Unicode strings (instead of bytes strings), so a u'' leading indicator is required for Python 2 string literals, meaning a 2.x store_visit() function will look like this:
def store_visit(remote_addr, user_agent):
    doc_ref = fs_client.collection(u'Visit')
    doc_ref.add({
        u'timestamp': datetime.now(),
        u'visitor': u'{}: {}'.format(remote_addr, user_agent),
    })
Other than that, the client library should operate similarly. The only other issue to take into consideration is that the 2.x Cloud Firestore library is "frozen" as far as development goes, so increasingly more/newer features will only be available in the 3.x Firestore client library.
Proceeding with this migration, the following are this tutorial's primary steps:
- Setup/Prework
- Add Cloud Firestore library
- Update application files
3. Setup/Prework
Before we get going with the main part of the tutorial, let's set up our project, get the code, then deploy the baseline app so we know we started with working code.
1. Setup project
We recommend reusing the same project as the one you used for completing the Module 3 codelab. Alternatively, you can create a brand new project or reuse another existing project. Ensure the project has an active billing account and App Engine (app) is enabled.
2. Get baseline sample app
One of the prerequisites to this codelab is to have a working Module 3 sample app. If you don't have one, go complete the Module 3 tutorial (link above) before moving ahead here. Otherwise if you're already familiar with its contents, you can just start by grabbing the Module 3 code below.
Whether you use yours or ours, the Module 3 code is where we'll START. This Module 6 codelab walks you through each step, and when complete, it should resemble code at the FINISH point. (This tutorial is only available for Python 3.)
- START: Module 3 repo
- FINISH: Module 6 repo
- Entire repo (clone or download ZIP)
The directory of Module 3 files (yours or ours) should look like this:
$ ls
README.md               main.py                 templates
app.yaml                requirements.txt
3. (Re)Deploy Module 3 app
Your remaining prework steps to execute now:
- Re-familiarize yourself with the
gcloudcommand-line tool (if nec.) - (Re)deploy the Module 3 code to App Engine (if nec.)
Once you've successfully executed those steps and confirm it's operational, we'll move ahead in this tutorial, starting with the configuration files.
Python 2 requirements
- Ensure
app.yaml(still) references the 3rd-party bundled packages:grpcioandsetuptools. - Ensure
appengine_config.pystill usespkg_resourcesandgoogle.appengine.ext.vendorto point the app at 3rd-party resources. - In the next section updating
requirements.txt, you must usegoogle-cloud-firestore==1.9.0as that is the final 2.x-compatible version of the Python Firestore client library.- If your
requirements.txthas an entry forgoogle-cloud-core, leave it as-is. - Delete
liband reinstall withpip install -t lib -r requirements.txt.
- If your
4. Update configuration files (add Cloud Firestore library)
Beyond setup, the next steps needed are to update the configuration followed by the application files. For the former, the only configuration change is a minor package swap in your requirements.txt file, so let's do that now.
Replace the google-cloud-datastore line with google-cloud-firestore in requirements.txt so it looks like this:
Flask==1.1.2
google-cloud-firestore==2.0.2
We recommend using the latest versions of each library; the versions numbers above are the latest at the time of this writing. The code in the FINISH repo folder is updated more frequently and may have a newer version.
There are no other configuration changes, so app.yaml and templates/index.html remain as-is.
5. Update application files
There is only one application file, main.py, so all changes in this section affects just that file.
1. Imports
Switching the package import is a minor change from datastore to firestore:
- BEFORE:
from google.cloud import datastore
- AFTER:
from google.cloud import firestore
2. Firestore access
After initializing Flask, create your Firestore client. Make a similar change as above but for client initialization:
- BEFORE:
app = Flask(__name__)
ds_client = datastore.Client()
- AFTER:
app = Flask(__name__)
fs_client = firestore.Client()
By performing the migration from Cloud NDB to Cloud Datastore, you've already done the heavylifting to get to Cloud Firestore. With Datastore, you create data records in the form of Entities made up of common Properties and group them by Keys. Data records in Firestore are Documents, made up of key-value pairs, and grouped together into Collections. Migrating from Datastore requires you to think about these differences because they will materialize when you're creating data records as well as querying for them. Your results may vary depending on how complex your Datastore code is.
For Datastore, you make queries based on Entity type along with filtering and sorting criteria. For Firestore, querying data is similar. Let's look at a quick example, assuming these query values, clients (ds_client or fs_client, respectively), and imports:
from datetime import datetime
from firestore.Query import DESCENDING

OCT1 = datetime(2020, 10, 1)
LIMIT = 10
For Datastore, let's query for the ten most recent Visit entities newer than 2020 Oct 1 in descending order:
query = ds_client.query(kind='Visit')
query.add_filter('timestamp', '>=', datetime(2020, 10, 1))
query.order = ['-timestamp']
return query.fetch(limit=LIMIT)
Doing the same for Firestore, from the Visit collection:
query = fs_client.collection('Visit')
query.where('timestamp', '>=', datetime(2020, 10, 1))
query.order_by('timestamp', direction=DESCENDING)
return query.limit(LIMIT).stream()
The sample app query is simpler (no "WHERE" clause). As a review, here is the Cloud Datastore code:
- BEFORE:
def store_visit(remote_addr, user_agent):
    entity = datastore.Entity(key=ds_client.key('Visit'))
    entity.update({
        'timestamp': datetime.now(),
        'visitor': '{}: {}'.format(remote_addr, user_agent),
    })
    ds_client.put(entity)

def fetch_visits(limit):
    query = ds_client.query(kind='Visit')
    query.order = ['-timestamp']
    return query.fetch(limit=limit)
Migrating to Firestore, you'll find creating new documents similar to entities, and the queries as shown earlier.
- AFTER:
def store_visit(remote_addr, user_agent):
    doc_ref = fs_client.collection('Visit')
    doc_ref.add({
        'timestamp': datetime.now(),
        'visitor': '{}: {}'.format(remote_addr, user_agent),
    })

def fetch_visits(limit):
    visits_ref = fs_client.collection('Visit')
    visits = (v.to_dict() for v in visits_ref.order_by('timestamp',
            direction=firestore.Query.DESCENDING).limit(limit).stream())
    return visits
The main function root() stays the same as does the index.html template file. Double-check your changes, save, deploy, and verify.
6. Summary/Cleanup
Deploy application
Re-deploy your app with gcloud app deploy, and confirm the app works. Your code should now match what's in the Module 6 repo (or a 2.x version if that was your preference).
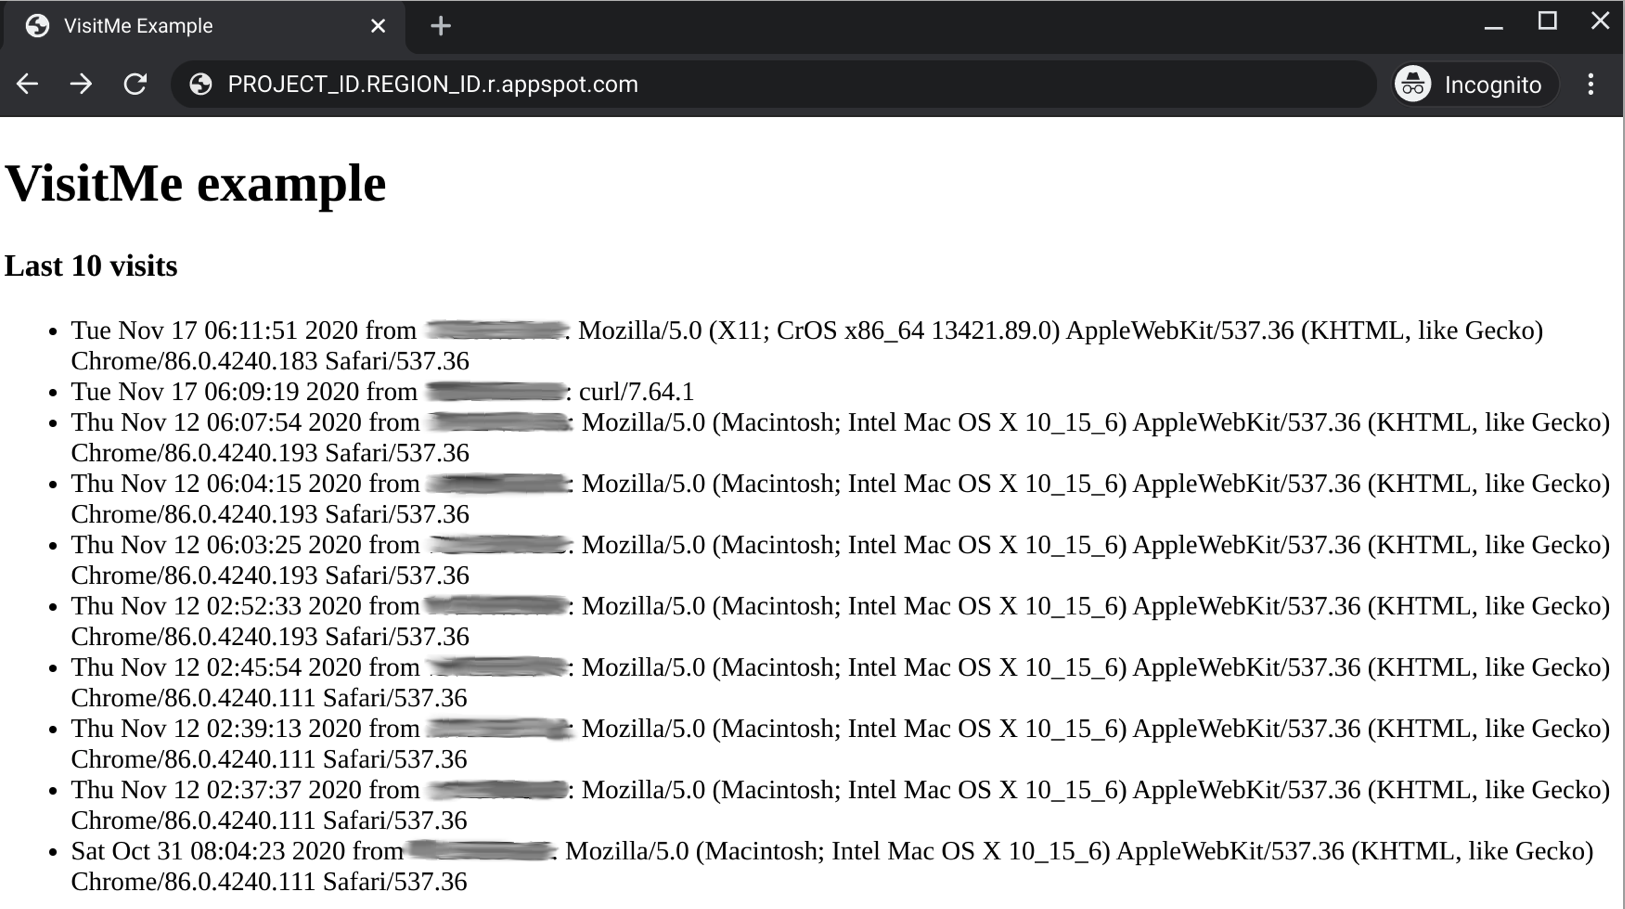
If you jumped into this series without doing any of the preceding codelabs, the app itself doesn't change; it registers all visits to the main web page (/) and looks like this once you've visited the site enough times:
Congrats for completing this optional Module 6 migration. This is likely one of, if not the final, migrations you can make as far as App Engine data storage goes. One alternative migration you can consider is containerizing your app for Cloud Run if you haven't already (see Modules 4 and 5, codelabs linked below).
Optional: Clean up
What about cleaning up to avoid being billed until you're ready to move onto the next migration codelab? As existing developers, you're likely already up-to-speed on App Engine's pricing information.
Optional: Disable app
If you're not ready to go to the next tutorial yet, disable your app to avoid incurring charges. When you're ready to move onto the next codelab, you can re-enable it. While your app is disabled, it won't get any traffic to incur charges, however another thing you can get billed for is your Firestore usage if it exceeds the free quota, so delete enough to fall under that limit.
On the other hand, if you're not going to continue with migrations and want to delete everything completely, you can shutdown your project.
Next steps
Beyond this tutorial, there are several other migration module codelabs you can consider:
- Module 7: App Engine Push Task Queues (required if you use [push] Task Queues)
- Adds App Engine
taskqueuepush tasks to Module 1 app - Prepares users for migrating to Cloud Tasks in Module 8
- Adds App Engine
- Module 4: Migrate to Cloud Run with Docker
- Containerize your app to run on Cloud Run with Docker
- This migration allows you to stay on Python 2.
- Module 5: Migrate to Cloud Run with Cloud Buildpacks
- Containerize your app to run on Cloud Run with Cloud Buildpacks
- You do not need to know anything about Docker, containers, or
Dockerfiles. - Requires your app to have already migrated to Python 3 (Buildpacks doesn't support Python 2)
7. Additional resources
App Engine migration module codelabs issues/feedback
If you find any issues with this codelab, please search for your issue first before filing. Links to search and create new issues:
Migration resources
Links to the repo folders for Module 3 (START) and Module 6 (FINISH) can be found in the table below. They can also be accessed from the repo for all App Engine migrations which you can clone or download a ZIP file.
Codelab | Python 2 | Python 3 |
(code) | ||
Module 6 | (n/a) |
App Engine resources
Below are additional resources regarding this specific migration:
- Python Cloud Datastore and Cloud Firestore references
- Migrating to Python 3 and GAE next-generation runtime
- General