
1. Introduction
Overview
In this lab, you will build and deploy a Model Context Protocol (MCP) server. MCP servers are useful for providing LLMs with access to external tools and services. You will configure it as a secure, production-ready service on Cloud Run that can be accessed from multiple clients. Then you will connect to the remote MCP server from Gemini CLI.
What you'll do
We will use FastMCP to create a zoo MCP server that has two tools: get_animals_by_species and get_animal_details. FastMCP provides a quick, Pythonic way to build MCP servers and clients.

What you'll learn
- Deploy the MCP server to Cloud Run.
- Secure your server's endpoint by requiring authentication for all requests, ensuring only authorized clients and agents can communicate with it.
- Connect to your secure MCP server endpoint from Gemini CLI
2. Project Setup
- If you don't already have a Google Account, you must create a Google Account.
- Use a personal account instead of a work or school account. Work and school accounts may have restrictions that prevent you from enabling the APIs needed for this lab.
- Sign-in to the Google Cloud Console.
- Create a new project or choose to reuse an existing project.
- If you see an error about project quota, reuse an existing project or delete an existing project to create a new project.
3. Open Cloud Shell Editor
- Click this link to navigate directly to Cloud Shell Editor
- If prompted to authorize at any point today, click Authorize to continue.
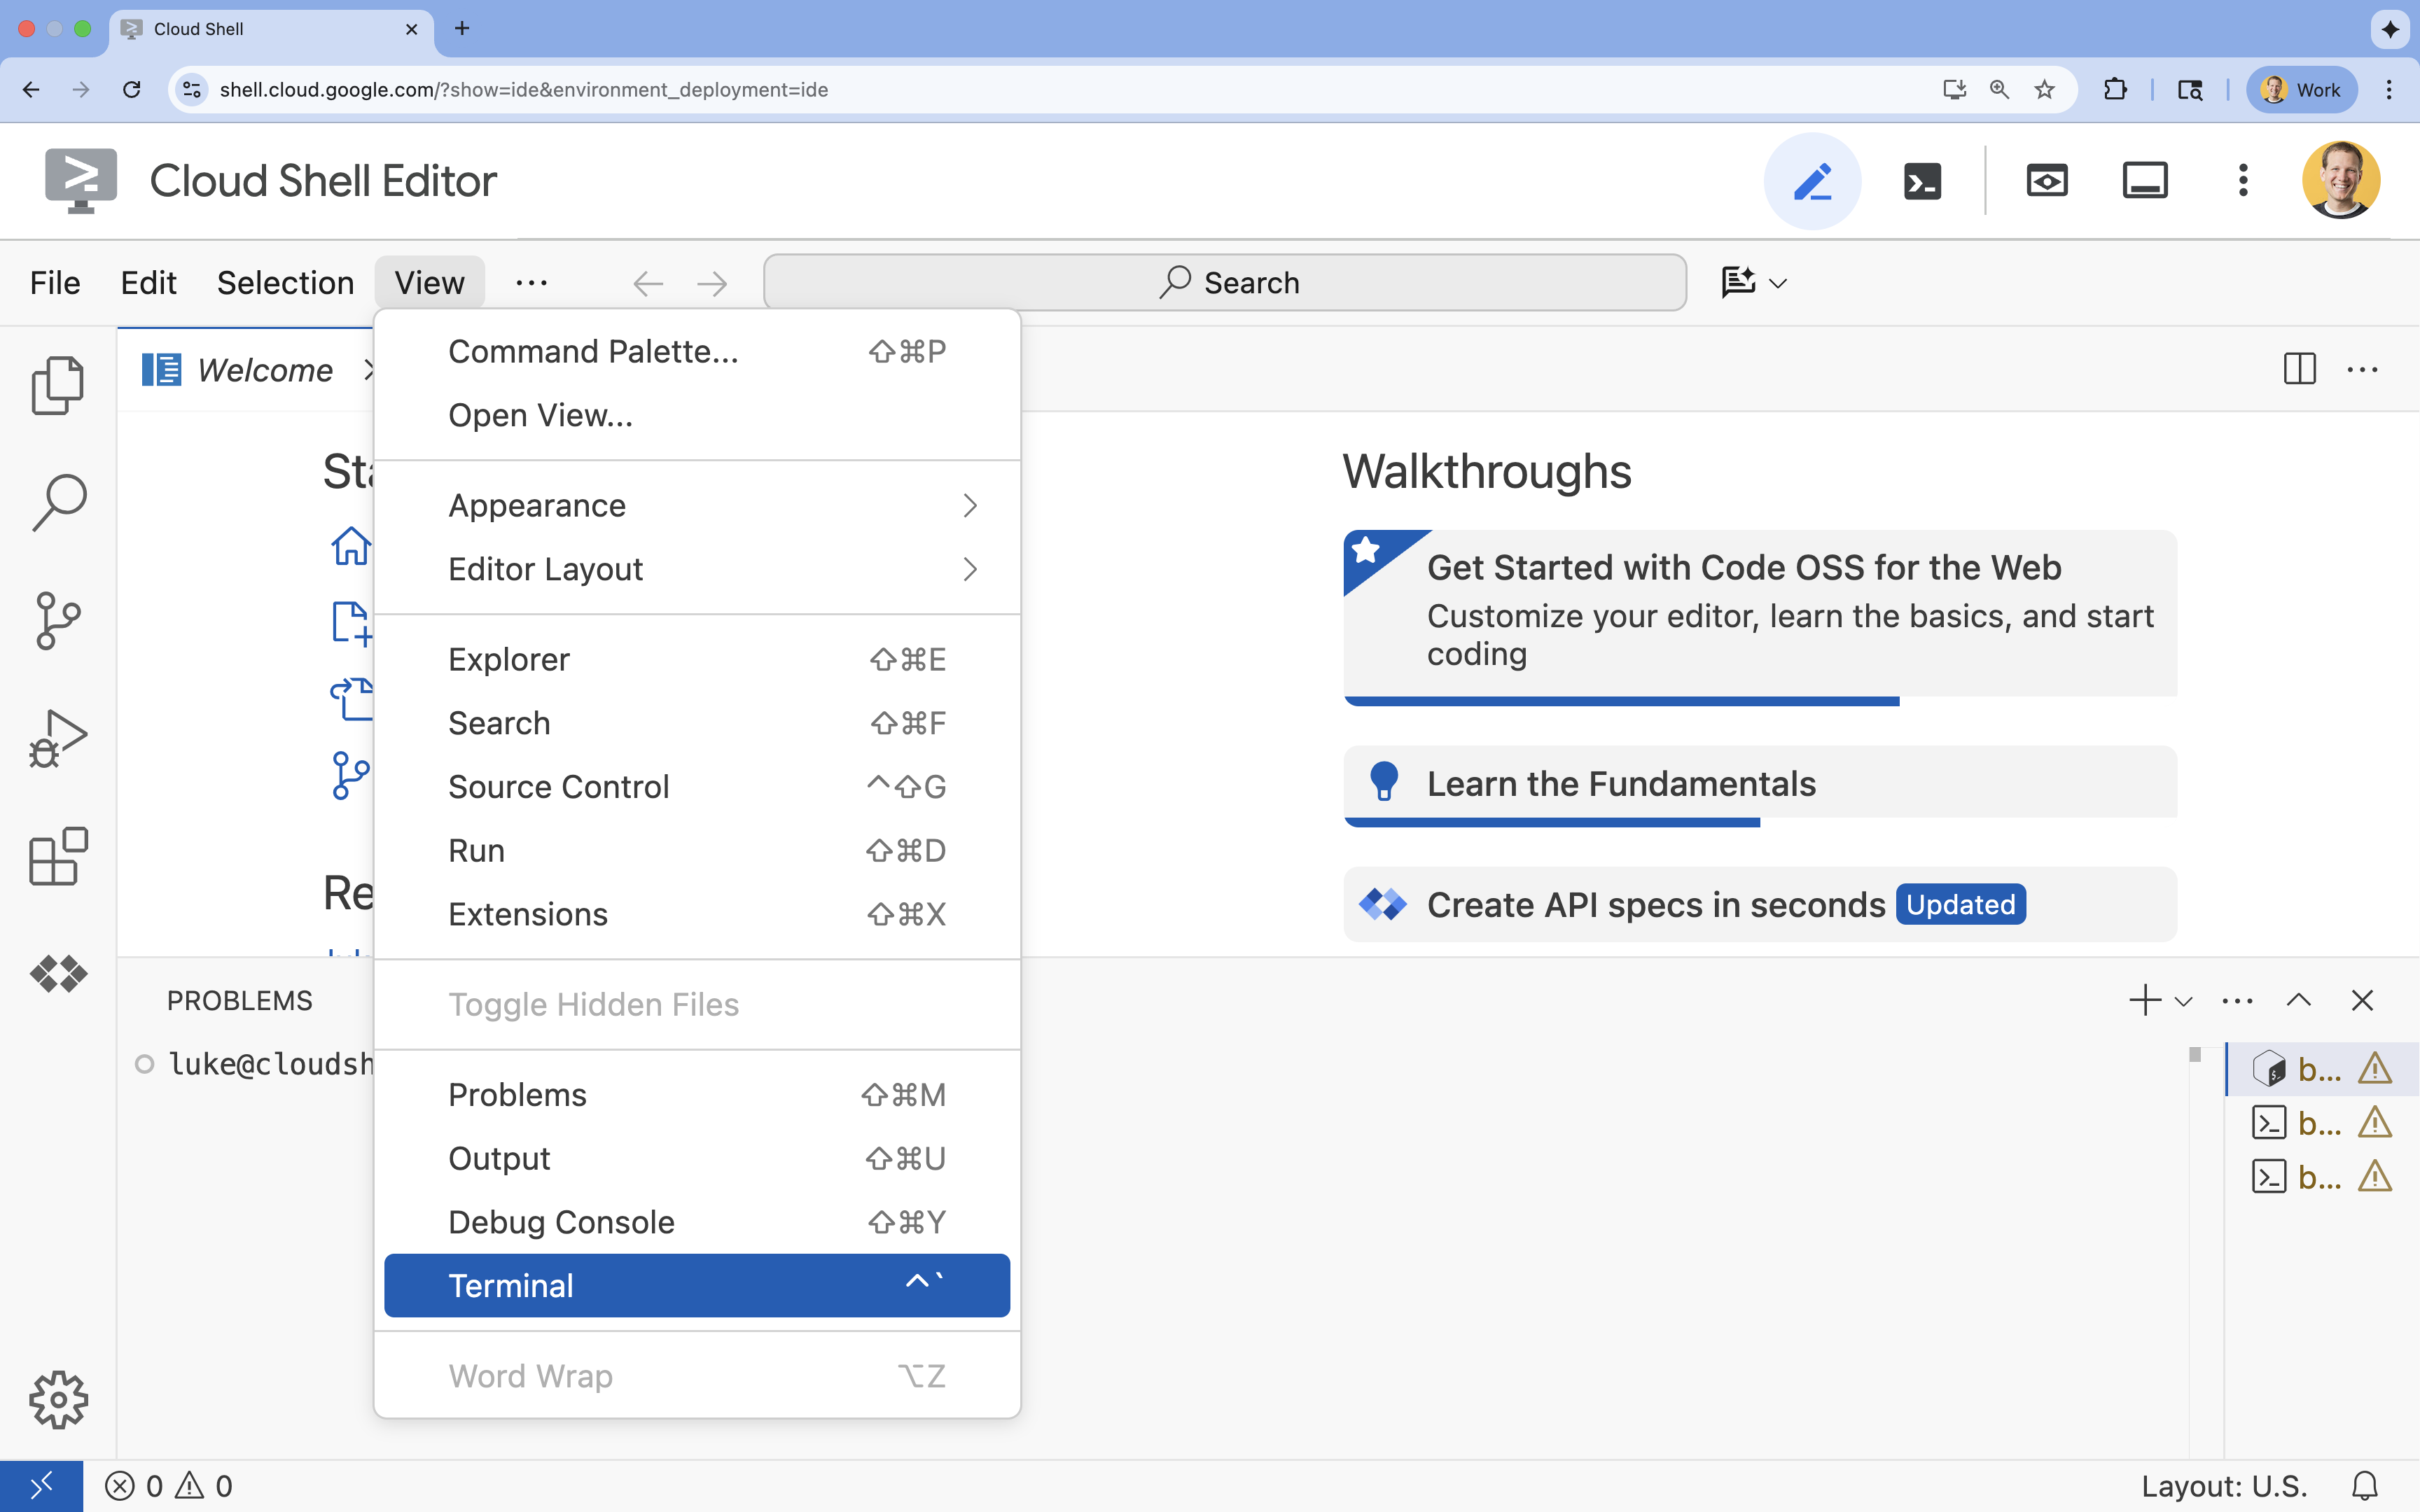
- If the terminal doesn't appear at the bottom of the screen, open it:
- Click View
- Click Terminal
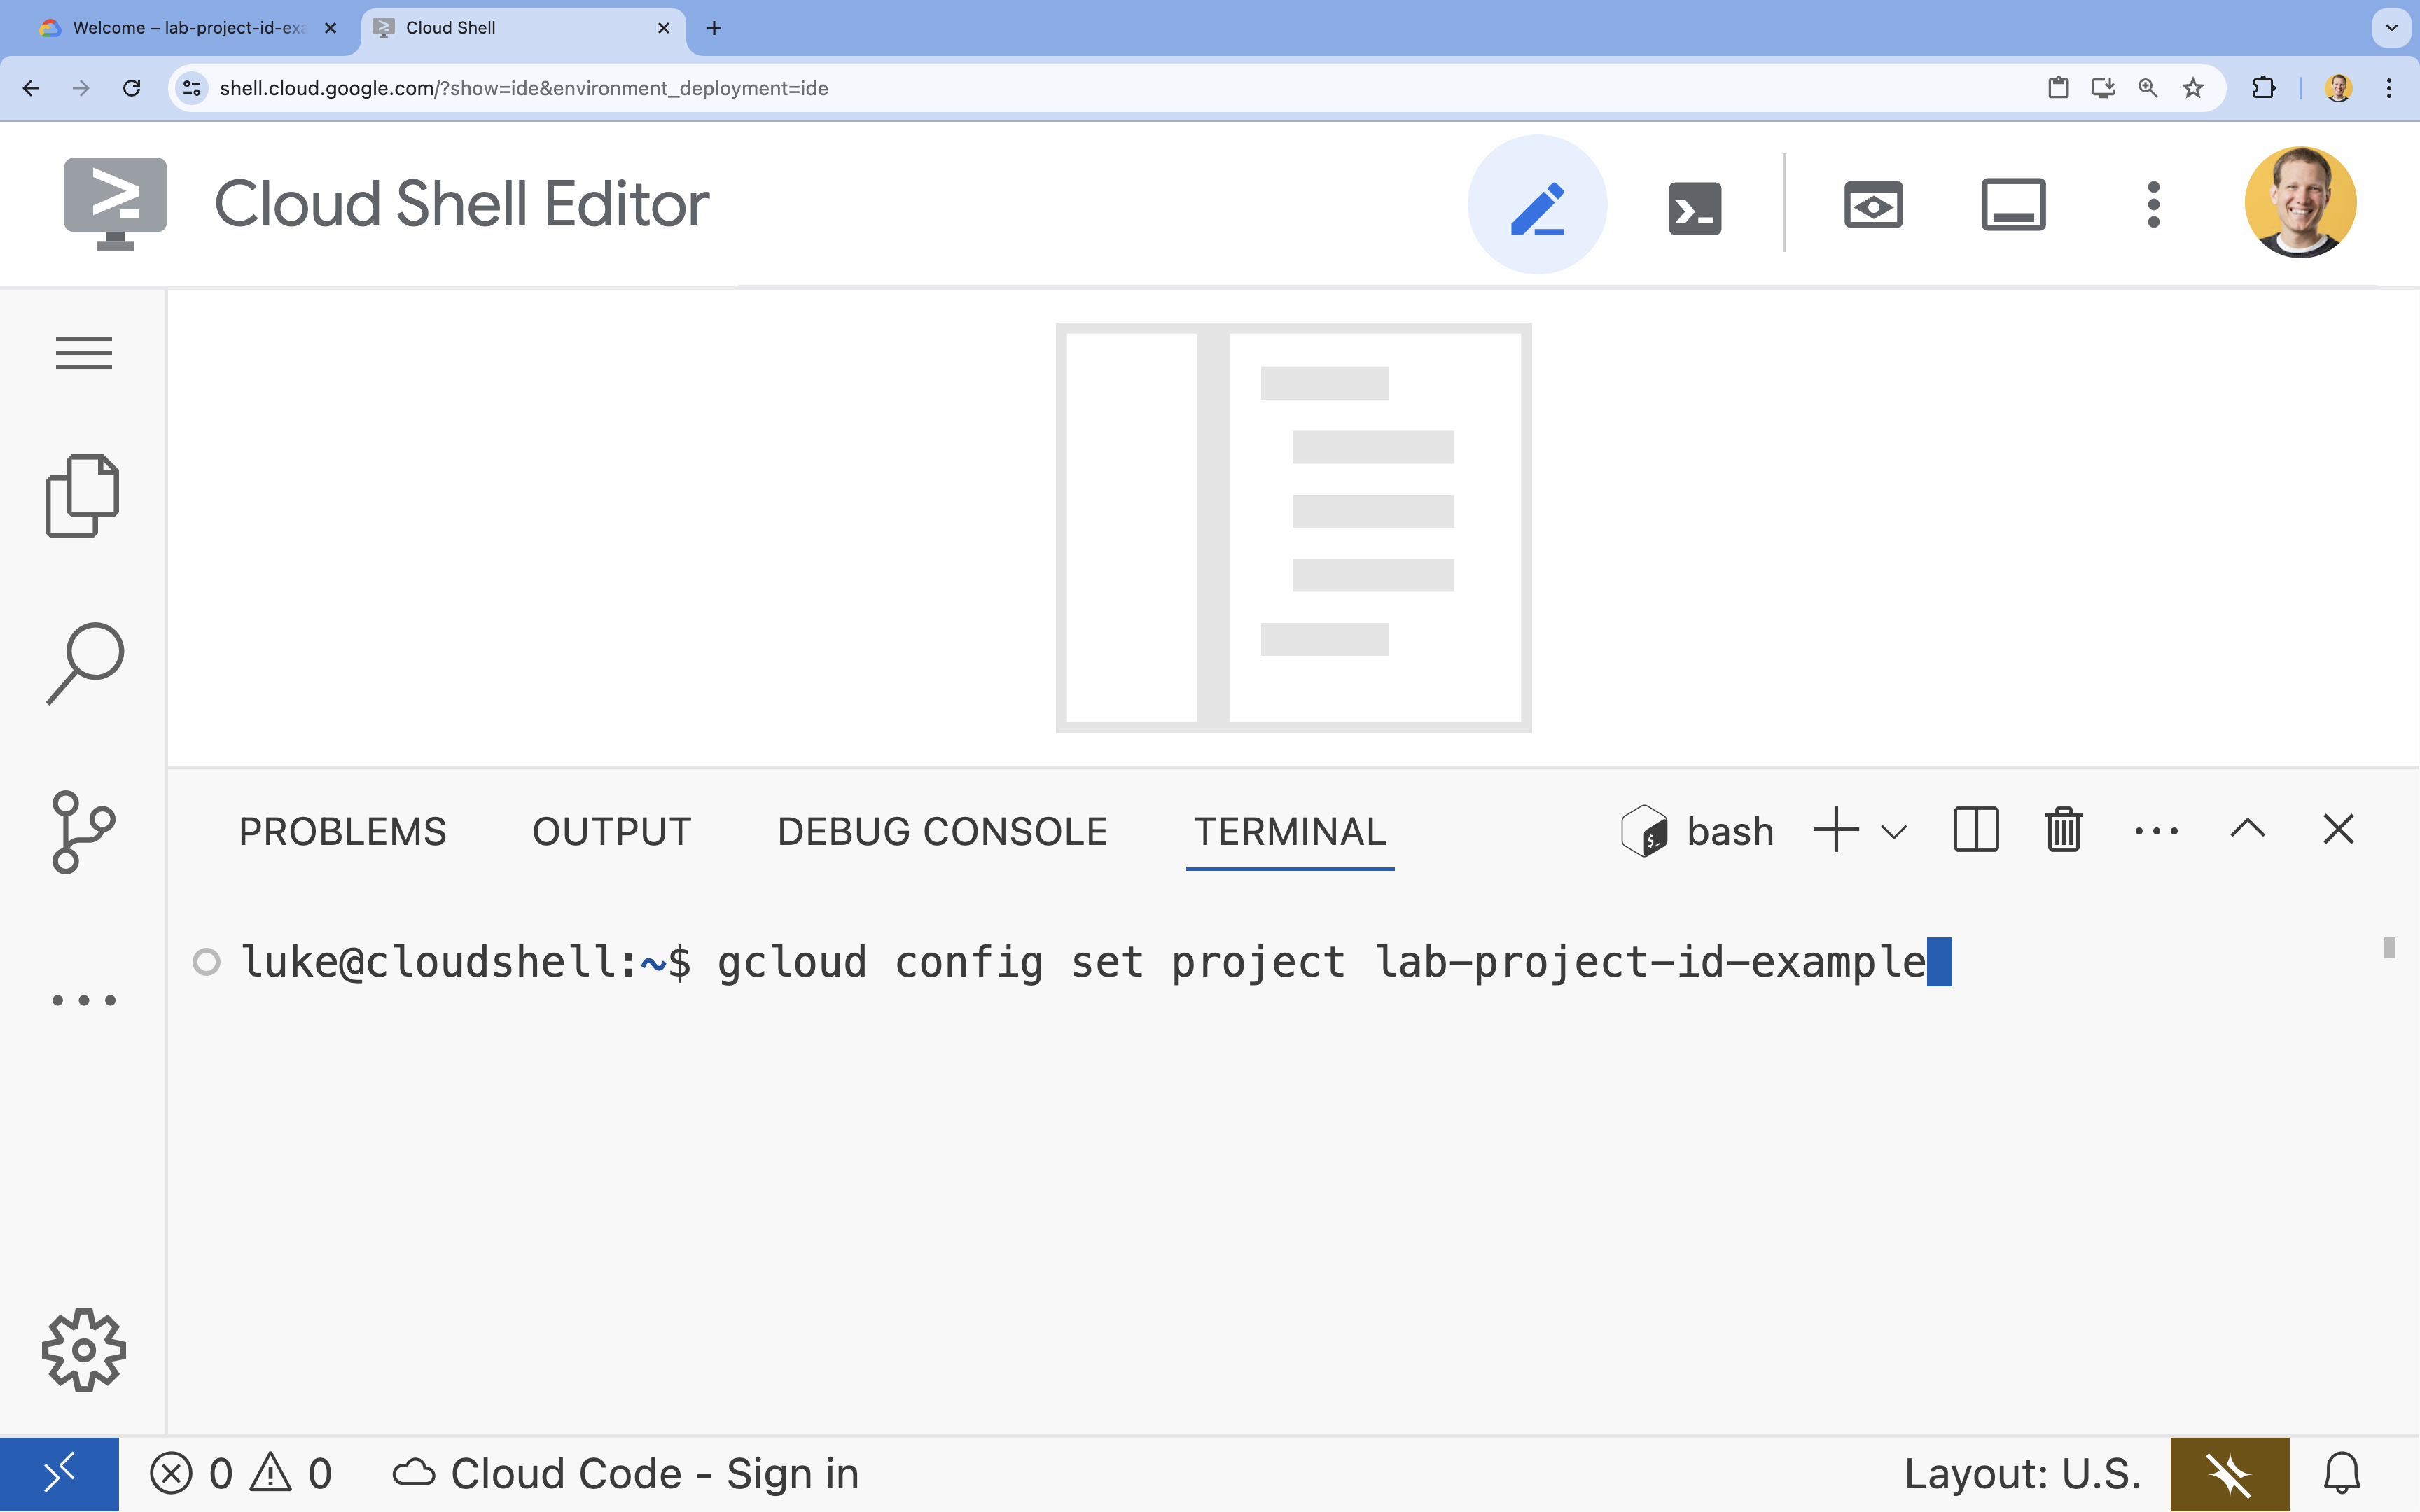
- In the terminal, set your project with this command:
- Format:
gcloud config set project [PROJECT_ID] - Example:
gcloud config set project lab-project-id-example - If you can't remember your project id:
- You can list all your project ids with:
gcloud projects list | awk '/PROJECT_ID/{print $2}'
- You can list all your project ids with:
- Format:
- You should see this message:
Updated property [core/project].
WARNINGand are askedDo you want to continue (Y/n)?, then you have likely entered the project ID incorrectly. Pressn, pressEnter, and try to run thegcloud config set projectcommand again.
4. Enable APIs
In the terminal, enable the APIs:
gcloud services enable \
  run.googleapis.com \
  artifactregistry.googleapis.com \
  cloudbuild.googleapis.com
If prompted to authorize, click Authorize to continue.
This command may take a few minutes to complete, but it should eventually produce a successful message similar to this one:
Operation "operations/acf.p2-73d90d00-47ee-447a-b600" finished successfully.
5. Prepare your Python project
- Create a folder named
mcp-on-cloudrunto store the source code for deployment:mkdir mcp-on-cloudrun && cd mcp-on-cloudrun - Create a Python project with the
uvtool to generate apyproject.tomlfile:uv init --description "Example of deploying an MCP server on Cloud Run" --bare --python 3.13uv initcommand creates apyproject.tomlfile for your project.To view the contents of the file run the following:cat pyproject.toml[project] name = "mcp-on-cloudrun" version = "0.1.0" description = "Example of deploying an MCP server on Cloud Run" requires-python = ">=3.13" dependencies = []
6. Create the zoo MCP server
To provide valuable context for improving the use of LLMs with MCP, set up a zoo MCP server with FastMCP — a standard framework for working with the Model Context Protocol. FastMCP provides a quick way to build MCP servers and clients with Python. This MCP server provides data about animals at a fictional zoo. For simplicity, we store the data in memory. For a production MCP server, you probably want to provide data from sources like databases or APIs.
- Run the following command to add FastMCP as a dependency in the
pyproject.tomlfile:uv add fastmcp==2.12.4 --no-syncuv.lockfile to your project. - Create and open a new
server.pyfile for the MCP server source code:cloudshell edit ~/mcp-on-cloudrun/server.pycloudshell editcommand will open theserver.pyfile in the editor above the terminal. - Add the following zoo MCP server source code in the
server.pyfile:import asyncio import logging import os from typing import List, Dict, Any from fastmcp import FastMCP logger = logging.getLogger(__name__) logging.basicConfig(format="[%(levelname)s]: %(message)s", level=logging.INFO) mcp = FastMCP("Zoo Animal MCP Server 🦁🐧🐻") # Dictionary of animals at the zoo ZOO_ANIMALS = [ { "species": "lion", "name": "Leo", "age": 7, "enclosure": "The Big Cat Plains", "trail": "Savannah Heights" }, { "species": "lion", "name": "Nala", "age": 6, "enclosure": "The Big Cat Plains", "trail": "Savannah Heights" }, { "species": "lion", "name": "Simba", "age": 3, "enclosure": "The Big Cat Plains", "trail": "Savannah Heights" }, { "species": "lion", "name": "King", "age": 8, "enclosure": "The Big Cat Plains", "trail": "Savannah Heights" }, { "species": "penguin", "name": "Waddles", "age": 2, "enclosure": "The Arctic Exhibit", "trail": "Polar Path" }, { "species": "penguin", "name": "Pip", "age": 4, "enclosure": "The Arctic Exhibit", "trail": "Polar Path" }, { "species": "penguin", "name": "Skipper", "age": 5, "enclosure": "The Arctic Exhibit", "trail": "Polar Path" }, { "species": "penguin", "name": "Chilly", "age": 3, "enclosure": "The Arctic Exhibit", "trail": "Polar Path" }, { "species": "penguin", "name": "Pingu", "age": 6, "enclosure": "The Arctic Exhibit", "trail": "Polar Path" }, { "species": "penguin", "name": "Noot", "age": 1, "enclosure": "The Arctic Exhibit", "trail": "Polar Path" }, { "species": "elephant", "name": "Ellie", "age": 15, "enclosure": "The Pachyderm Sanctuary", "trail": "Savannah Heights" }, { "species": "elephant", "name": "Peanut", "age": 12, "enclosure": "The Pachyderm Sanctuary", "trail": "Savannah Heights" }, { "species": "elephant", "name": "Dumbo", "age": 5, "enclosure": "The Pachyderm Sanctuary", "trail": "Savannah Heights" }, { "species": "elephant", "name": "Trunkers", "age": 10, "enclosure": "The Pachyderm Sanctuary", "trail": "Savannah Heights" }, { "species": "bear", "name": "Smokey", "age": 10, "enclosure": "The Grizzly Gulch", "trail": "Polar Path" }, { "species": "bear", "name": "Grizzly", "age": 8, "enclosure": "The Grizzly Gulch", "trail": "Polar Path" }, { "species": "bear", "name": "Barnaby", "age": 6, "enclosure": "The Grizzly Gulch", "trail": "Polar Path" }, { "species": "bear", "name": "Bruin", "age": 12, "enclosure": "The Grizzly Gulch", "trail": "Polar Path" }, { "species": "giraffe", "name": "Gerald", "age": 4, "enclosure": "The Tall Grass Plains", "trail": "Savannah Heights" }, { "species": "giraffe", "name": "Longneck", "age": 5, "enclosure": "The Tall Grass Plains", "trail": "Savannah Heights" }, { "species": "giraffe", "name": "Patches", "age": 3, "enclosure": "The Tall Grass Plains", "trail": "Savannah Heights" }, { "species": "giraffe", "name": "Stretch", "age": 6, "enclosure": "The Tall Grass Plains", "trail": "Savannah Heights" }, { "species": "antelope", "name": "Speedy", "age": 2, "enclosure": "The Tall Grass Plains", "trail": "Savannah Heights" }, { "species": "antelope", "name": "Dash", "age": 3, "enclosure": "The Tall Grass Plains", "trail": "Savannah Heights" }, { "species": "antelope", "name": "Gazelle", "age": 4, "enclosure": "The Tall Grass Plains", "trail": "Savannah Heights" }, { "species": "antelope", "name": "Swift", "age": 5, "enclosure": "The Tall Grass Plains", "trail": "Savannah Heights" }, { "species": "polar bear", "name": "Snowflake", "age": 7, "enclosure": "The Arctic Exhibit", "trail": "Polar Path" }, { "species": "polar bear", "name": "Blizzard", "age": 5, "enclosure": "The Arctic Exhibit", "trail": "Polar Path" }, { "species": "polar bear", "name": "Iceberg", "age": 9, "enclosure": "The Arctic Exhibit", "trail": "Polar Path" }, { "species": "walrus", "name": "Wally", "age": 10, "enclosure": "The Walrus Cove", "trail": "Polar Path" }, { "species": "walrus", "name": "Tusker", "age": 12, "enclosure": "The Walrus Cove", "trail": "Polar Path" }, { "species": "walrus", "name": "Moby", "age": 8, "enclosure": "The Walrus Cove", "trail": "Polar Path" }, { "species": "walrus", "name": "Flippers", "age": 9, "enclosure": "The Walrus Cove", "trail": "Polar Path" } ] @mcp.tool() def get_animals_by_species(species: str) -> List[Dict[str, Any]]: """ Retrieves all animals of a specific species from the zoo. Can also be used to collect the base data for aggregate queries of animals of a specific species - like counting the number of penguins or finding the oldest lion. Args: species: The species of the animal (e.g., 'lion', 'penguin'). Returns: A list of dictionaries, where each dictionary represents an animal and contains details like name, age, enclosure, and trail. """ logger.info(f">>> 🛠️ Tool: 'get_animals_by_species' called for '{species}'") return [animal for animal in ZOO_ANIMALS if animal["species"].lower() == species.lower()] @mcp.tool() def get_animal_details(name: str) -> Dict[str, Any]: """ Retrieves the details of a specific animal by its name. Args: name: The name of the animal. Returns: A dictionary with the animal's details (species, name, age, enclosure, trail) or an empty dictionary if the animal is not found. """ logger.info(f">>> 🛠️ Tool: 'get_animal_details' called for '{name}'") for animal in ZOO_ANIMALS: if animal["name"].lower() == name.lower(): return animal return {} if __name__ == "__main__": port = int(os.getenv("PORT", 8080)) logger.info(f"🚀 MCP server started on port {port}") asyncio.run( mcp.run_async( transport="http", host="0.0.0.0", port=port, ) )
Your code is complete! It is time to deploy the MCP server to Cloud Run.
7. Deploying to Cloud Run
Now deploy an MCP server to Cloud Run directly from the source code.
- Create and open a new
Dockerfilefor deploying to Cloud Run:cloudshell edit ~/mcp-on-cloudrun/Dockerfile - Include the following code in the Dockerfile to use the
uvtool for running theserver.pyfile:# Use the official Python image FROM python:3.13-slim # Install uv COPY --from=ghcr.io/astral-sh/uv:latest /uv /uvx /bin/ # Install the project into /app COPY . /app WORKDIR /app # Allow statements and log messages to immediately appear in the logs ENV PYTHONUNBUFFERED=1 # Install dependencies RUN uv sync EXPOSE $PORT # Run the FastMCP server CMD ["uv", "run", "server.py"] - Create a service account named
mcp-server-sa:gcloud iam service-accounts create mcp-server-sa --display-name="MCP Server Service Account" - Run the
gcloudcommand to deploy the application to Cloud Runcd ~/mcp-on-cloudrun gcloud run deploy zoo-mcp-server \ --service-account=mcp-server-sa@$GOOGLE_CLOUD_PROJECT.iam.gserviceaccount.com \ --no-allow-unauthenticated \ --region=us-west1 \ --source=. \ --labels=dev-tutorial=codelab-mcp--no-allow-unauthenticatedflag to require authentication. This is important for security reasons. If you don't require authentication, anyone can call your MCP server and potentially cause damage to your system. - Confirm the creation of a new Artifact Registry repository Since it is your first time deploying to Cloud Run from source code, you will see:
Deploying from source requires an Artifact Registry Docker repository to store built containers. A repository named
[cloud-run-source-deploy] in region [us-west1] will be created.

Do you want to continue (Y/n)?
Yand pressEnter, this will create an Artifact Registry repository for your deployment. This is required for storing the MCP server Docker container for the Cloud Run service. - After a few minutes, you will see a message like:
Service [zoo-mcp-server] revision [zoo-mcp-server-12345-abc] has been deployed and is serving 100 percent of traffic.
You have deployed your MCP server. Now you can use it.
8. Add the Remote MCP Server to Gemini CLI
Now that you've successfully deployed a remote MCP server, you can connect to it using various applications like Google Code Assist or Gemini CLI. In this section, we will establish a connection to your new remote MCP server using Gemini CLI.
- Give your user account permission to call the remote MCP server
gcloud projects add-iam-policy-binding $GOOGLE_CLOUD_PROJECT \ --member=user:$(gcloud config get-value account) \ --role='roles/run.invoker' - Save your Google Cloud credentials and project number in environment variables for use in the Gemini Settings file:
export PROJECT_NUMBER=$(gcloud projects describe $GOOGLE_CLOUD_PROJECT --format="value(projectNumber)") export ID_TOKEN=$(gcloud auth print-identity-token) - Make a
.geminifolder if it has not already been createdmkdir -p ~/.gemini - Open your Gemini CLI Settings file
cloudshell edit ~/.gemini/settings.json - Replace your Gemini CLI settings file to add the Cloud Run MCP server
{ "ide": { "hasSeenNudge": true }, "mcpServers": { "zoo-remote": { "httpUrl": "https://zoo-mcp-server-$PROJECT_NUMBER.us-west1.run.app/mcp", "headers": { "Authorization": "Bearer $ID_TOKEN" } } }, "security": { "auth": { "selectedType": "cloud-shell" } } } - Start the Gemini CLI in Cloud Shell
geminiEnterto accept some default settings.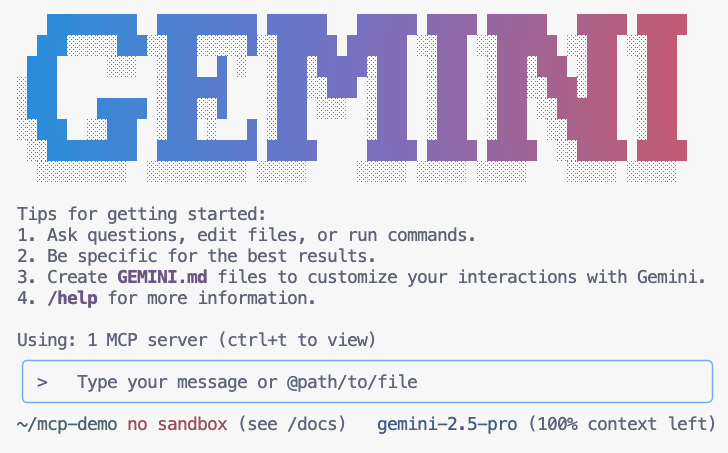
- Have gemini list the MCP tools available to it within its context
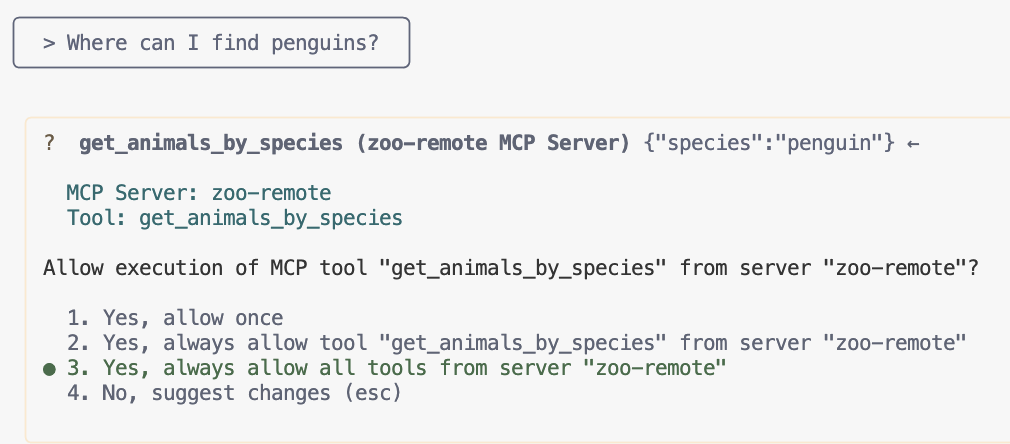
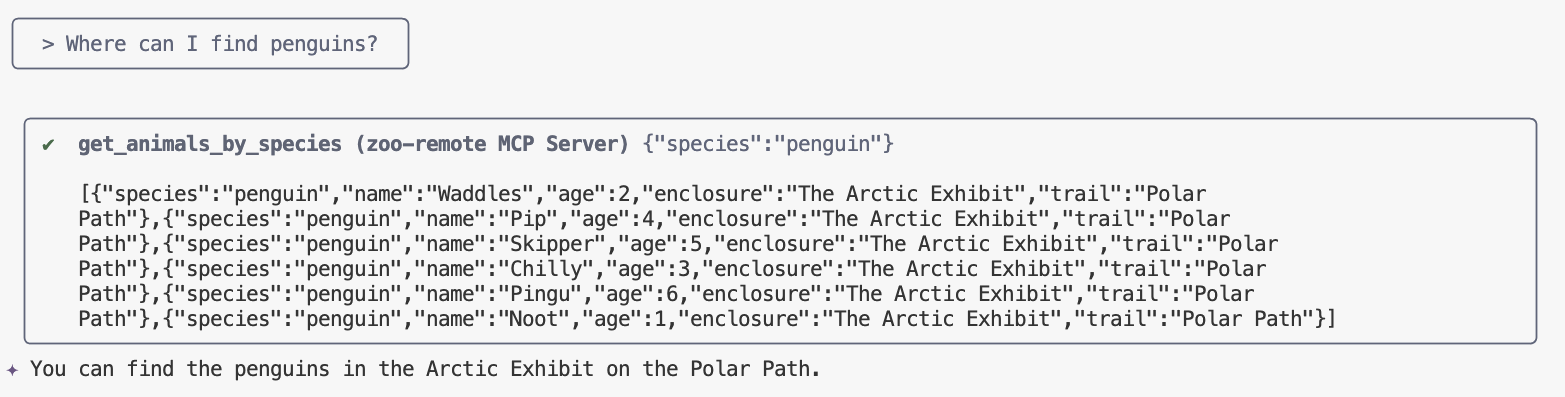
/mcp - Ask gemini to find something in the zoo
Where can I find penguins?zoo-remoteMCP Server and will ask if you would like to allow execution of MCP. - Use the down arrow, then press
Enterto selectYes, always allow all tools from server "zoo-remote"
The output should show the correct answer and a display box showing that the MCP server was used.
You have done it! You have successfully deployed a remote MCP server to Cloud Run and tested it using Gemini CLI.
When you are ready to end your session, type /quit and then press Enter to exit Gemini CLI.
Debugging
If you see an error like this:
🔍 Attempting OAuth discovery for 'zoo-remote'...
❌ 'zoo-remote' requires authentication but no OAuth configuration found
Error connecting to MCP server 'zoo-remote': MCP server 'zoo-remote' requires authentication. Please configure OAuth or check server settings.
It is likely that the ID Token has timed out and requires setting the ID_TOKEN again.
- Type
/quitand then pressEnterto exit Gemini CLI. - Set your project in your terminal
gcloud config set project [PROJECT_ID] - Rerun the Google Cloud credentials command to get a new
ID_TOKENsince yours may have expired.export PROJECT_NUMBER=$(gcloud projects describe $GOOGLE_CLOUD_PROJECT --format="value(projectNumber)") export ID_TOKEN=$(gcloud auth print-identity-token)
9. (Optional) Verify Tool Calls in Server Logs
To verify that your Cloud Run MCP server was called, check the service logs.
gcloud run services logs read zoo-mcp-server --region us-west1 --limit=5
You should see an output log that confirms a tool call was made. 🛠️
2025-08-05 19:50:31 INFO: 169.254.169.126:39444 - "POST /mcp HTTP/1.1" 200 OK 2025-08-05 19:50:31 [INFO]: Processing request of type CallToolRequest 2025-08-05 19:50:31 [INFO]: >>> 🛠️ Tool: 'get_animals_by_species' called for 'penguin'
10. (Optional) Add MCP prompt to Server
An MCP prompt can speed up your workflow for prompts you run often by creating a shorthand for a longer prompt.
Gemini CLI automatically converts MCP prompts into custom slash commands so that you can invoke an MCP prompt by typing /prompt_name where prompt_name is the name of your MCP prompt.
Create an MCP prompt so you can quickly find an animal in the zoo by typing /find animal into Gemini CLI.
- Add this code to your
server.pyfile above the main guard (if __name__ == "__main__":)@mcp.prompt() def find(animal: str) -> str: """ Find which exhibit and trail a specific animal might be located. """ return ( f"Please find the exhibit and trail information for {animal} in the zoo. " f"Respond with '[animal] can be found in the [exhibit] on the [trail].'" f"Example: Penguins can be found in The Arctic Exhibit on the Polar Path." ) - Re-deploy your application to Cloud Run
gcloud run deploy zoo-mcp-server \ --region=us-west1 \ --source=. \ --labels=dev-tutorial=codelab-mcp - Refresh your ID_TOKEN for your remote MCP server
export ID_TOKEN=$(gcloud auth print-identity-token) - After the new version of your application is deployed, start Gemini CLI.
gemini - In the prompt use the new custom command that you created:
/find lions
You should see that Gemini CLI calls the get_animals_by_species tool and formats the response as instructed by the MCP prompt!
╭───────────────────────────╮
│ > /find lions │
╰───────────────────────────╯
╭───────────────────────────────────────────────────────────────────────────────────────────────────╮
│ ✔ get_animals_by_species (zoo-remote MCP Server) get_animals_by_species (zoo-remote MCP Server) │
│ │
│ [{"species":"lion","name":"Leo","age":7,"enclosure":"The Big Cat │
│ Plains","trail":"Savannah │
│ Heights"},{"species":"lion","name":"Nala","age":6,"enclosure":"The Big Cat │
│ Plains","trail":"Savannah │
│ Heights"},{"species":"lion","name":"Simba","age":3,"enclosure":"The Big Cat │
│ Plains","trail":"Savannah │
│ Heights"},{"species":"lion","name":"King","age":8,"enclosure":"The Big Cat │
│ Plains","trail":"Savannah Heights"}] │
╰───────────────────────────────────────────────────────────────────────────────────────────────────╯
✦ Lions can be found in The Big Cat Plains on the Savannah Heights.
11. (Optional) Use Gemini Flash Lite for faster responses
Gemini CLI lets you choose the model you are using.
- Gemini 2.5 Pro is Google's state-of-the-art thinking model, capable of reasoning over complex problems in code, math, and STEM, as well as analyzing large datasets, codebases, and documents using long context.
- Gemini 2.5 Flash is Google's best model in terms of price-performance, offering well-rounded capabilities. 2.5 Flash is best for large scale processing, low-latency, high volume tasks that require thinking, and agentic use cases.
- Gemini 2.5 Flash Lite is Google's fastest flash model optimized for cost-efficiency and high throughput.
Since the requests related to finding the zoo animals don't require thinking or reasoning, try speeding things up by using a faster model.
In the previous section, you created an MCP prompt so you can quickly find an animal in the zoo by typing /find animal into Gemini CLI.
- After the new version of your application is deployed, start Gemini CLI.
gemini --model=gemini-2.5-flash-lite - In the prompt use the new custom command that you created:
/find lions
You should still see that Gemini CLI calls the get_animals_by_species tool and formats the response as instructed by the MCP prompt, but the answer should appear much faster!
╭───────────────────────────╮
│ > /find lions │
╰───────────────────────────╯
╭───────────────────────────────────────────────────────────────────────────────────────────────────╮
│ ✔ get_animals_by_species (zoo-remote MCP Server) get_animals_by_species (zoo-remote MCP Server) │
│ │
│ [{"species":"lion","name":"Leo","age":7,"enclosure":"The Big Cat │
│ Plains","trail":"Savannah │
│ Heights"},{"species":"lion","name":"Nala","age":6,"enclosure":"The Big Cat │
│ Plains","trail":"Savannah │
│ Heights"},{"species":"lion","name":"Simba","age":3,"enclosure":"The Big Cat │
│ Plains","trail":"Savannah │
│ Heights"},{"species":"lion","name":"King","age":8,"enclosure":"The Big Cat │
│ Plains","trail":"Savannah Heights"}] │
╰───────────────────────────────────────────────────────────────────────────────────────────────────╯
✦ Lions can be found in The Big Cat Plains on the Savannah Heights.
Debugging
If you see an error like this:
✕ Unknown command: /find lions
Try to run /mcp and if it outputs zoo-remote - Disconnected, you might have to re-deploy, or run the following commands again:
gcloud projects add-iam-policy-binding $GOOGLE_CLOUD_PROJECT \
--member=user:$(gcloud config get-value account) \
--role='roles/run.invoker'
export PROJECT_NUMBER=$(gcloud projects describe $GOOGLE_CLOUD_PROJECT --format="value(projectNumber)")
export ID_TOKEN=$(gcloud auth print-identity-token)
12. Conclusion
Congratulations! You have successfully deployed and connected to a secure remote MCP server.
Continue to the next lab
This lab is the first lab in a three-part series. In the second lab, you will use the MCP server you created with an ADK Agent.
Use an MCP Server on Cloud Run with an ADK Agent
(Optional) Clean up
If you are not continuing on to the next lab and you would like to clean up what you have created, you can delete your Cloud project to avoid incurring additional charges.
While Cloud Run does not charge when the service is not in use, you might still be charged for storing the container image in Artifact Registry. Deleting your Cloud project stops billing for all the resources used within that project.
If you would like, delete the project:
gcloud projects delete $GOOGLE_CLOUD_PROJECT
You may also want to delete unnecessary resources from your cloudshell disk. You can:
- Delete the codelab project directory:
rm -rf ~/mcp-on-cloudrun - Warning! This next action is can't be undone! If you would like to delete everything on your Cloud Shell to free up space, you can delete your whole home directory. Be careful that everything you want to keep is saved somewhere else.
sudo rm -rf $HOME