
1. Introduction
Imagine transforming a simple text description into a vibrant, detailed image in seconds. This is the power of generative media, a rapidly evolving field that's reshaping how you create and interact with visual content. Models like Google's Imagen 3 on Vertex AI are bringing state of the art generative AI capabilities to application developers.
Imagen 3 is Google's highest quality text-to-image model to date. It's capable of creating images with astonishing detail. Thus, developers have more control when building next-generation AI products that transform their imagination into high quality visual assets. Learn more about Imagen on Vertex AI.
This codelab will guide you through harnessing the power of Imagen using the Google Gen AI SDK. You'll not only explore how to generate stunning images from text prompts but also integrate this capability into a web application using Mesop, a Python UI framework.
Prerequisites
- A Google Cloud project with billing and the Vertex AI API enabled. Learn more about setting up a project and a development environment.
What you'll learn
- How to use the Google Gen AI SDK for Python to interact with Imagen 3
- How to generate images from text prompts
- How to build a Mesop app and run it from Cloud Shell
What you'll need
- Basic understanding of Python
- Experience running commands in a Cloud Shell terminal
- A computer with access to Cloud Shell
2. Setup environment & install dependencies
- Open the Cloud Shell Editor
- Click on the Open Terminal button in the upper right-hand corner
- Create a new folder by entering the following command in the terminal:
mkdir my-imagen-app
- Change directories to your new folder:
cd my-imagen-app
- Create a virtual environment in Python 3:
python3 -m venv myenv
- Activate the virtual environment:
source myenv/bin/activate
- Install Mesop:
pip3 install mesop
- Install Google Gen AI SDK for Python:
pip install google-genai
- Create a Python file:
touch main.py
3. App setup
All the code needed to run the Mesop app will exist in main.py. Within each of the next steps, copy and paste it sequentially in this file in the Cloud Shell Editor.
Import libraries
import base64
import mesop as me
from google import genai
from google.genai import types
Set Google Cloud project information and create client
- Set your Project ID:
PROJECT_ID = "[your-project-id]"
Replace [your-project-id] with the name of your Google Cloud project when you copy this line of code.
- Create client:
client = genai.Client(vertexai=True, project=PROJECT_ID, location="us-central1")
Load the image generation model
imagen_model = "imagen-3.0-generate-002"
State management
Defining state management allows you to store information throughout your user journey.
@me.stateclass
class State:
input: str = ""
enhanced_prompt: str = ""
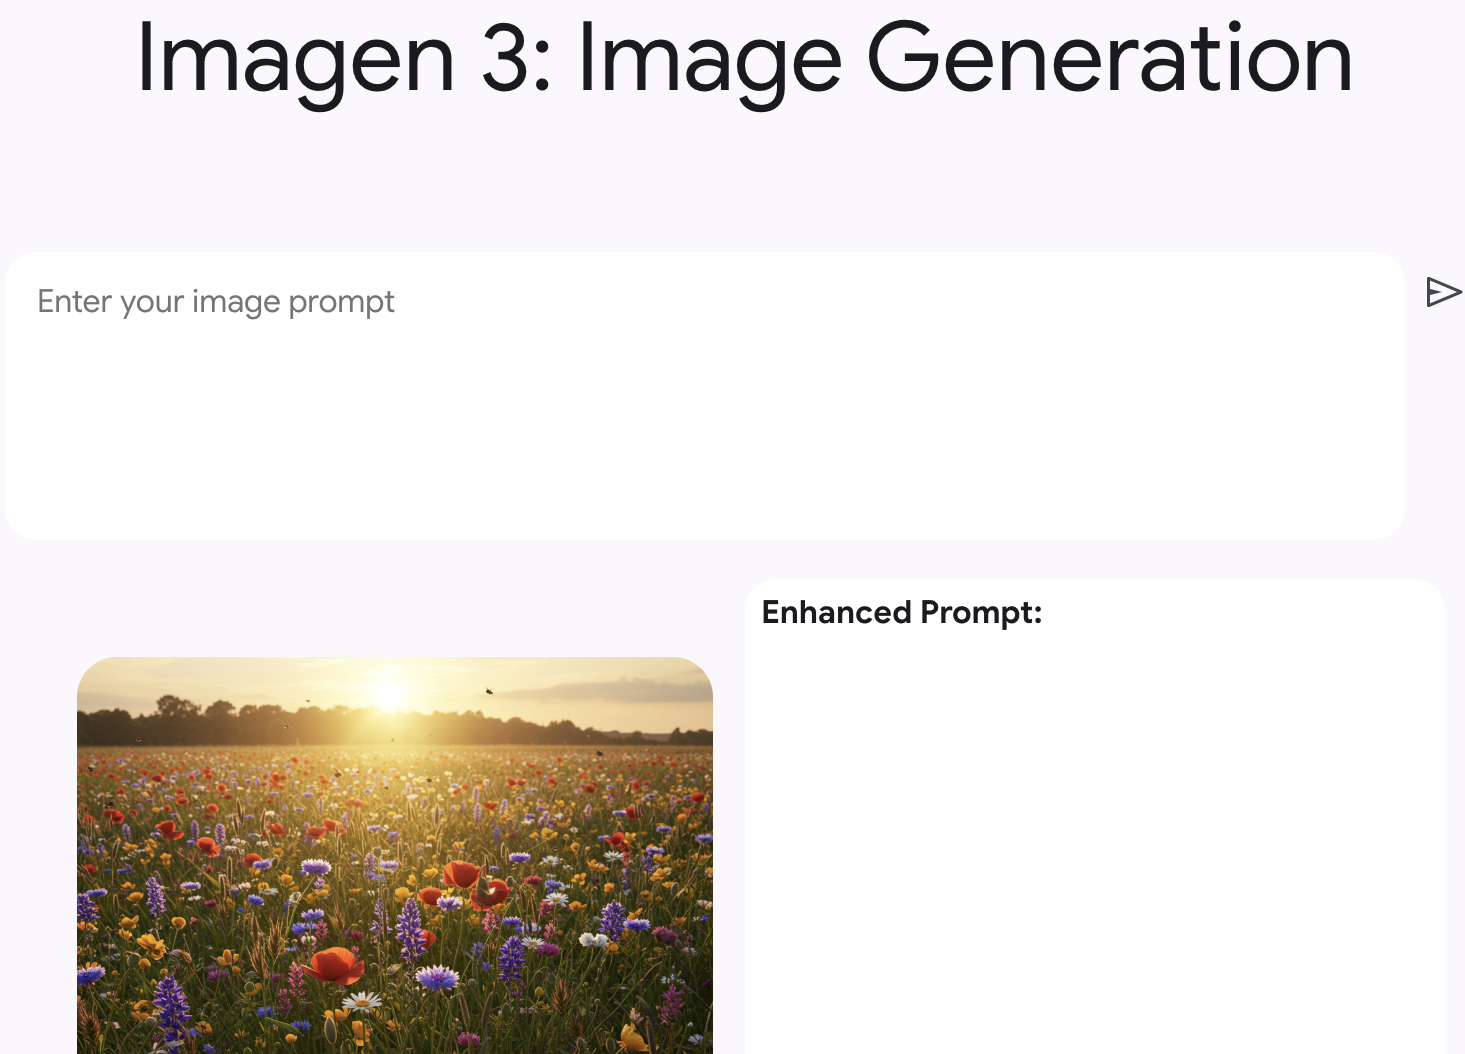
img_data: str = "https://storage.googleapis.com/cloud-samples-data/generative-ai/image/flowers.png"
input: The user provided input that will be used for image generation.enhanced_prompt: Theimagen-3.0-generate-002model offers the option to enhance your provided prompt. A new, detailed prompt will be created from your original one to help generate higher quality images and will be returned in this variable.img_data: The Cloud Storage location or image bytes of an image generated with Imagen 3.
4. Define helper functions
Load function
This code will be executed when the application loads. It sets the app's mode to system colors.
def load(e: me.LoadEvent):
  me.set_theme_mode("system")
Blur function
This function saves user input to your state variable.
def on_blur(e: me.InputBlurEvent):
    state = me.state(State)
    state.input = e.value
5. Generate image with Imagen
This function is invoked when a user clicks a button to submit a text prompt for image generation.
def generate_image(e: me.ClickEvent):
    state = me.state(State)
    image = client.models.generate_images(
        model=imagen_model,
        prompt=state.input,
        config=types.GenerateImagesConfig(
            number_of_images=1,
            aspect_ratio="1:1",
            enhance_prompt=True,
            safety_filter_level="BLOCK_MEDIUM_AND_ABOVE",
            person_generation="DONT_ALLOW",
        )
    )
    img = image.generated_images[0].image.image_bytes
    # Encode image in Base64 to display in web app
    img64 = base64.b64encode(img).decode('utf-8')
    state.enhanced_prompt = image.generated_images[0].enhanced_prompt
    state.img_data = f"data:image/png;base64,{img64}"
You can configure the settings located in GenerateImagesConfig:
number_of_images: 1, 2, 3, 4aspect_ratio: 1:1, 9:16, 16:9, 3:4, 4:3safety_filter_level: BLOCK_LOW_AND_ABOVE, BLOCK_MEDIUM_AND_ABOVE, BLOCK_ONLY_HIGH, BLOCK_NONEperson_generation: DONT_ALLOW, ALLOW_ADULT, ALLOW_ALL
Note: The only option that will work without additional allowlisting is DONT_ALLOW.
6. Structure app layout
@me.page(
  on_load=load,
  path="/",
  title="Imagen 3",
)
def app():
   s = me.state(State)
   with me.box(
        style=me.Style(
            display="grid",
            width="100%",
            place_items="center",
            margin=me.Margin(top=100),
         )
    ):
        me.text(text="Imagen 3: Image Generation", type="headline-3", style=me.Style(font_family="Google Sans"))
        with me.box(
           style=me.Style(
              border_radius=16,
              padding=me.Padding.all(8),
              display="flex",
           )
        ):
            with me.box(
               style=me.Style(flex_grow=1)
            ):
                me.native_textarea(
                autosize=True,
                on_blur=on_blur,
                min_rows=8,
                placeholder="Enter your image prompt",
                style=me.Style(
                    padding=me.Padding(top=16, left=16),
                    width="700px",
                    border_radius=16,
                    outline="none",
                    overflow_y="auto",
                    border=me.Border.all(
                        me.BorderSide(style="none"),
                    ),
                    font_family="Google Sans",
                  ),
                )
            with me.content_button(
                type="icon",
                on_click=generate_image,
            ):
                me.icon("send")
        with me.box(style=me.Style(margin=me.Margin.all(8),
            width="700px",
            display="flex",
            align_items="center")
        ):
            me.image(
              src=s.img_data,
              style=me.Style(width="350px", padding=me.Padding.all(16), border_radius=36)
            )
            with me.box(
               style=me.Style(
                  padding=me.Padding.all(8),
                  background="white",
                  height="400px",
                  width="400px",
                  border_radius=16,
               )
            ):
                me.text(text="Enhanced Prompt:", style=me.Style(font_family="Google Sans", font_weight="bold"))
                me.text(text=s.enhanced_prompt, style=me.Style(padding=me.Padding.all(10), font_family="Google Sans"),
            )
This code creates a single page application that includes the following components:
- Title
- Text area to enter an image prompt
- Send button that calls the
generate_imagefunction - An Imagen generated image
- The enhanced prompt returned with the image
7. Run application in Cloud Shell
- Once you've copied all of the code snippets into
main.py, you can run the Mesop application from your Cloud Shell terminal.mesop main.py - Now, click on the Web Preview button in the upper right-hand corner and then click on Change port. Type 32123 in the Port Number box and then click on Change and Preview. A new window should open where you can view the loaded app. It should look something like this:
8. Test Imagen 3
Here's where you get to try out Imagen with your own text prompts. You can generate images across a range of styles from photorealism, to animation, to different artistic styles. You can also specify specific camera angles, lenses, and more. Your original text prompt will also be rewritten through an LLM-based feature that's meant to produce higher quality images that better reflect the original prompt's intent.
Note: Generating images of people requires additional access. In the meantime, you'll get an error if your prompt includes person or face generation.
Here are some example prompts you can try:
- A beige baseball cap with ‘good vibes' written on top in white bubbly stitched letters that are outlined in neon green.
- A whimsical candy store.
- A cartoon postcard of Las Vegas with the city name spelled out and a postage stamp in the right corner.
- A puppy and a kitten playing with a ball of yarn.
9. Cleanup
Stop the application
Go back to the terminal where you launched the application and quit with Ctrl C.
Deactivate the virtual environment
In the same terminal type the following command:
deactivate
10. Conclusion
Congratulations! You've successfully completed this codelab by building an application with Imagen and generating some images.
Survey
Let us know what you thought of this codelab by filling out this short survey.