
1. Before you begin
From recommending movies or restaurants, to highlighting entertaining videos, recommendation engines, also known as recommenders, are a very important application of machine learning. Recommenders help you surface compelling content from a large pool of candidates to your users. For example, the Google Play Store offers millions of apps to install, while YouTube provides billions of videos to watch. And even more apps and videos are added every day.
In this codelab, you learn how to build a fullstack recommender using:
- TensorFlow Recommenders to train a retrieval and a ranking model for movie recommendations
- TensorFlow Serving to serve the models
- Flutter to create a cross-platform app to display recommended movies
Prerequisites
- Basic knowledge of Flutter development with Dart
- Basic knowledge of machine learning with TensorFlow, such as training versus deployment
- Basic familiarity with recommendation systems
- Basic knowledge of Python, terminals and Docker
What you'll learn
- How to train retrieval and ranking models using TensorFlow Recommenders
- How to serve the trained recommendation models using TensorFlow Serving
- How to build a cross-platform Flutter app to display the recommended items
What you'll need
- Flutter SDK
- Android and iOS setup for Flutter
- Desktop setup for Flutter
- Web setup for Flutter
- Visual Studio Code (VS Code) setup for Flutter and Dart
- Docker
- Bash
- Python 3.7+
- Access to Colab
2. Set up your Flutter development environment
For Flutter development, you need two pieces of software to complete this codelab—the Flutter SDK and an editor.
You can run the frontend of the codelab using any of these devices:
- The iOS simulator (requires installing Xcode tools).
- The Android Emulator (requires setup in Android Studio).
- A browser (Chrome is required for debugging).
- As a Windows, Linux, or macOS desktop application. You must develop on the platform where you plan to deploy. So, if you want to develop a Windows desktop app, you must develop on Windows to access the appropriate build chain. There are operating system-specific requirements that are covered in detail on docs.flutter.dev/desktop.
For the backend, you will need:
- A Linux machine or an Intel-based Mac.
3. Get set up
To download the code for this codelab:
- Navigate to the GitHub repository for this codelab.
- Click Code > Download zip to download all the code for this codelab.

- Unzip the downloaded zip file to unpack a
codelabs-mainroot folder with all the resources that you need.
For this codelab, you only need the files in the tfrs-flutter/ subdirectory in the repository, which contains multiple folders:
- The
step0tostep5folders contain the starter code that you build upon for each step in this codelab. - The
finishedfolder contains the completed code for the finished sample app. - Each folder contains a
backendsubfolder, which includes the recommendation engine backend code, and afrontendsubfolder, which includes the Flutter frontend code
4. Download the dependencies for the project
Backend
We are going to use Flask to create our backend. Open your terminal and run the following:
pip install Flask flask-cors requests numpy
Frontend
- In VS Code, click File > Open folder and then select the
step0folder from the source code that you downloaded earlier. - Open
step0/frontend/lib/main.dartfile. If you see a VS Code dialog appear that prompts you to download the required packages for the starter app, click Get packages. - If you don't see this dialog, open your terminal and then run
flutter pub getcommand in thestep0/frontendfolder.
5. Step 0: Run the starter app
- Open
step0/frontend/lib/main.dartfile in VS Code, ensure that the Android Emulator or iOS Simulator is properly set up and appears in the status bar.
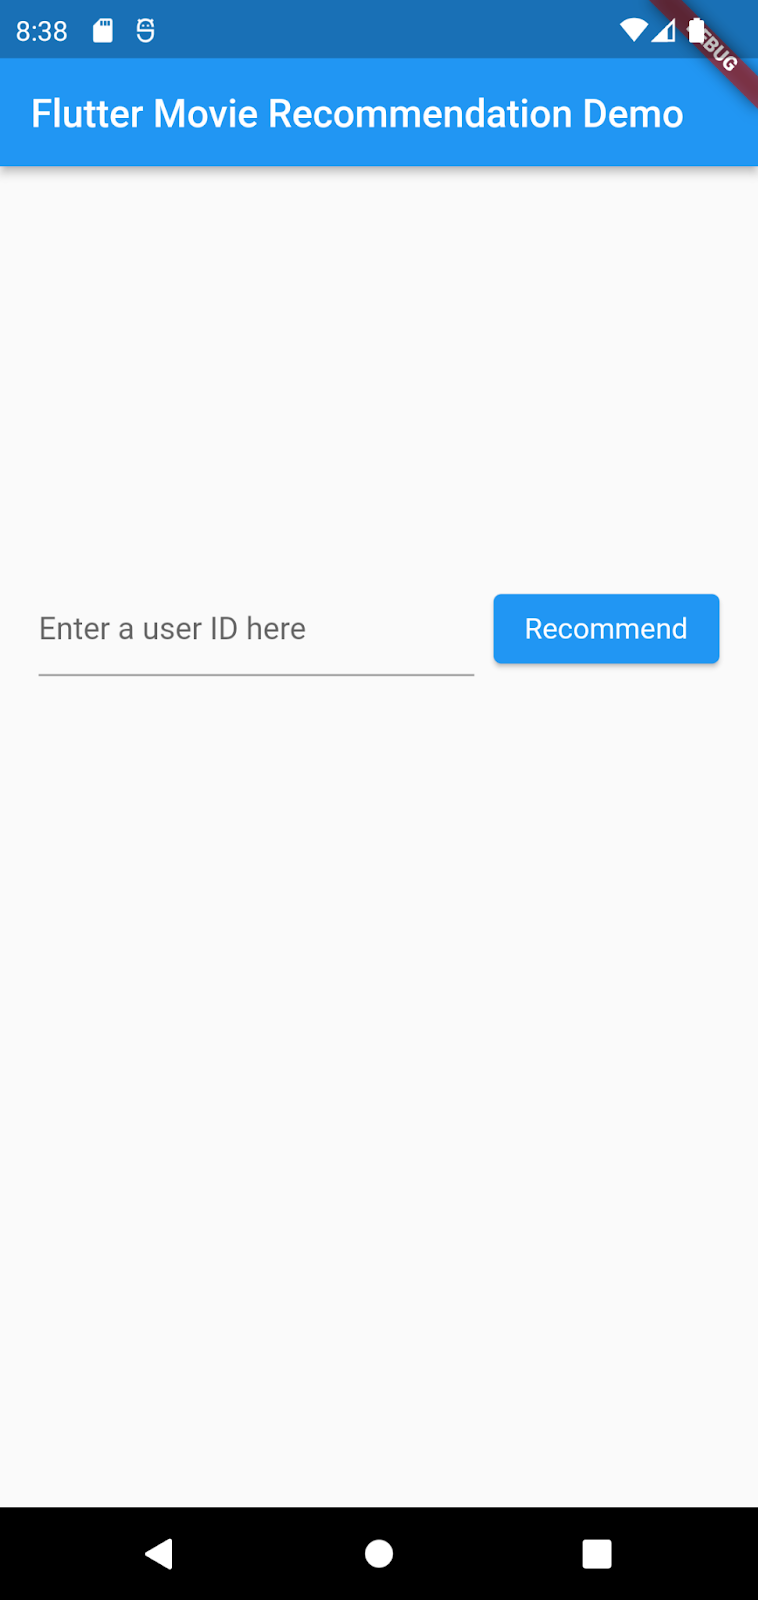
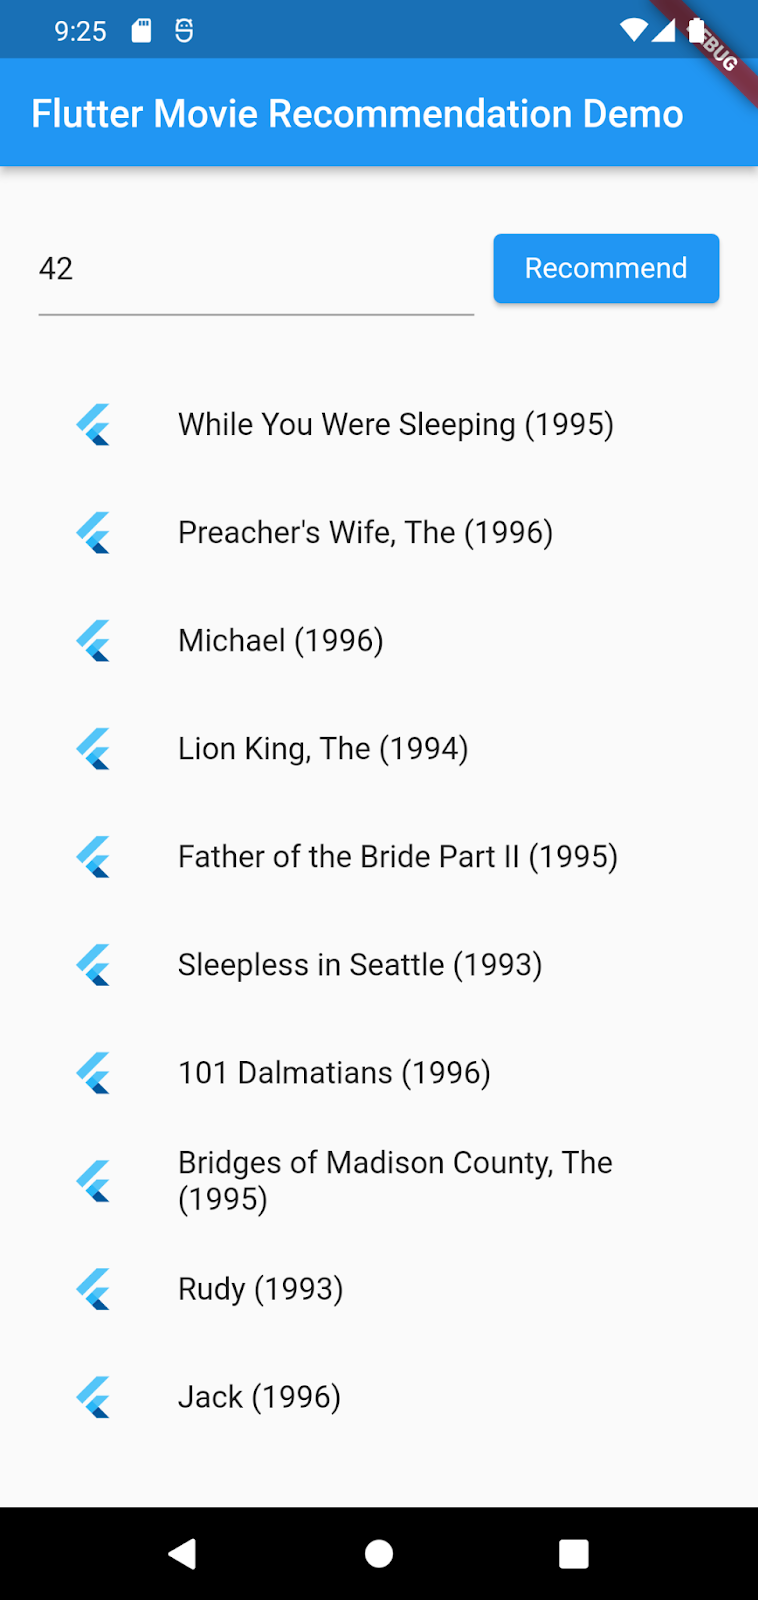
For example, here's what you see when you use Pixel 5 with the Android Emulator:

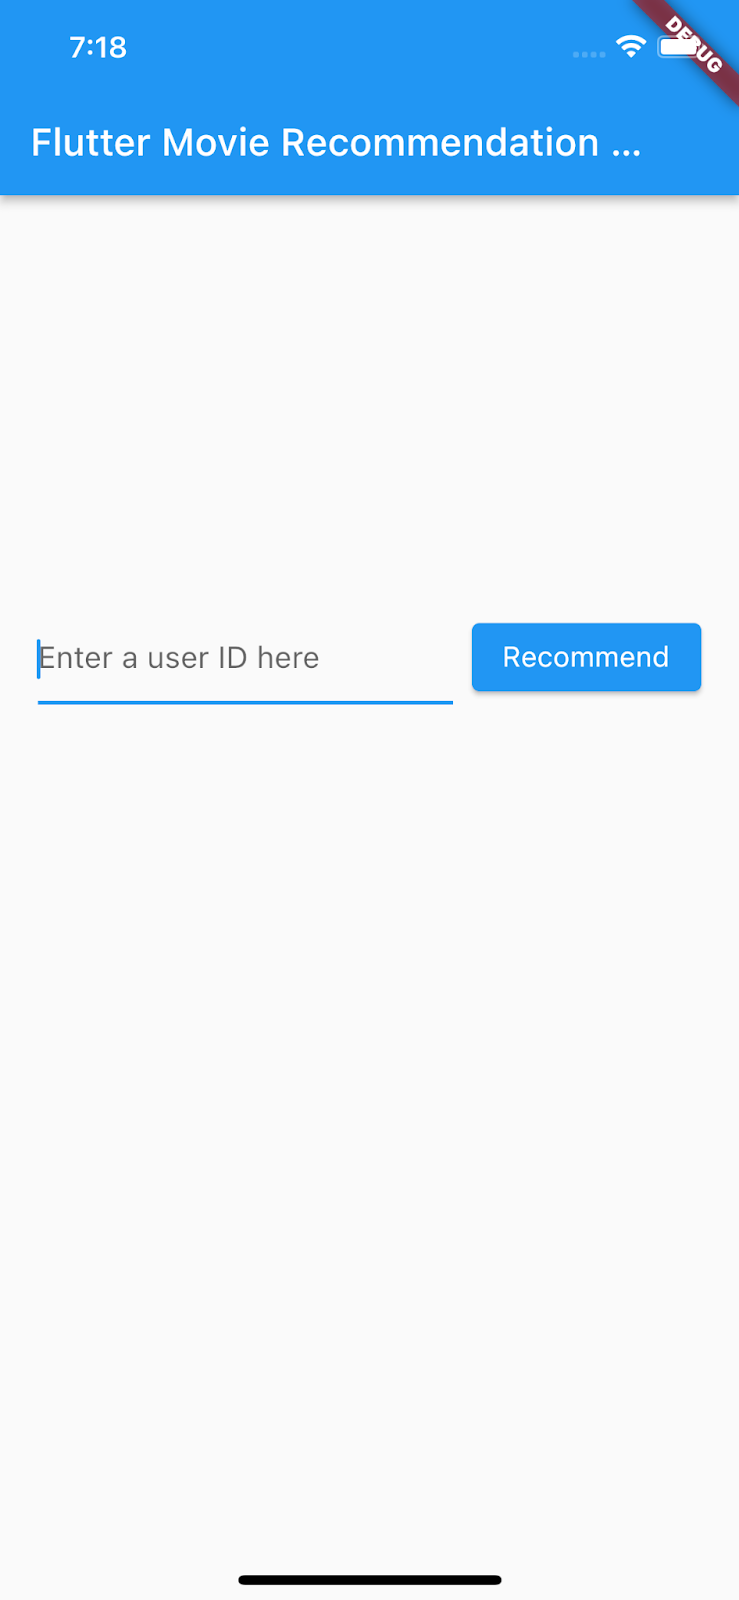
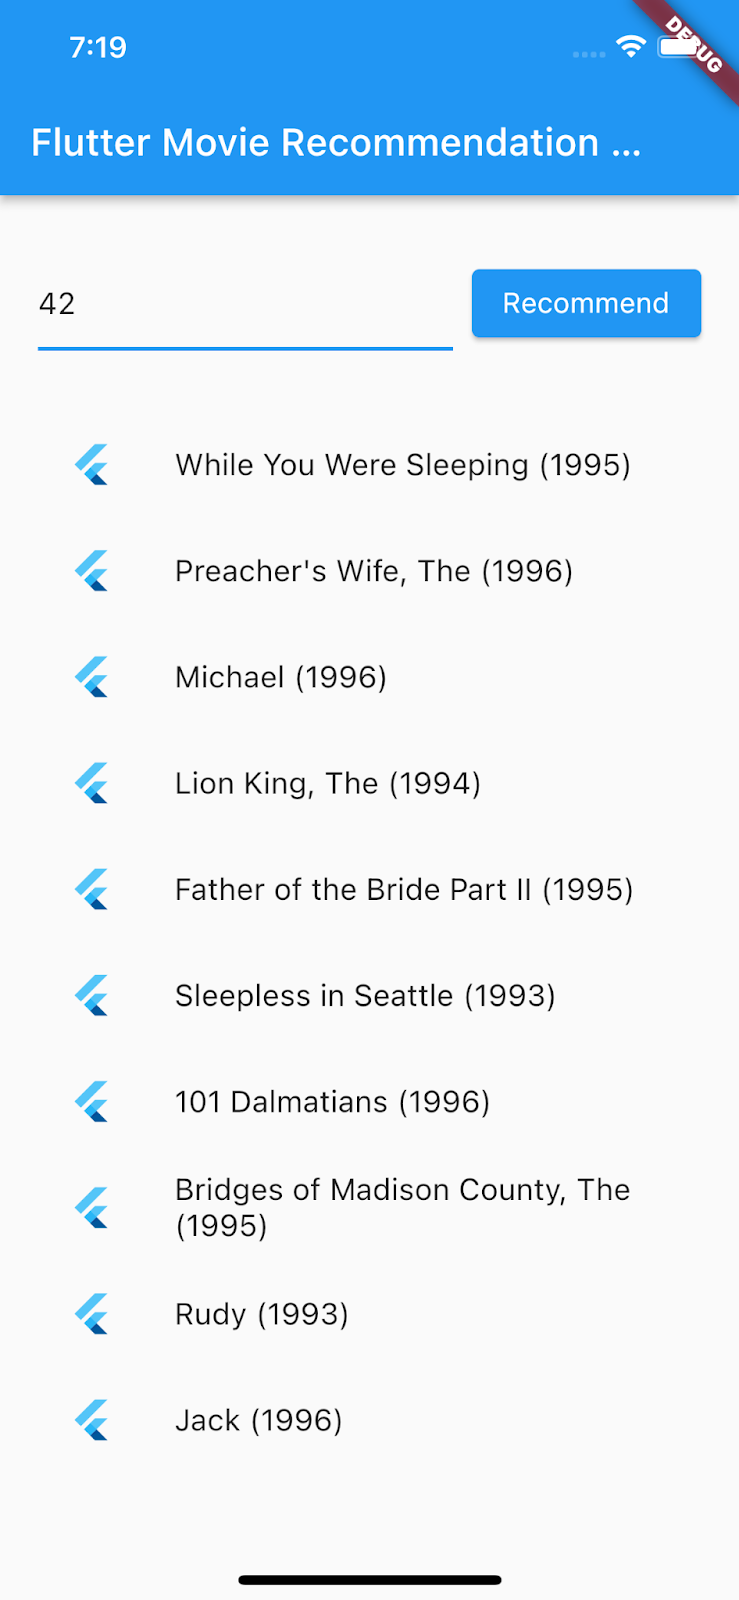
Here's what you see when you use iPhone 13 with the iOS Simulator:

- Click
 Start debugging.
Run and explore the app
The app should launch on your Android Emulator or iOS Simulator. The UI is pretty straightforward. There's a text field that lets the user type in the text as the user ID. The Flutter app will send the query request to the backend, which runs 2 recommendation models and returns a ranked list of movie recommendations. The frontend will display the result in the UI after receiving the response.
If you click Recommend now, nothing happens because the app can't communicate with the backend yet.
6. Step 1: Create the retrieval and ranking models for the recommendation engine
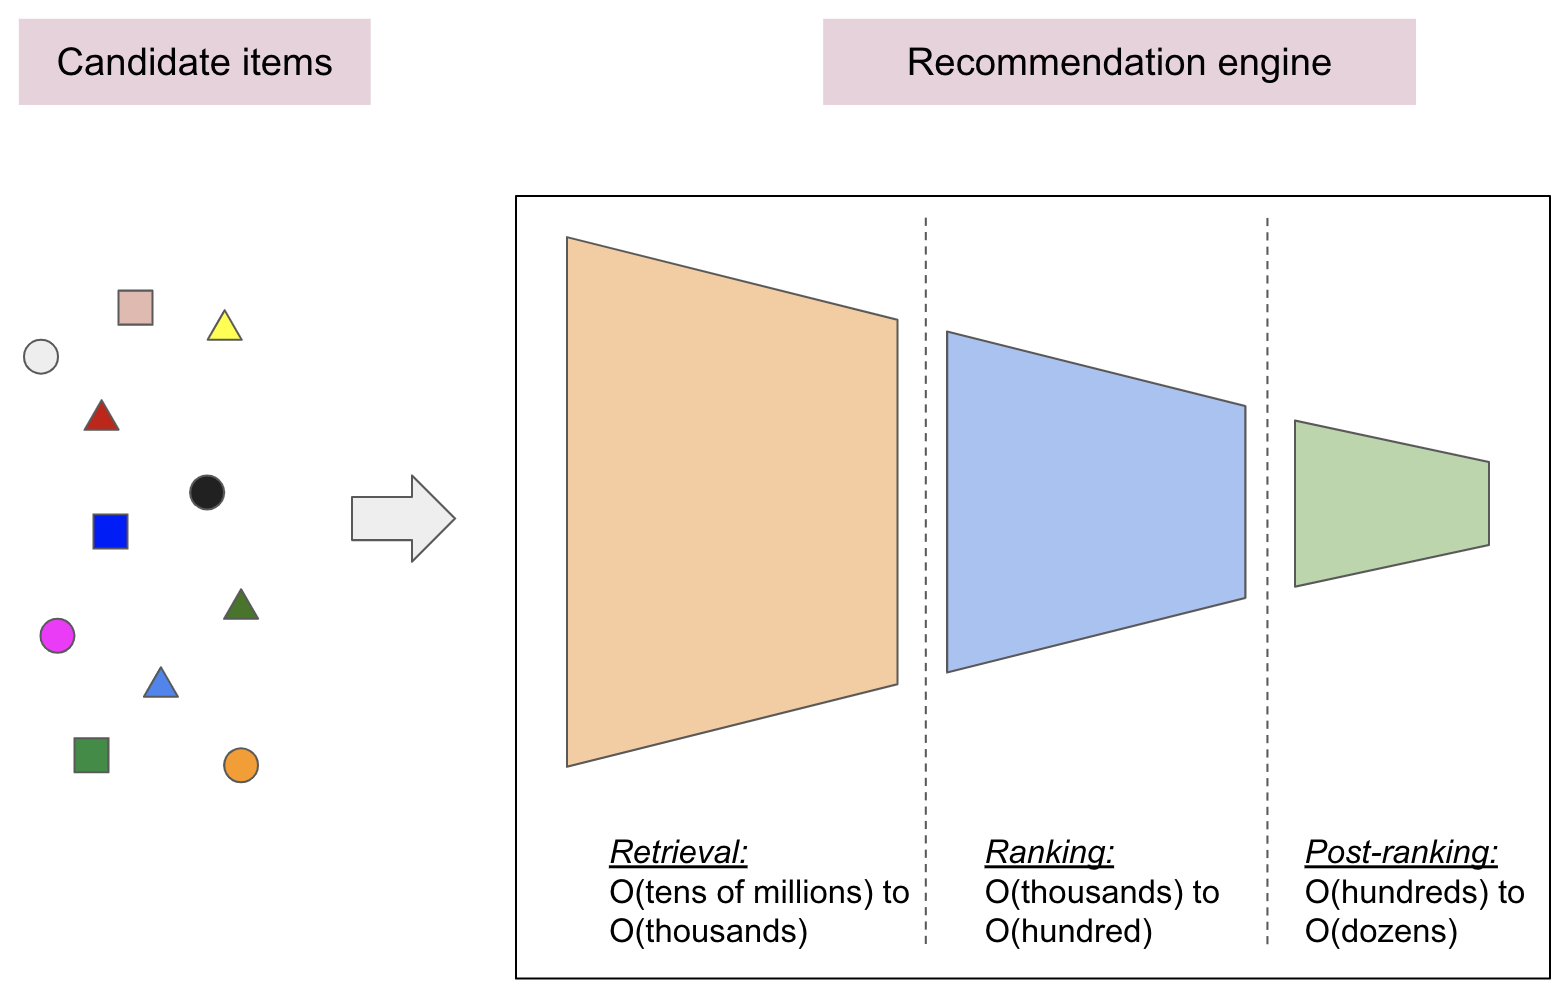
Real-world recommendation engines are often composed of multiple stages:
- The retrieval stage is responsible for selecting an initial set of hundreds of candidates from all possible candidates. The main objective of this model is to efficiently weed out all candidates that the user is not interested in. Because the retrieval model may be dealing with millions of candidates, it has to be computationally efficient.
- The ranking stage takes the outputs of the retrieval model and fine-tunes them to select the best possible handful of recommendations. Its task is to narrow down the set of items the user may be interested in to a shortlist of likely candidates in the order of hundreds.
- The post-ranking stage helps ensure diversity, freshness, and fairness and reorganizes the candidate items into a set of useful recommendations in the order of dozens.
For this codelab, you train a retrieval model and a ranking model using the popular MovieLens dataset. You can open the training code below via Colab and follow the instructions:
7. Step 2: Create the recommendation engine backend
Now that you have trained the retrieval and ranking models, you can deploy them and create a backend.
Start TensorFlow Serving
Since you need to use both the retrieval and ranking models to generate the recommended movie list, you deploy both of them at the same time using TensorFlow Serving.
- In your terminal, go to the
step2/backendfolder on your computer and start TensorFlow Serving with Docker:
docker run -t --rm -p 8501:8501 -p 8500:8500 -v "$(pwd)/:/models/" tensorflow/serving --model_config_file=/models/models.config
Docker automatically downloads the TensorFlow Serving image first, which takes a minute. Afterward, TensorFlow Serving should start. The log should look like this code snippet:
2022-04-24 09:32:06.461702: I tensorflow_serving/model_servers/server_core.cc:465] Adding/updating models.
2022-04-24 09:32:06.461843: I tensorflow_serving/model_servers/server_core.cc:591]  (Re-)adding model: retrieval
2022-04-24 09:32:06.461907: I tensorflow_serving/model_servers/server_core.cc:591]  (Re-)adding model: ranking
2022-04-24 09:32:06.576920: I tensorflow_serving/core/basic_manager.cc:740] Successfully reserved resources to load servable {name: retrieval version: 123}
2022-04-24 09:32:06.576993: I tensorflow_serving/core/loader_harness.cc:66] Approving load for servable version {name: retrieval version: 123}
2022-04-24 09:32:06.577011: I tensorflow_serving/core/loader_harness.cc:74] Loading servable version {name: retrieval version: 123}
2022-04-24 09:32:06.577848: I external/org_tensorflow/tensorflow/cc/saved_model/reader.cc:38] Reading SavedModel from: /models/retrieval/exported-retrieval/123
2022-04-24 09:32:06.583809: I external/org_tensorflow/tensorflow/cc/saved_model/reader.cc:90] Reading meta graph with tags { serve }
2022-04-24 09:32:06.583879: I external/org_tensorflow/tensorflow/cc/saved_model/reader.cc:132] Reading SavedModel debug info (if present) from: /models/retrieval/exported-retrieval/123
2022-04-24 09:32:06.584970: I external/org_tensorflow/tensorflow/core/platform/cpu_feature_guard.cc:142] This TensorFlow binary is optimized with oneAPI Deep Neural Network Library (oneDNN) to use the following CPU instructions in performance-critical operations:  AVX2 FMA
To enable them in other operations, rebuild TensorFlow with the appropriate compiler flags.
2022-04-24 09:32:06.629900: I external/org_tensorflow/tensorflow/cc/saved_model/loader.cc:206] Restoring SavedModel bundle.
2022-04-24 09:32:06.634662: I external/org_tensorflow/tensorflow/core/platform/profile_utils/cpu_utils.cc:114] CPU Frequency: 2800000000 Hz
2022-04-24 09:32:06.672534: I external/org_tensorflow/tensorflow/cc/saved_model/loader.cc:190] Running initialization op on SavedModel bundle at path: /models/retrieval/exported-retrieval/123
2022-04-24 09:32:06.673629: I tensorflow_serving/core/basic_manager.cc:740] Successfully reserved resources to load servable {name: ranking version: 123}
2022-04-24 09:32:06.673765: I tensorflow_serving/core/loader_harness.cc:66] Approving load for servable version {name: ranking version: 123}
2022-04-24 09:32:06.673786: I tensorflow_serving/core/loader_harness.cc:74] Loading servable version {name: ranking version: 123}
2022-04-24 09:32:06.674731: I external/org_tensorflow/tensorflow/cc/saved_model/reader.cc:38] Reading SavedModel from: /models/ranking/exported-ranking/123
2022-04-24 09:32:06.683557: I external/org_tensorflow/tensorflow/cc/saved_model/reader.cc:90] Reading meta graph with tags { serve }
2022-04-24 09:32:06.683601: I external/org_tensorflow/tensorflow/cc/saved_model/reader.cc:132] Reading SavedModel debug info (if present) from: /models/ranking/exported-ranking/123
2022-04-24 09:32:06.688665: I external/org_tensorflow/tensorflow/cc/saved_model/loader.cc:277] SavedModel load for tags { serve }; Status: success: OK. Took 110815 microseconds.
2022-04-24 09:32:06.690019: I tensorflow_serving/servables/tensorflow/saved_model_warmup_util.cc:59] No warmup data file found at /models/retrieval/exported-retrieval/123/assets.extra/tf_serving_warmup_requests
2022-04-24 09:32:06.693025: I tensorflow_serving/core/loader_harness.cc:87] Successfully loaded servable version {name: retrieval version: 123}
2022-04-24 09:32:06.702594: I external/org_tensorflow/tensorflow/cc/saved_model/loader.cc:206] Restoring SavedModel bundle.
2022-04-24 09:32:06.745361: I external/org_tensorflow/tensorflow/cc/saved_model/loader.cc:190] Running initialization op on SavedModel bundle at path: /models/ranking/exported-ranking/123
2022-04-24 09:32:06.772363: I external/org_tensorflow/tensorflow/cc/saved_model/loader.cc:277] SavedModel load for tags { serve }; Status: success: OK. Took 97633 microseconds.
2022-04-24 09:32:06.774853: I tensorflow_serving/servables/tensorflow/saved_model_warmup_util.cc:59] No warmup data file found at /models/ranking/exported-ranking/123/assets.extra/tf_serving_warmup_requests
2022-04-24 09:32:06.777706: I tensorflow_serving/core/loader_harness.cc:87] Successfully loaded servable version {name: ranking version: 123}
2022-04-24 09:32:06.778969: I tensorflow_serving/model_servers/server_core.cc:486] Finished adding/updating models
2022-04-24 09:32:06.779030: I tensorflow_serving/model_servers/server.cc:367] Profiler service is enabled
2022-04-24 09:32:06.784217: I tensorflow_serving/model_servers/server.cc:393] Running gRPC ModelServer at 0.0.0.0:8500 ...
[warn] getaddrinfo: address family for nodename not supported
2022-04-24 09:32:06.785748: I tensorflow_serving/model_servers/server.cc:414] Exporting HTTP/REST API at:localhost:8501 ...
[evhttp_server.cc : 245] NET_LOG: Entering the event loop ...
Create a new endpoint
Since TensorFlow Serving does not support ‘chaining' multiple sequential models, you need to create a new service that connects the retrieval and ranking models.
- Add this code to the
get_recommendations()function in thestep2/backend/recommendations.pyfile:
user_id = request.get_json()["user_id"]
retrieval_request = json.dumps({"instances": [user_id]})
retrieval_response = requests.post(RETRIEVAL_URL, data=retrieval_request)
movie_candidates = retrieval_response.json()["predictions"][0]["output_2"]

ranking_queries = [
    {"user_id": u, "movie_title": m}
    for (u, m) in zip([user_id] * NUM_OF_CANDIDATES, movie_candidates)
]
ranking_request = json.dumps({"instances": ranking_queries})
ranking_response = requests.post(RANKING_URL, data=ranking_request)
movies_scores = list(np.squeeze(ranking_response.json()["predictions"]))
ranked_movies = [
    m[1] for m in sorted(list(zip(movies_scores, movie_candidates)), reverse=True)
]

return make_response(jsonify({"movies": ranked_movies}), 200)
Start the Flask service
Now you can start the Flask service.
- In your terminal, go to the
step2/backend/folder and run the following:
FLASK_APP=recommender.py FLASK_ENV=development flask run
Flask will stand up a new endpoint at http://localhost:5000/recommend. You should see the log as below:
 * Serving Flask app 'recommender.py' (lazy loading)
 * Environment: development
 * Debug mode: on
 * Running on http://127.0.0.1:5000/ (Press CTRL+C to quit)
 * Restarting with stat
 * Debugger is active!
 * Debugger PIN: 705-382-264
127.0.0.1 - - [25/Apr/2022 19:44:47] "POST /recommend HTTP/1.1" 200 -
You could send a sample request to the endpoint to make sure it is working as expected:
curl -X POST -H "Content-Type: application/json" -d '{"user_id":"42"}' http://localhost:5000/recommend
The endpoint will return a list of recommended movies for user 42:
{
  "movies": [
    "While You Were Sleeping (1995)",
    "Preacher's Wife, The (1996)",
    "Michael (1996)",
    "Lion King, The (1994)",
    "Father of the Bride Part II (1995)",
    "Sleepless in Seattle (1993)",
    "101 Dalmatians (1996)",
    "Bridges of Madison County, The (1995)",
    "Rudy (1993)",
    "Jack (1996)"
  ]
}
That's it! You have successfully built a backend to recommend movies based on a user ID.
8. Step 3: Create the Flutter app for Android and iOS
The backend is ready. You can start sending requests to it to query movie recommendations from the Flutter app.
The frontend app is fairly simple. It only has a TextField that takes in the user ID and sends the request (in the recommend() function) to the backend you just built. After receiving the response, the app UI displays the recommended movies in a ListView.
- Add this code to the
recommend()function in thestep3/frontend/lib/main.dartfile:
final response = await http.post(
  Uri.parse('http://' + _server + ':5000/recommend'),
  headers: <String, String>{
    'Content-Type': 'application/json',
  },
  body: jsonEncode(<String, String>{
    'user_id': _userIDController.text,
  }),
);
Once the app receives the response from the backend, you update the UI to display the list of recommended movies for the specified user.
- Add this code right below the code above:
if (response.statusCode == 200) {
  return List<String>.from(jsonDecode(response.body)['movies']);
} else {
  throw Exception('Error response');
}
Run it
- Click Start debugging and then wait for the app to load.
- Enter a user ID (i.e., 42) and then select Recommend.
9. Step 4: Run the Flutter app on the desktop platforms
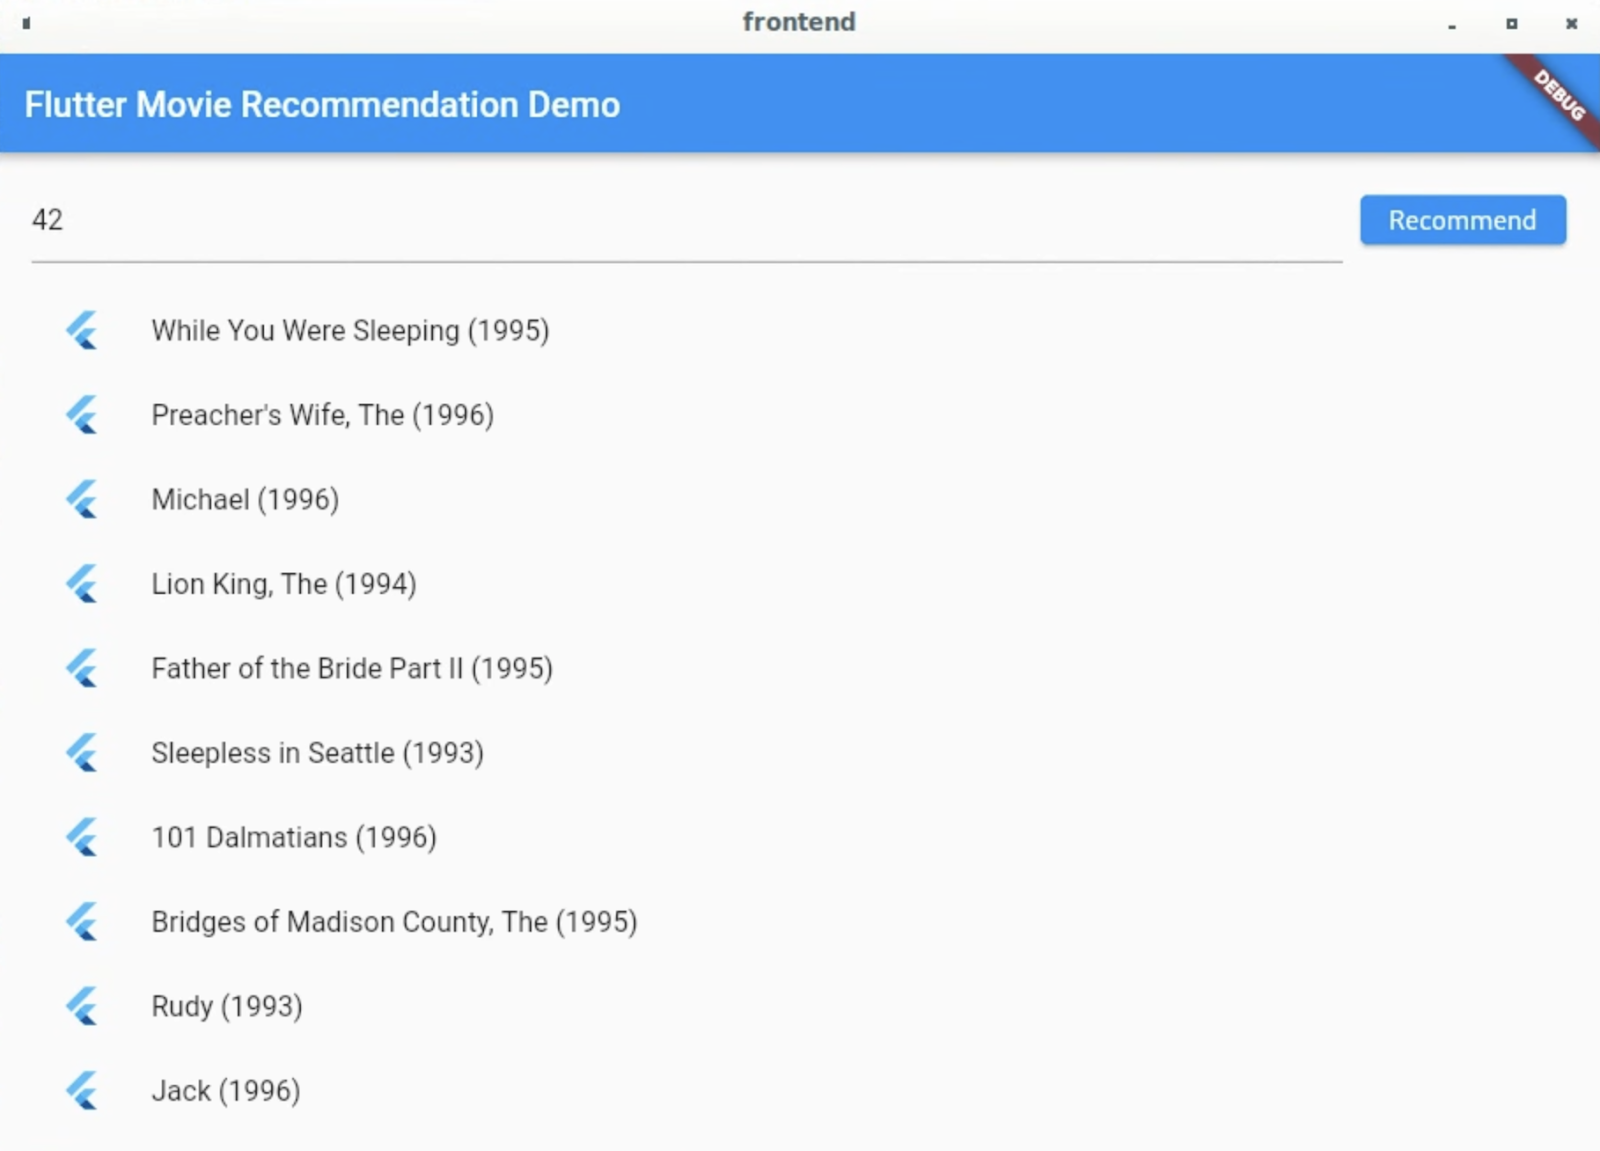
In addition to Android and iOS, Flutter also supports desktop platforms including Linux, Mac and Windows.
Linux
- Make sure the target device is set to
 in the status bar of VSCode.
 - Click Start debugging and then wait for the app to load.
- Enter a user ID (i.e., 42) and then select Recommend.
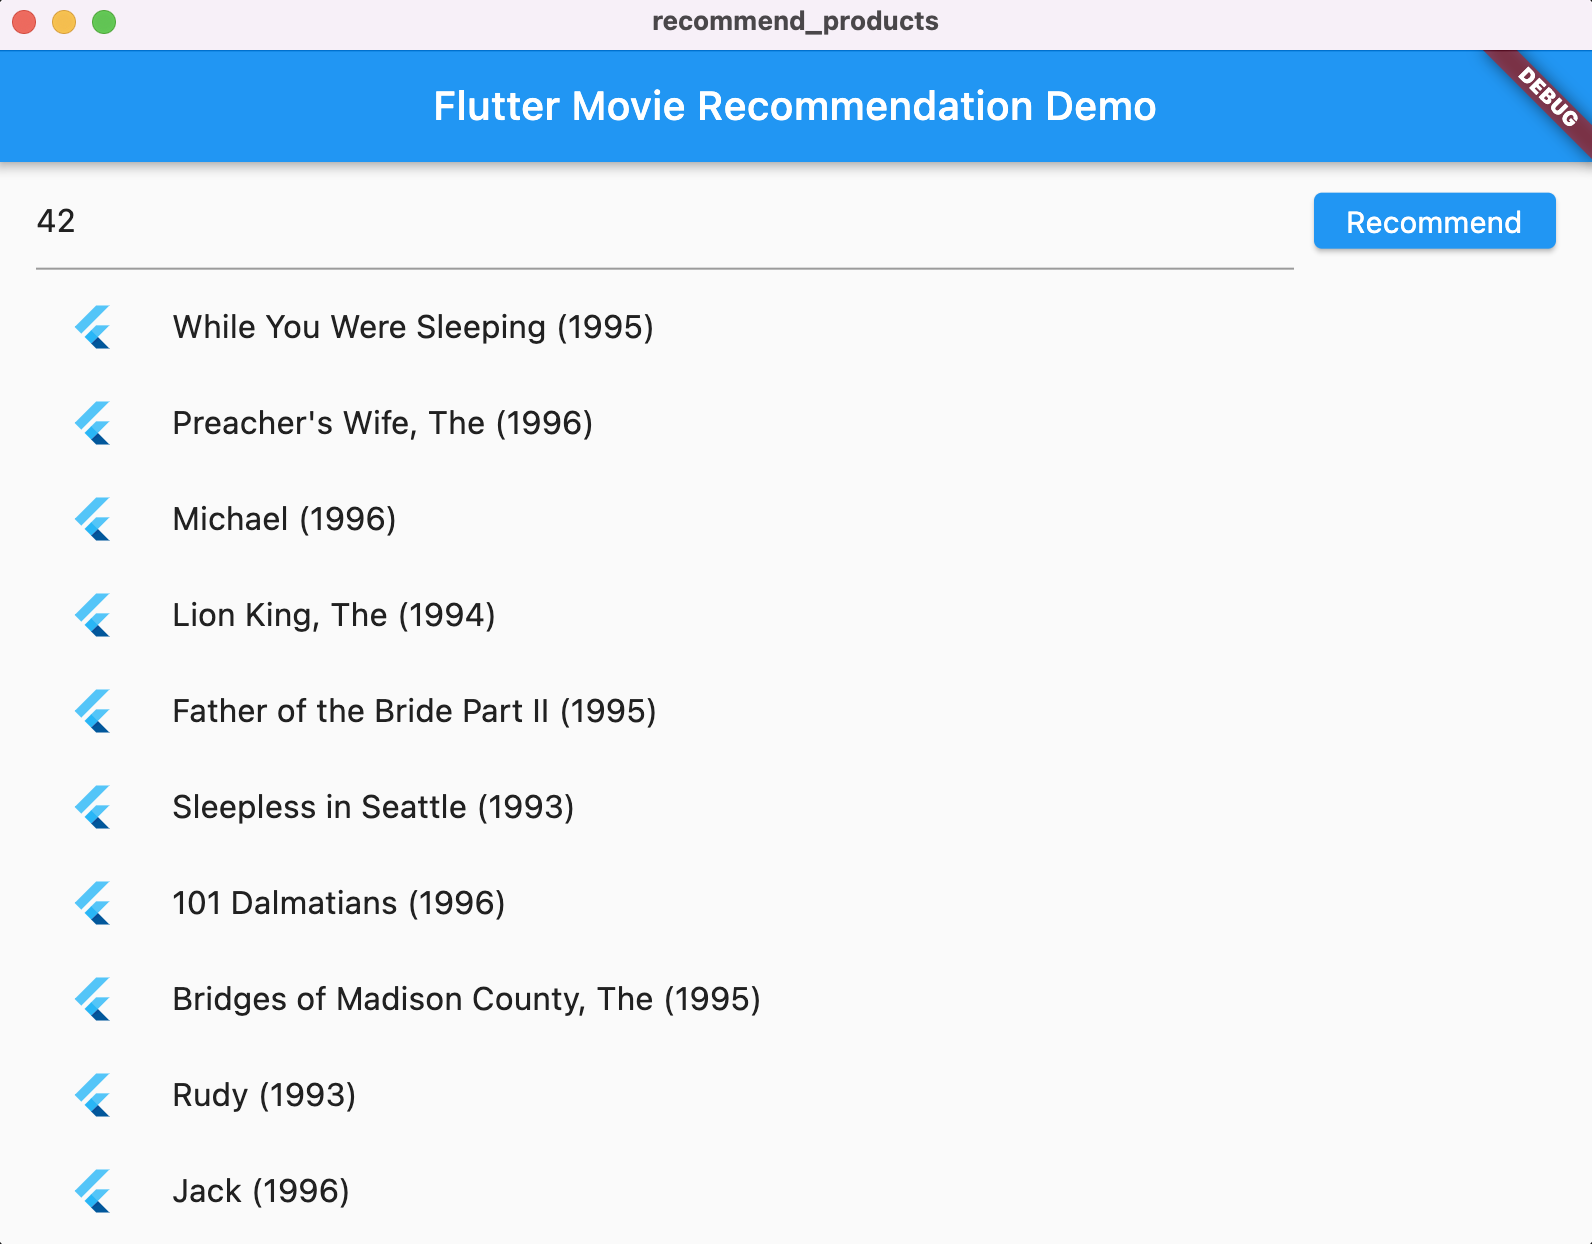
Mac
- For Mac, you need to set up appropriate entitlements since the app will send HTTP requests to the backend. Please refer to Entitlements and the App Sandbox for more details.
Add this code to step4/frontend/macOS/Runner/DebugProfile.entitlements and step4/frontend/macOS/Runner/Release.entitlements respectively:
<key>com.apple.security.network.client</key>
<true/>
- Make sure the target device is set to
 in the status bar of VSCode.
 - Click Start debugging and then wait for the app to load.
- Enter a user ID (i.e., 42) and then select Recommend.
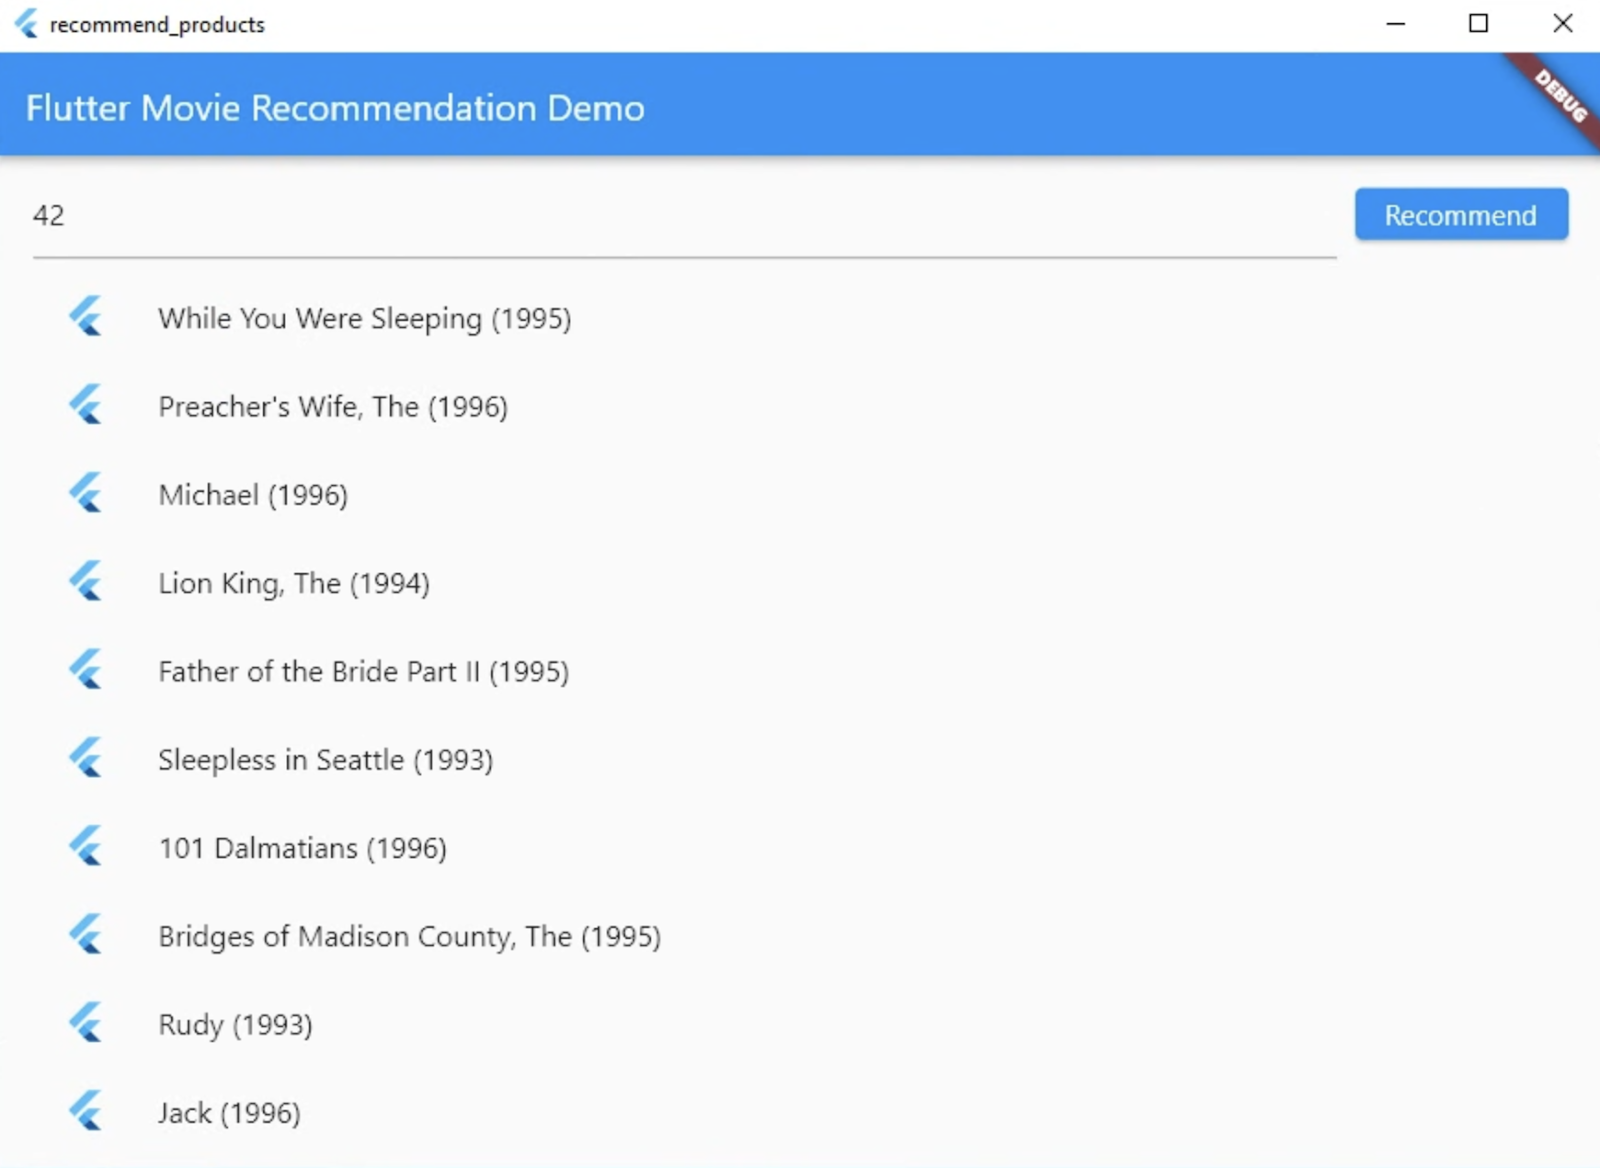
Windows
- Make sure the target device is set to
 in the status bar of VSCode.
 - Click Start debugging and then wait for the app to load.
- Enter a user ID (i.e., 42) and then select Recommend.
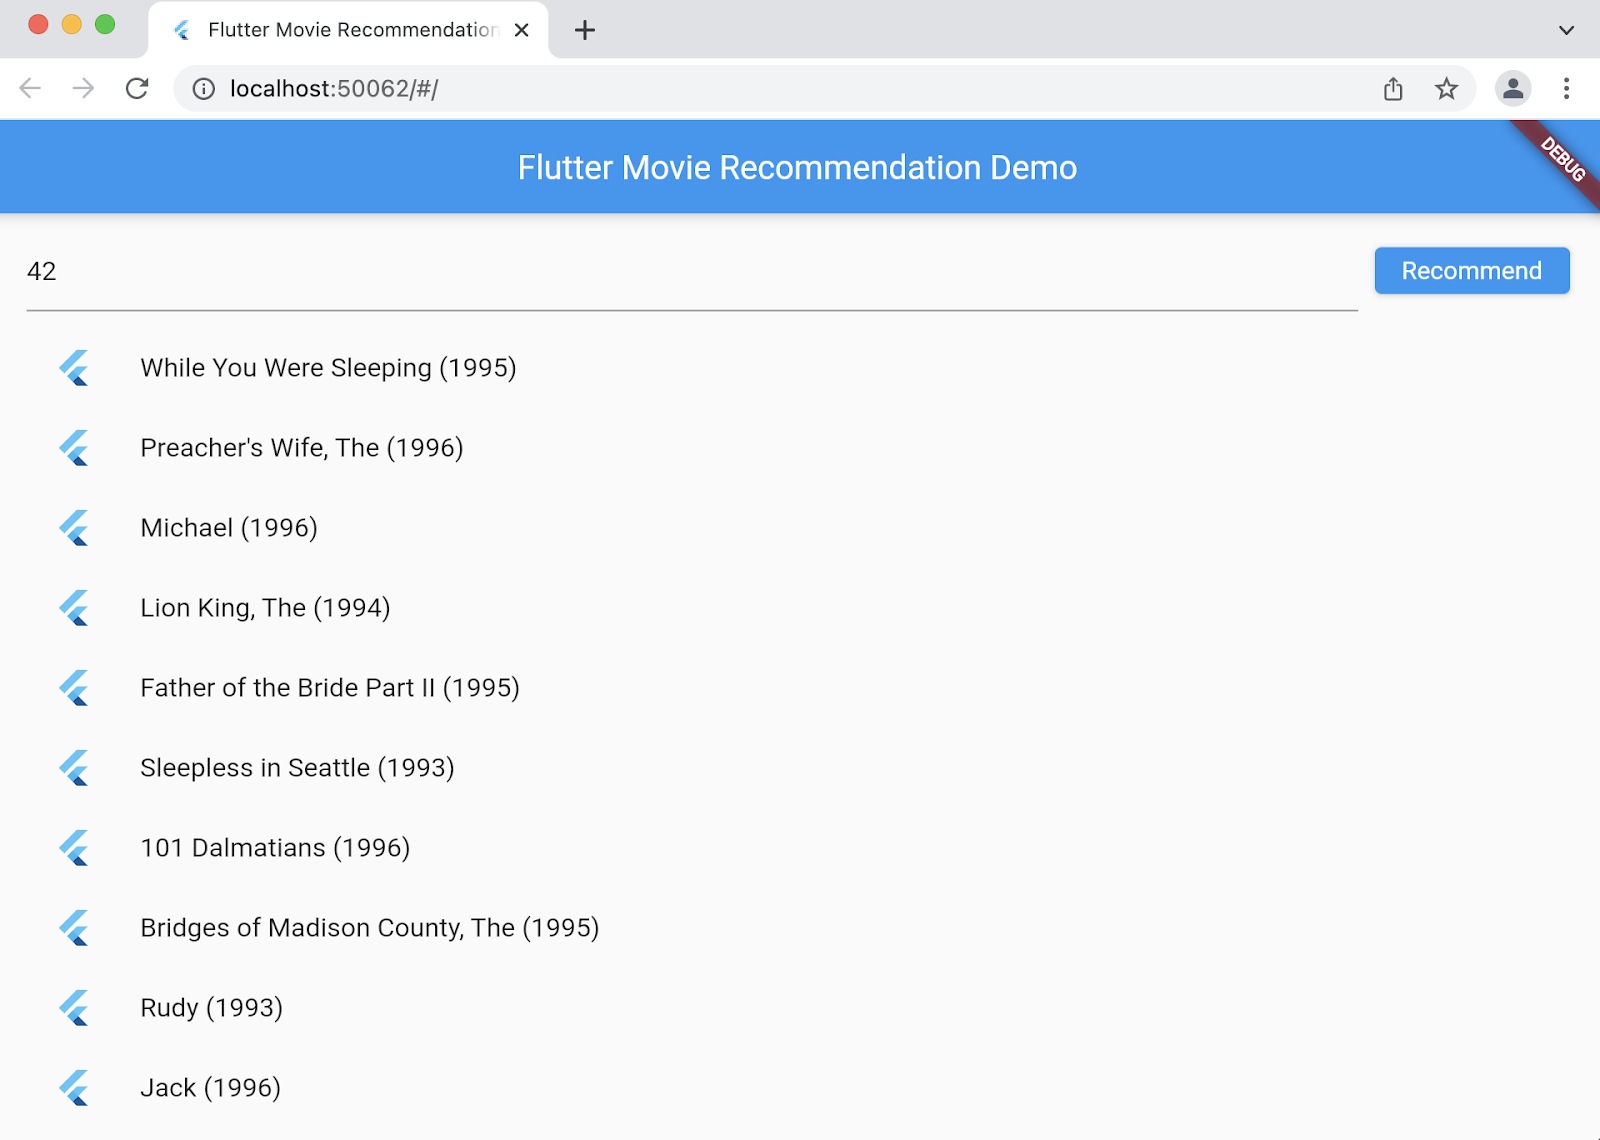
10. Step 5: Run the Flutter app on the web platform
One more thing you can do is to add web support to the Flutter app. By default the web platform is automatically enabled for Flutter apps, so all you need to do is to launch it.
- Make sure the target device is set to
 in the status bar of VSCode.
 - Click Start debugging and then wait for the app to load in the Chrome browser.
- Enter a user ID (i.e., 42) and then select Recommend.
11. Congratulations
You built a fullstack app to recommend movies to your users!
Although the app only recommends movies, you have learned the overall workflow of building a powerful recommendation engine and mastered the skill to consume the recommendations in a Flutter app. You can easily apply what you have learned to other scenarios (e.g., eCommerce, food and short videos).