
1. Before you begin
This codelab shows you how to create a Google Cloud project and then call Google Cloud APIs from that project.
Prerequisites
- Ability to navigate the Google Cloud Console.
What you'll learn
- How to create a Google Cloud project.
- How to set up a billing account.
- How to set up the Cloud Shell.
- How to enable an API.
- How to authorize an API with an API key.
- How to authorize an API with a service account.
What you'll need
- A Google account, such as a Gmail account or a Google Workspace account.
- Access to a Cloud Billing account or a credit card to use to sign up for the Free Trial program.
2. Get set up
This section shows you how to create a Google Cloud project, set up a billing account, and set up the Cloud Shell.
Create a Google Cloud project and set up a billing account
- Sign in to Cloud Console and select or create a project.


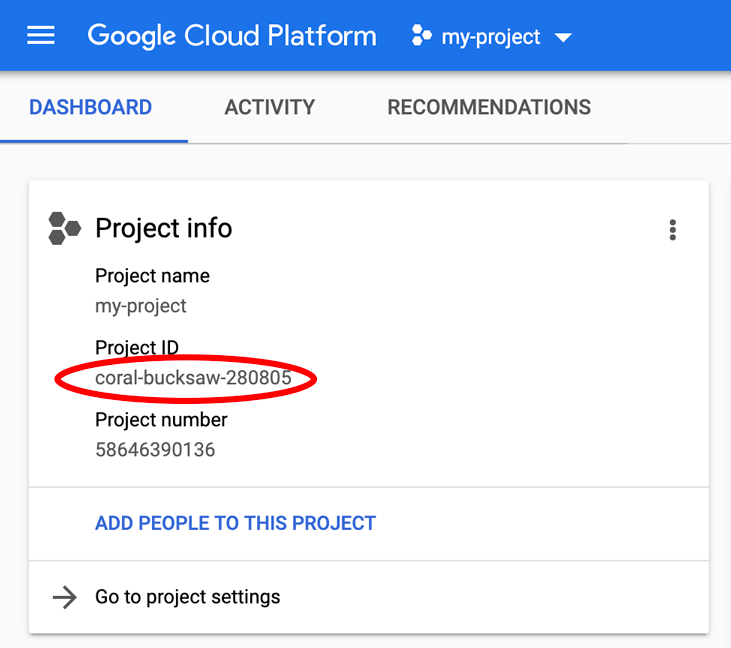
Remember the project ID, which is shown under the Project name field. The ID is a unique name across all Google Cloud projects (the name above has already been taken), and is referred to later in this codelab as PROJECT_ID.
- Next, enable billing in Cloud Console in order to use Google Cloud resources.
Although this codelab shouldn't cost much, if anything, follow the instructions in the Clean up section to shut down resources and avoid costs beyond this codelab. Note that new users of Google Cloud are eligible for the US$300 free trial.
Set up the Cloud Shell
In this codelab, you use Cloud Shell, a command-line environment that runs in Google Cloud. The Cloud Shell is a Debian-based virtual machine loaded with all the development tools that you need. It offers a persistent 5GB home directory, which greatly enhances network performance and authentication. This means that all you need for this codelab is a browser.
To activate Cloud Shell from the Cloud Console:
- Click
 Activate Cloud Shell.
It may take a few moments to provision and connect to the environment.

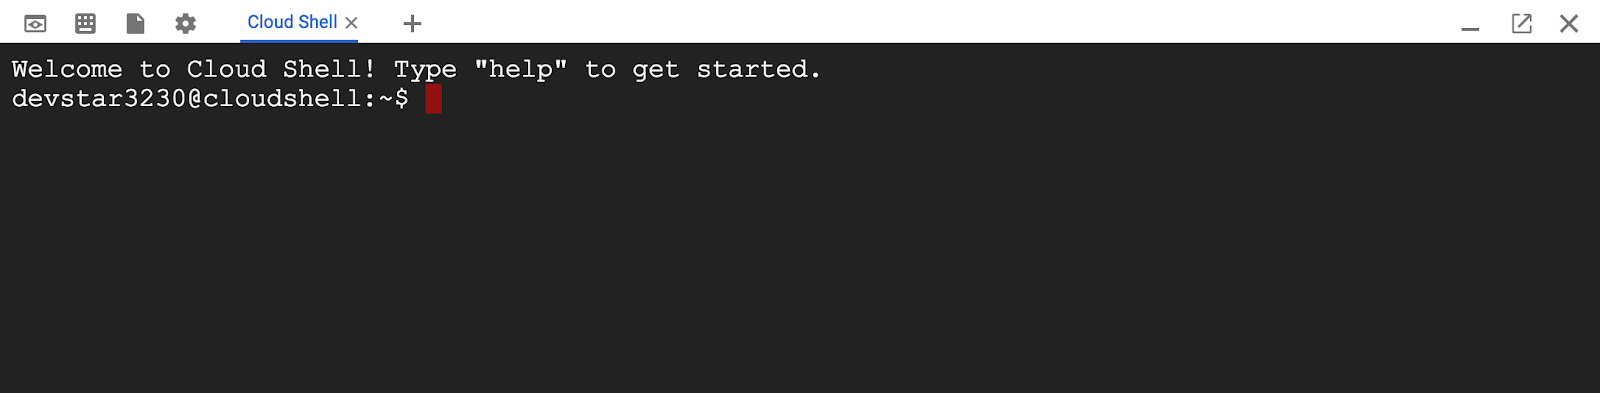
Once connected to Cloud Shell, you should see that you're already authenticated and that the project is already set to your PROJECT_ID.
- Generate a list of credentialed accounts:
gcloud auth list
You should see the this output:
Credentialed accounts:
 - <MY_ACCOUNT>@<MY_DOMAIN>.com (active)
- To see a list of your projects, enter this command.
gcloud config list project
You should see the this output:
[core]
project = <PROJECT_ID>
If, for some reason, the project isn't set, run this command to set the project up.
gcloud config set project <PROJECT_ID>
The PROJECT_ID is the ID that you used in the setup steps. You can also look it up in the Cloud Console dashboard:
Cloud Shell also sets some environment variables by default, which may be useful when you run future commands.
- To see your project ID, enter the following command.
echo $GOOGLE_CLOUD_PROJECT
You should see the following output:
<PROJECT_ID>
- Finally, set the default zone and project configuration.
gcloud config set compute/zone us-central1-f
You can choose a variety of different zones. For more information, see Regions and zones.
3. Call an API from a project
This codelab shows you how to use an example API (the Natural Language API) to find entities (like people, places, and events) in text, and how to approximate the sentiment (level of favorability) of that text. You learn how to:
- Enable Google Cloud APIs.
- Get authorization for the API with API keys and service accounts.
- Call the API with
curland client libraries.
Enable an API
- Select APIs & Services from the main menu in the Cloud Console.

- Select + ENABLE APIS AND SERVICES from the top of the screen.

- At this point, you can filter and browse APIs, or go directly to an API with the Search box. Search for
Natural Languageand select Cloud Natural Language API.
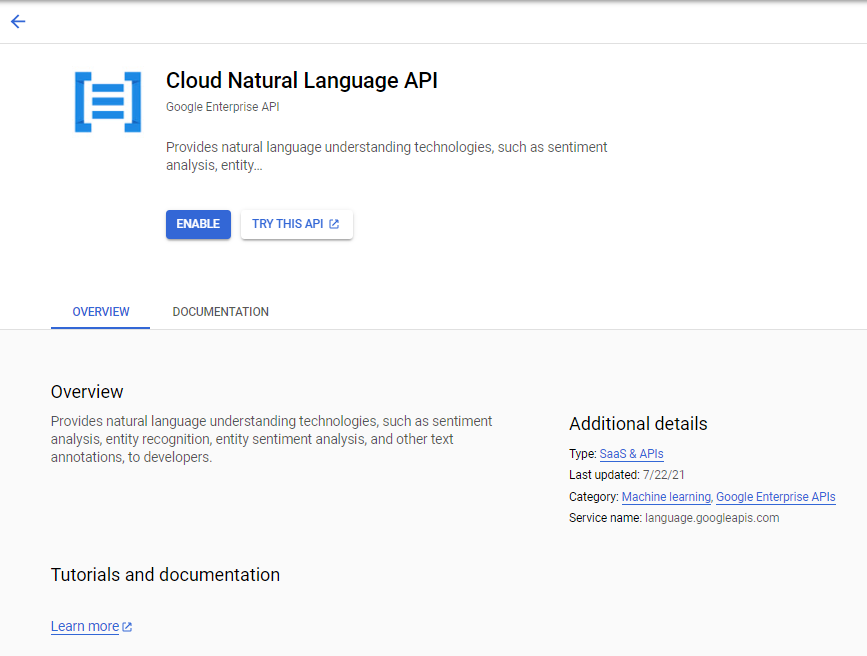
- Click TRY THIS API.
If there is not a TRY THIS API button shown, click one of the Methods listed to try that method.
Create an API Key
Because you use curl to send a request to the Natural Language API, you must generate an API key to pass in your request URL.
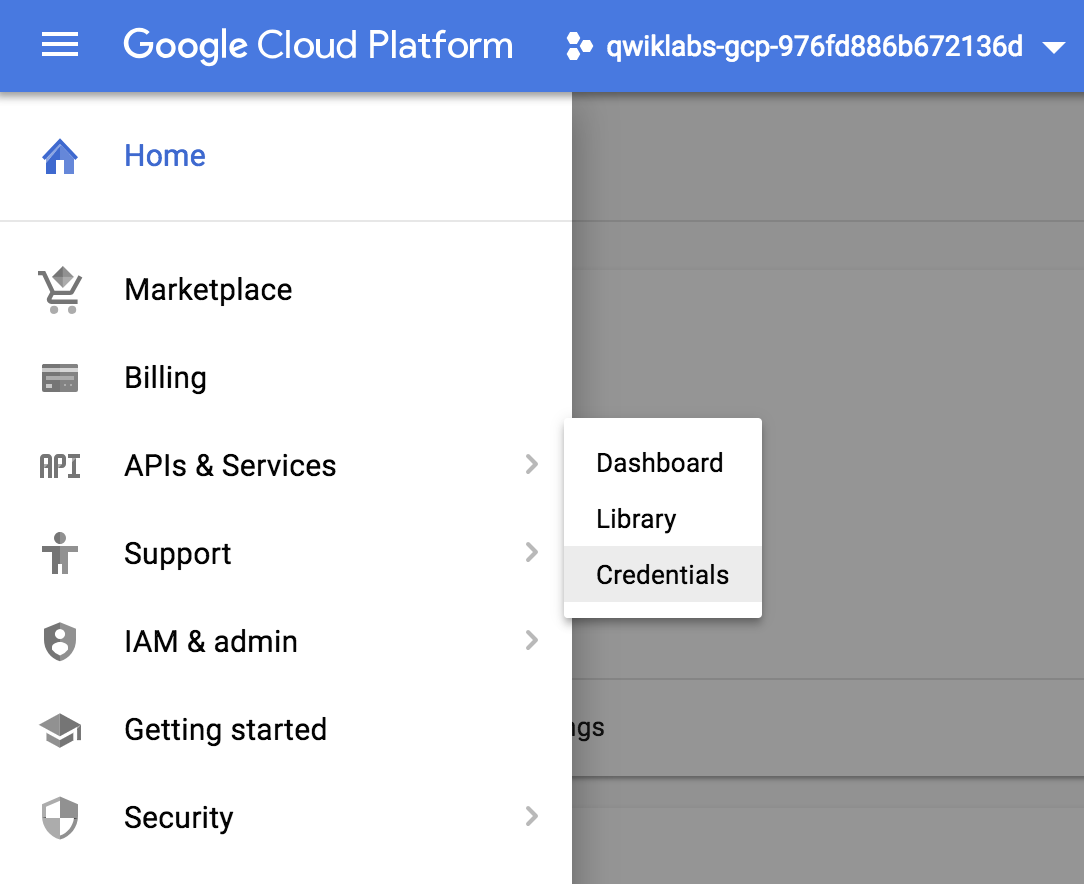
- In the Cloud Console, select Navigation menu > APIs & Services > Credentials.
- Click CREATE CREDENTIALS and then select API key:
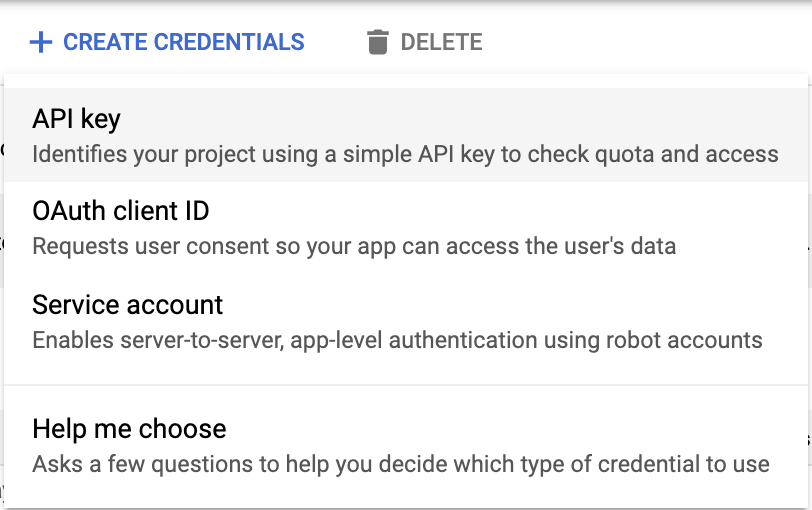
- Copy the generated API key and then click Close.
Use the API key to call the API
- In the Cloud Shell command line, export your API key.
export API_KEY=<YOUR_API_KEY>
Replace <YOUR_API_KEY> with the key that you generated previously.
- Create a request for the API in the Cloud Shell Editor or with a Linux editor, such as Vim or Emacs. You can find the details of the parameters at Method: documents.analyzeEntities. Save the output in a file called
request.json:
{
  "document":{
    "type":"PLAIN_TEXT",
    "content":"Google, headquartered in Mountain View (1600 Amphitheatre Pkwy, Mountain View, CA 940430), unveiled the new Android phone for $799 at the Consumer Electronic Show. Sundar Pichai said in his keynote that users love their new Android phones."
  },
  "encodingType":"UTF8"
}
- Call the API with the request information.
curl "https://language.googleapis.com/v1/documents:analyzeEntities?key=${API_KEY}" \
  -s -X POST -H "Content-Type: application/json" --data-binary @request.json
- Rerun the command and redirect the output to a file and examine the result. The details of the JSON file's output are also in Method: documents.analyzeEntities.
- To change the text to analyze in the
request.jsonfile, replace thecontentvalue with text of your choice.
4. Authorize with a service account
Service accounts are often preferred over API keys since they provide both authentication and authorization. You can think of service accounts as email addresses for your app.
- Return to the Credentials section of the APIs & Services menu.
- Select Create Credentials, but this time, select Service Account.
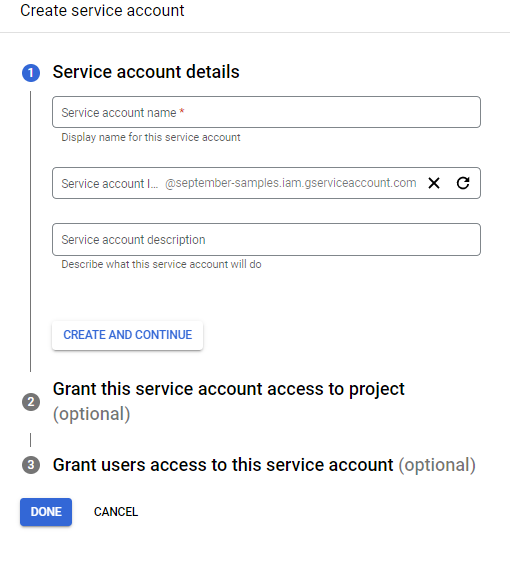
- Provide a Service account name that describes its purpose, such as "
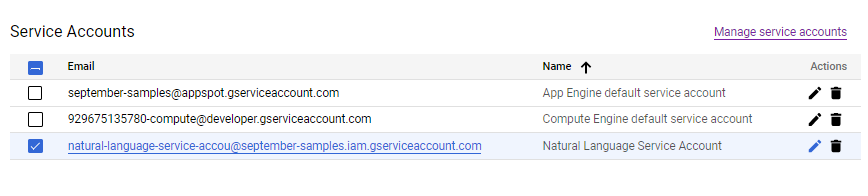
Natural Language Service Account". The system suggests an ID. You can also add a description. As you learn more about service accounts, you provide the service account access to projects and grant users access to the service account, but for now, just click Done to create the service account. - To create a key pair for the service account to use, click
 to edit the service account.
The details of your service account display.
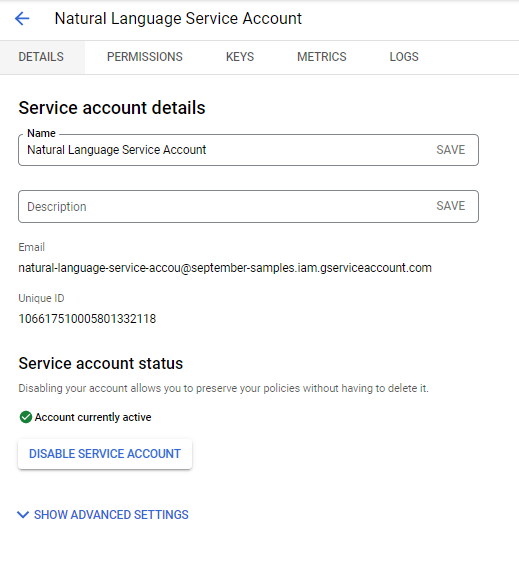
- Copy the service account's email address and return to the Cloud Shell.
- In the Cloud Shell, create a key pair for your service account and set an environment variable to point to it:
gcloud iam service-accounts keys create ~/key.json \
  --iam-account <your service account email>
export GOOGLE_APPLICATION_CREDENTIALS="/home/$USER/key.json"
Google Cloud uses this environment variable to find the credentials, so they don't need to be included in the API call.
- You can now call the API with the command:
gcloud ml language analyze-entities --content="Michelangelo Caravaggio, Italian painter, is known for 'The Calling of Saint Matthew'."
The result should be the same as before.
Many APIs have extensive client libraries to extract these details from. To learn more about client libraries, see Cloud Client Libraries. You can also read the documentation for the APIs you use to see what client libraries are available for them.
5. Clean up
It's bad practice to have an unrestricted API key for projects. If someone gets access to it, that person can use it with no further need for authentication.
To delete this API key:
- Click
 Navigation menu > APIs & Services > Credentials.
 - Under API Keys, select the key to delete and then click
 Delete.
 - Similarly, rather than worry about your Service Account Private Key being unprotected, under Service Accounts, select the service account to delete and then click Delete.
6. Congratulations
Congratulations! You learned how to create a Google Cloud project and how to call an API from within the project.