
1. Before you begin
This codelab shows you how to create a Google Cloud project, set up and navigate the Google Cloud Console, and access some of the most commonly used services in the Cloud Console.
Prerequisites
- Basic knowledge of how to use the command line.
- Basic knowledge of how to navigate the Cloud Console.
What you'll learn
- How to create a Google Cloud project.
- How to activate and use the Cloud Shell.
- How to navigate the Cloud Console.
- How to access the most commonly used services in the Cloud Console.
What you'll need
- A Google account, such as a Gmail account or a Google Workspace account.
- Access to a Cloud BIlling Account or a credit card to use to sign up for the free trial.
2. Create a Google Cloud project
This section steps you through how to create a Google Cloud project and use the Cloud Shell.
Get set up
- Sign in to Cloud Console and create a new project or reuse an existing one.


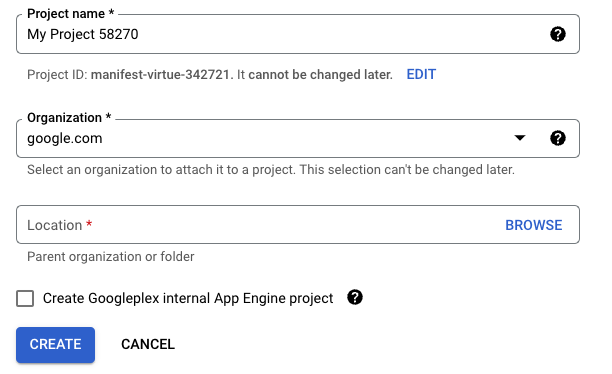
Remember the Project ID, which is shown just below the Project name. The ID is a unique name across all Google Cloud projects, and is referenced later in this codelab as PROJECT_ID.
- Enable billing in the Cloud Console so that you can use Google Cloud resources.
To work through this codelab shouldn't cost much, if anything. To prevent charges beyond this codelab, however, be sure to follow the instructions in the Clean up section.
Cloud Shell
In this codelab, you use Cloud Shell, a command-line environment that runs in Google Cloud. The Cloud Shell is a Debian-based virtual machine loaded with all the development tools that you need. It offers a persistent 5GB home directory, which greatly enhances network performance and authentication. This means that all you need for this codelab is a browser.
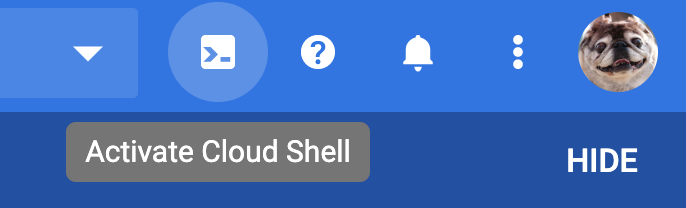
To activate Cloud Shell from the Cloud Console:
- Click
 Activate Cloud Shell.
It may take a few moments to provision and connect to the environment.
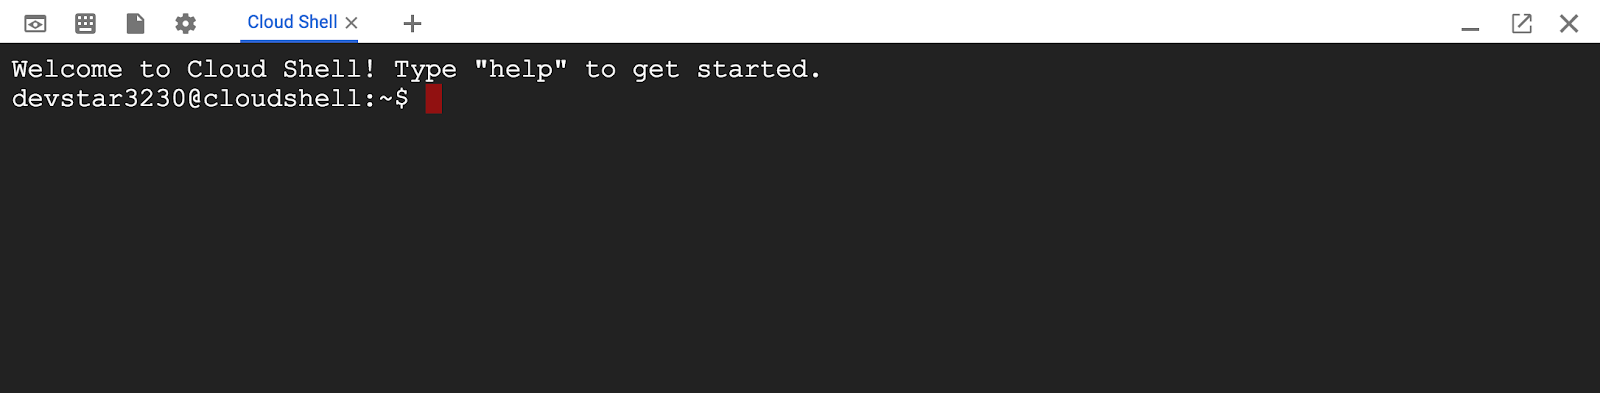
Once connected to Cloud Shell, you should see that you're already authenticated and that the project is already set to your PROJECT_ID.
- To see a list of credentialed accounts, enter the following in the Cloud Shell command line.
gcloud auth list
You should see the following output:
Credentialed accounts:
 - <MY_ACCOUNT>@<MY_DOMAIN>.com (active)
- To see a list of your projects, enter the following command.
gcloud config list project
You should see the following output:
[core]
project = <PROJECT_ID>
If, for some reason, the project isn't set, run this command to set the project up.
gcloud config set project <PROJECT_ID>
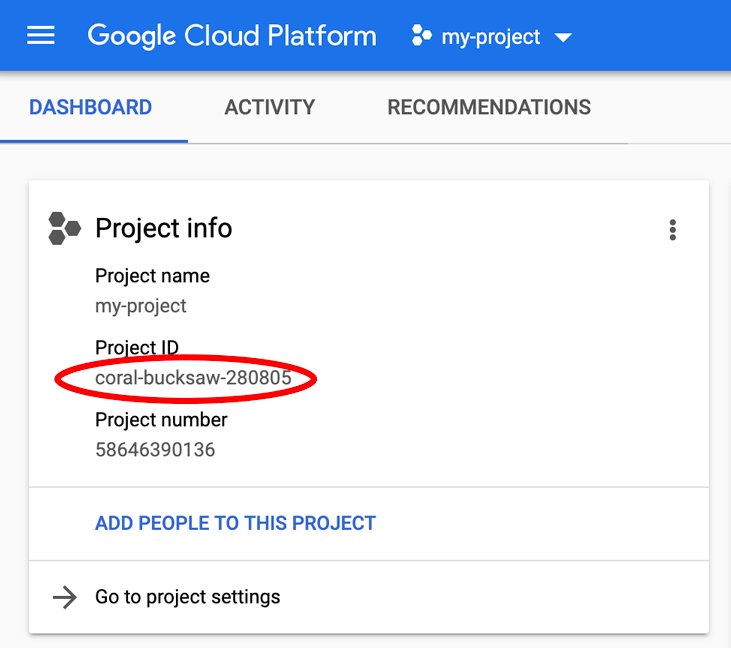
The PROJECT_ID is the ID that you used in the setup steps. You can also look it up in the Cloud Console dashboard:
Cloud Shell also sets some environment variables by default, which may be useful when you run future commands.
- To see your project ID, enter the following command.
echo $GOOGLE_CLOUD_PROJECT
You should see the following output:
<PROJECT_ID>
- Finally, set the default zone and project configuration.
gcloud config set compute/zone us-central1-f
You can choose a variety of different zones. For more information, see Regions and zones.
3. Use the Cloud Console
This section steps you through how to navigate the Cloud Console, and shows you how to access some of its most commonly used services.
Navigate the Cloud Console

- To access Cloud tools, click the navigation menu (
 ) at the top left of the screen to open the main menu. As you scroll through some of the options available, notice that tools are divided into major areas, such as Compute, Storage, Networking, and Big Data. Notice also that you can pin tools that you use often to the top of the menu.
 - Select Home to see the main dashboard.
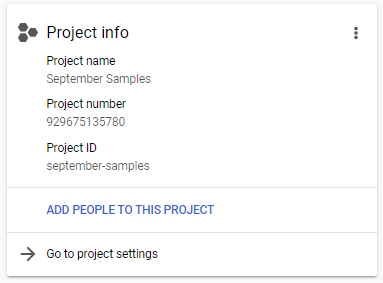
The dashboard displays information about your project's identity. The Project name is a descriptive term to help you identify the project. The Project number and Project ID must be unique across all of Google Cloud, and so may be more complicated and difficult to remember, but you can always find them on the dashboard. As you become more familiar with the console, you can customize the dashboard to show the items that are most important to you.

Many tools have additional context menus available. You can open and close the menus using the <| and |> buttons at the end of the menu.
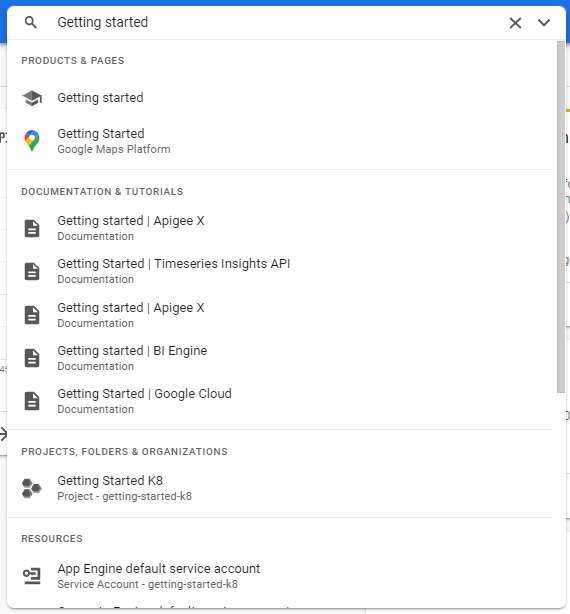
You can also navigate to tools using the Search field at the top of the Cloud Console.
Billing
The Billing section of the Cloud Console provides many tools to track billing for your project. For more information, see Cloud Billing documentation.
To set up billing for your project:
- In the navigation menu, click Billing. If you have multiple billing accounts, select Go to linked billing account when prompted.
- Take a few minutes to review the information available in the context menu. As you use Google Cloud, you can return to this section to track your billing.
- To receive notifications when you reach preset billing thresholds, you can create a budget. For more information, see Create, edit, or delete budgets and budget alerts.
- For detailed analysis, you may find it useful to export billing information to BigQuery. For more information, see Export Cloud Billing data to BigQuery.
APIs & Services
The Cloud Console can provide access to numerous Google APIs.
To enable APIs and create credentials for them, select APIs & Services from the main menu.
- Select the Enable APIs and Services tab to enable APIs. From this section, you can search for APIs, get more information about them, such as pricing if applicable, enable them, and try them out.
- Select the Create Credentials tab to create credentials, such as API keys, service accounts, and OAuth Client IDs,. For an overview of authentication in Google Cloud, see Authentication overview.
Identity and Access Management (IAM)
IAM provides fine-grained access control for Google Cloud resources. If you need to have collaborators on a project, make files in storage available to others, let others run queries, or perform similar tasks, IAM makes it easy to give the right permission to the right people or groups.
To configure IAM for your project:
- Click IAM & Admin > IAM in the navigation menu.
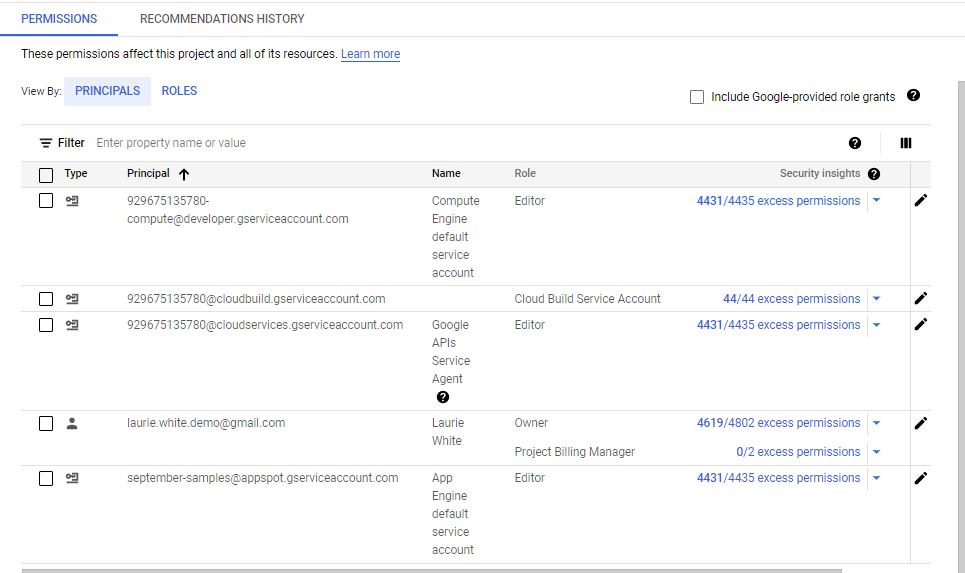
The IAM page shows the principals that have permissions for the project.
- Check the list to see the email address and the role that corresponds to it.
For each of these principals, there are a number of roles listed. To learn more, see Understanding roles and Understanding IAM custom roles.
You may also see that some principals are tagged with excess permissions. Google Cloud scans the actions of these principals and makes suggestions as to those who could have fewer permissions, which generally increases the security of your project. To learn more, see Enforce least privilege with role recommendations.
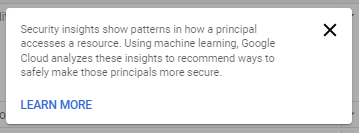
When you use the "?" for security insights, you see this warning:
- To add or remove permissions, use the links at the top of the IAM page.
- Take a few minutes to look at other items in the IAM & Admin navigation menu.
4. Clean up
If you added a project, you may want to delete it to avoid charges to your Google account.
- In the Cloud Console, go to the Manage resources page.
- In the project list, select the project that you want to delete, and then click Delete.
- In the dialog, type the project ID, and then click Shut down to delete the project.
5. Congratulations
Congratulations! You learned how to create a Google Cloud project and how to access some of the most commonly used sections of the Google Cloud console.