
1. はじめに
AR エクスペリエンスを MP4 ファイルに保存し、MP4 ファイルから再生できると、アプリ デベロッパーとエンドユーザーの双方にとってメリットがあります。
自分のデスクから新機能のデバッグとテストを行う
ARCore Record & Playback API の最も直接的な使われ方は、デベロッパーによる利用です。テストデバイスでアプリをビルドして実行し、USB ケーブルを取り外して、わずかなコード変更をテストするだけのために歩き回る時代はもう終わりました。現在は、想定されるスマートフォンの動作とともにテスト環境で MP4 を録画するだけで済み、自分のデスクから直接テストします。
さまざまなデバイスで録画し再生する
Recording API と Playback API を使用すると、あるユーザーがセッションを録画し、別のユーザーが異なるデバイスで同じセッションを再生できます。AR エクスペリエンスを別のユーザーと共有することもできます。多くの可能性があります。
ARCore アプリを作成するのは今回が初めてですか?
この Codelab をどのように使用しますか?
作成するアプリの概要
この Codelab では、Recording & Playback API を使用して、AR エクスペリエンスを MP4 ファイルに録画するとともに、同じファイルからエクスペリエンスを再生するアプリを作成します。学習内容:
- Recording API を使用して AR セッションを MP4 ファイルに保存する方法。
- Playback API を使用して、MP4 ファイルから AR セッションを再生する方法。
- AR セッションをあるデバイスで録画し、それを別のデバイスで再生する方法。
必要なもの
この Codelab では、ARCore Android SDK を使用して構築された Hello AR Java アプリを修正します。それを行うには、一定のハードウェアとソフトウェアが必要です。
ハードウェア要件
- [開発者向けオプション] がオンになっており、USB デバッグが有効で USB ケーブルで開発マシンに接続された ARCore 対応デバイス。
- Android Studio を実行する開発マシン。
- 開発中にライブラリをダウンロードするために必要なインターネットへのアクセス。
ソフトウェア要件
- 開発用 ARCore デバイス: Google Play 開発者サービス(AR)(ARCore)1.24 以降。通常、このサービスは、自動的に Play ストアからデバイスへインストールされます。手動で ARCore 対応デバイスにインストールすることもできます。
- 開発マシン: Android Studio(v3.1 以降)。
最良の結果を得るには、ARCore に関する基本的な知識も必要です。
2. 開発環境を設定する
開発環境の設定から始めます。
ARCore Android SDK をダウンロードする
ARCore Android SDK を解凍する
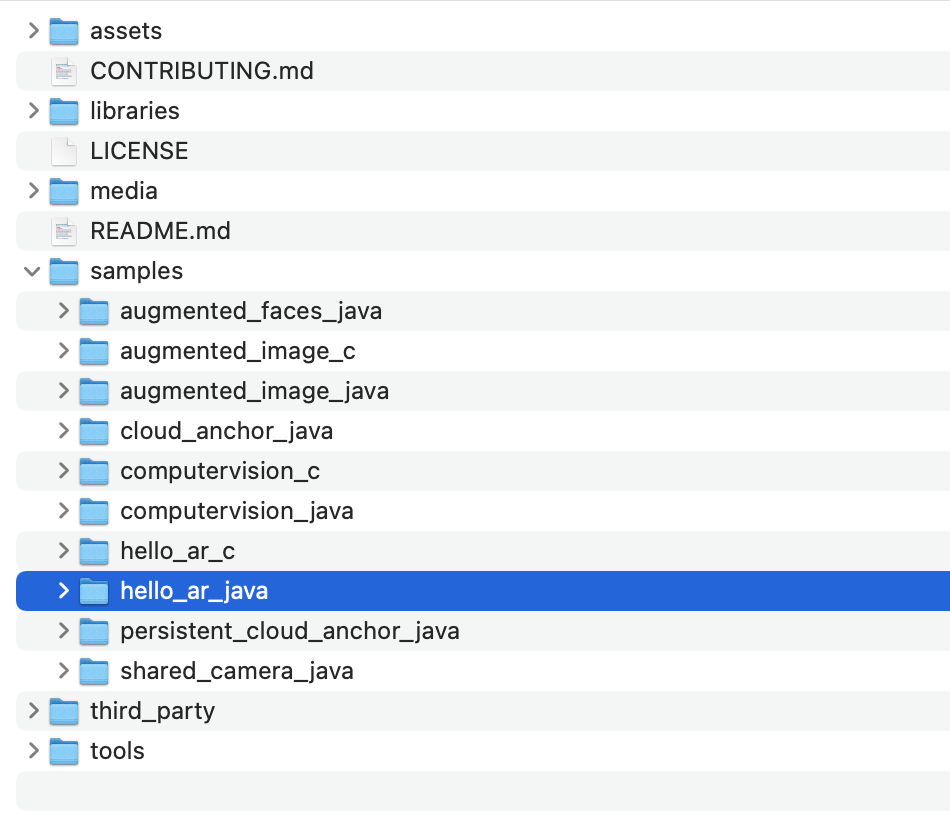
マシンに Android SDK をダウンロードしたら、ファイルを解凍して、arcore-android-sdk-1.24/samples/hello_ar_java ディレクトリに移動します。これは、今から取り組むアプリのルート ディレクトリです。
Hello AR Java を Android Studio に読み込む
Android Studio を起動して、[Open an existing Android Studio project] をクリックします。
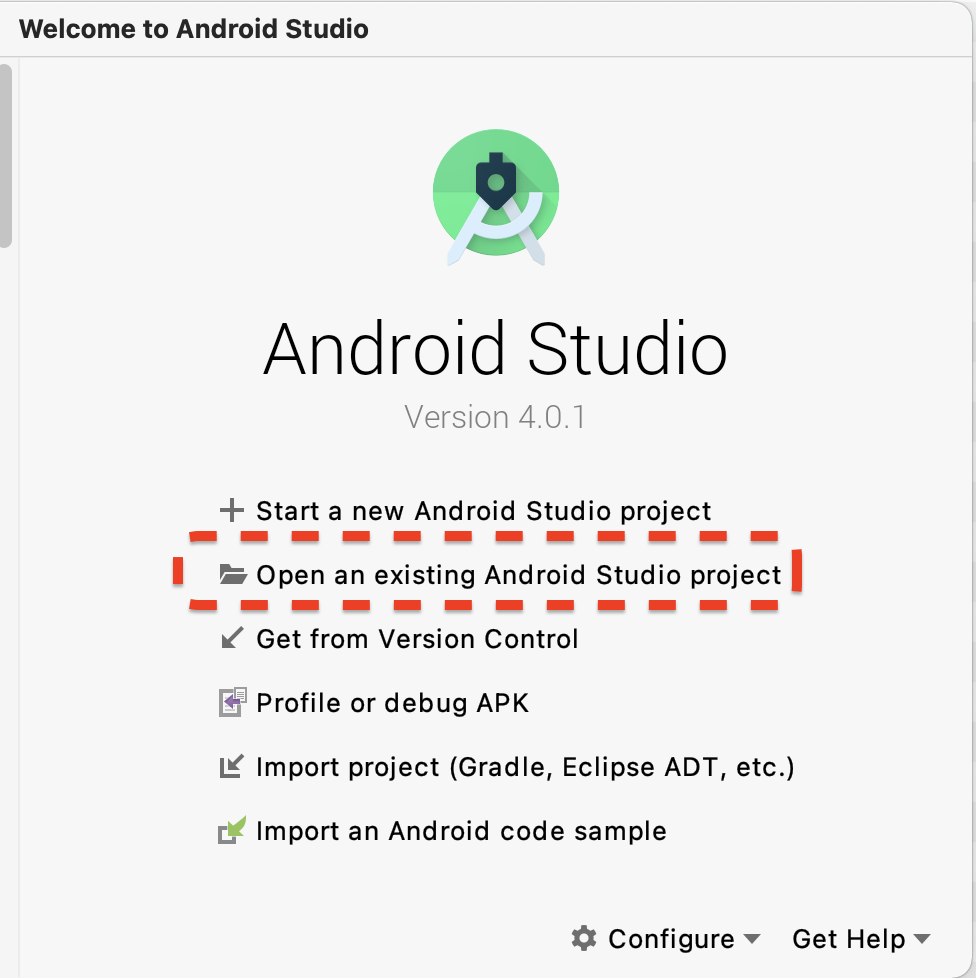
表示されたダイアログ ウィンドウで、[arcore-android-sdk-1.24/samples/hello_ar_java] を選択して [Open] をクリックします。
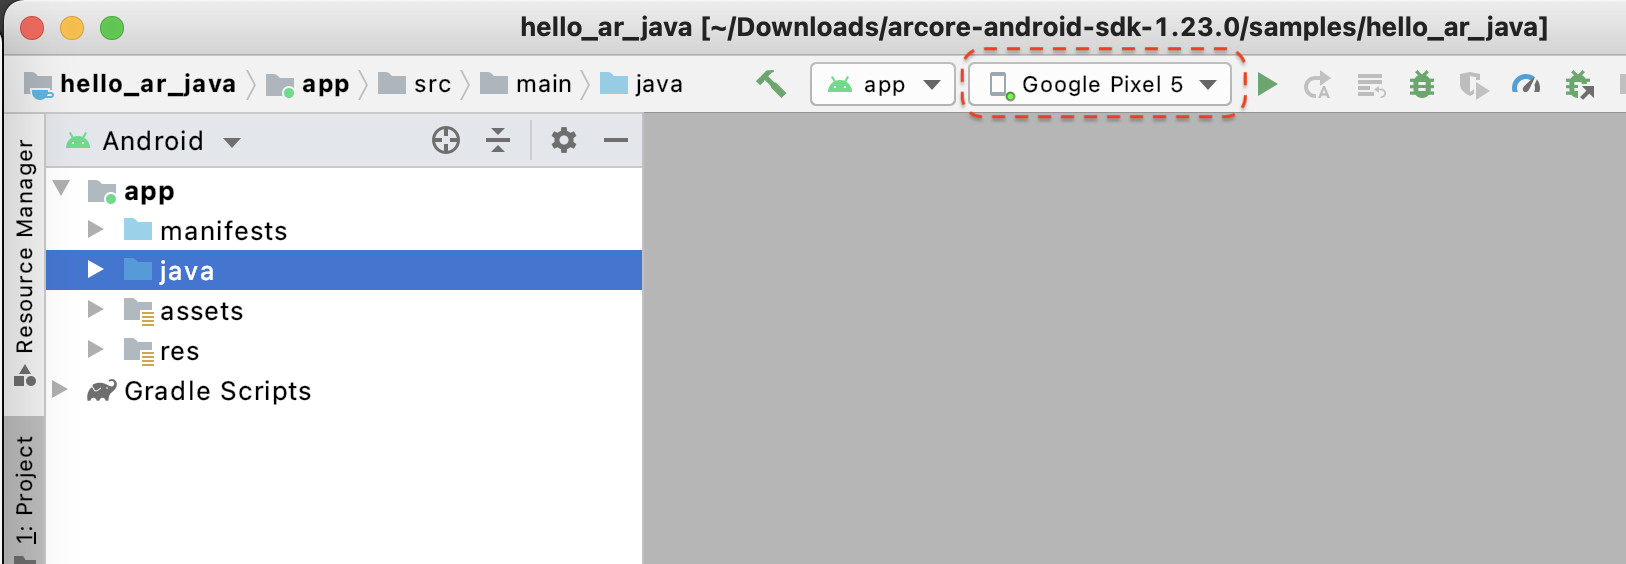
Android Studio がプロジェクトの同期を完了するまで待ちます。不足しているコンポーネントがあると、プロジェクトのインポートが失敗し、エラー メッセージが表示されることがあります。続行する前にこれらの問題を修正してください。
サンプルアプリを実行する
- ARCore 対応デバイスを開発マシンに接続します。
- デバイスが正しく認識されていれば、デバイス名が Android Studio に表示されます。
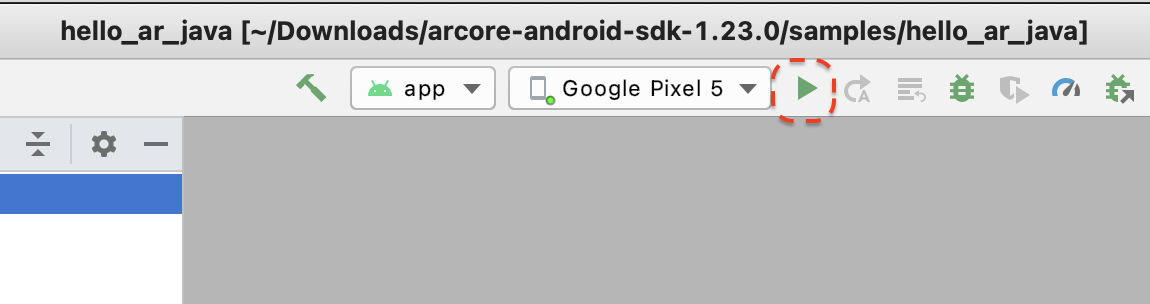
- 実行ボタンをクリックするか、[Run] > [Run 'app'] の順に選択し、Android Studio でデバイスにアプリをインストールして起動します。
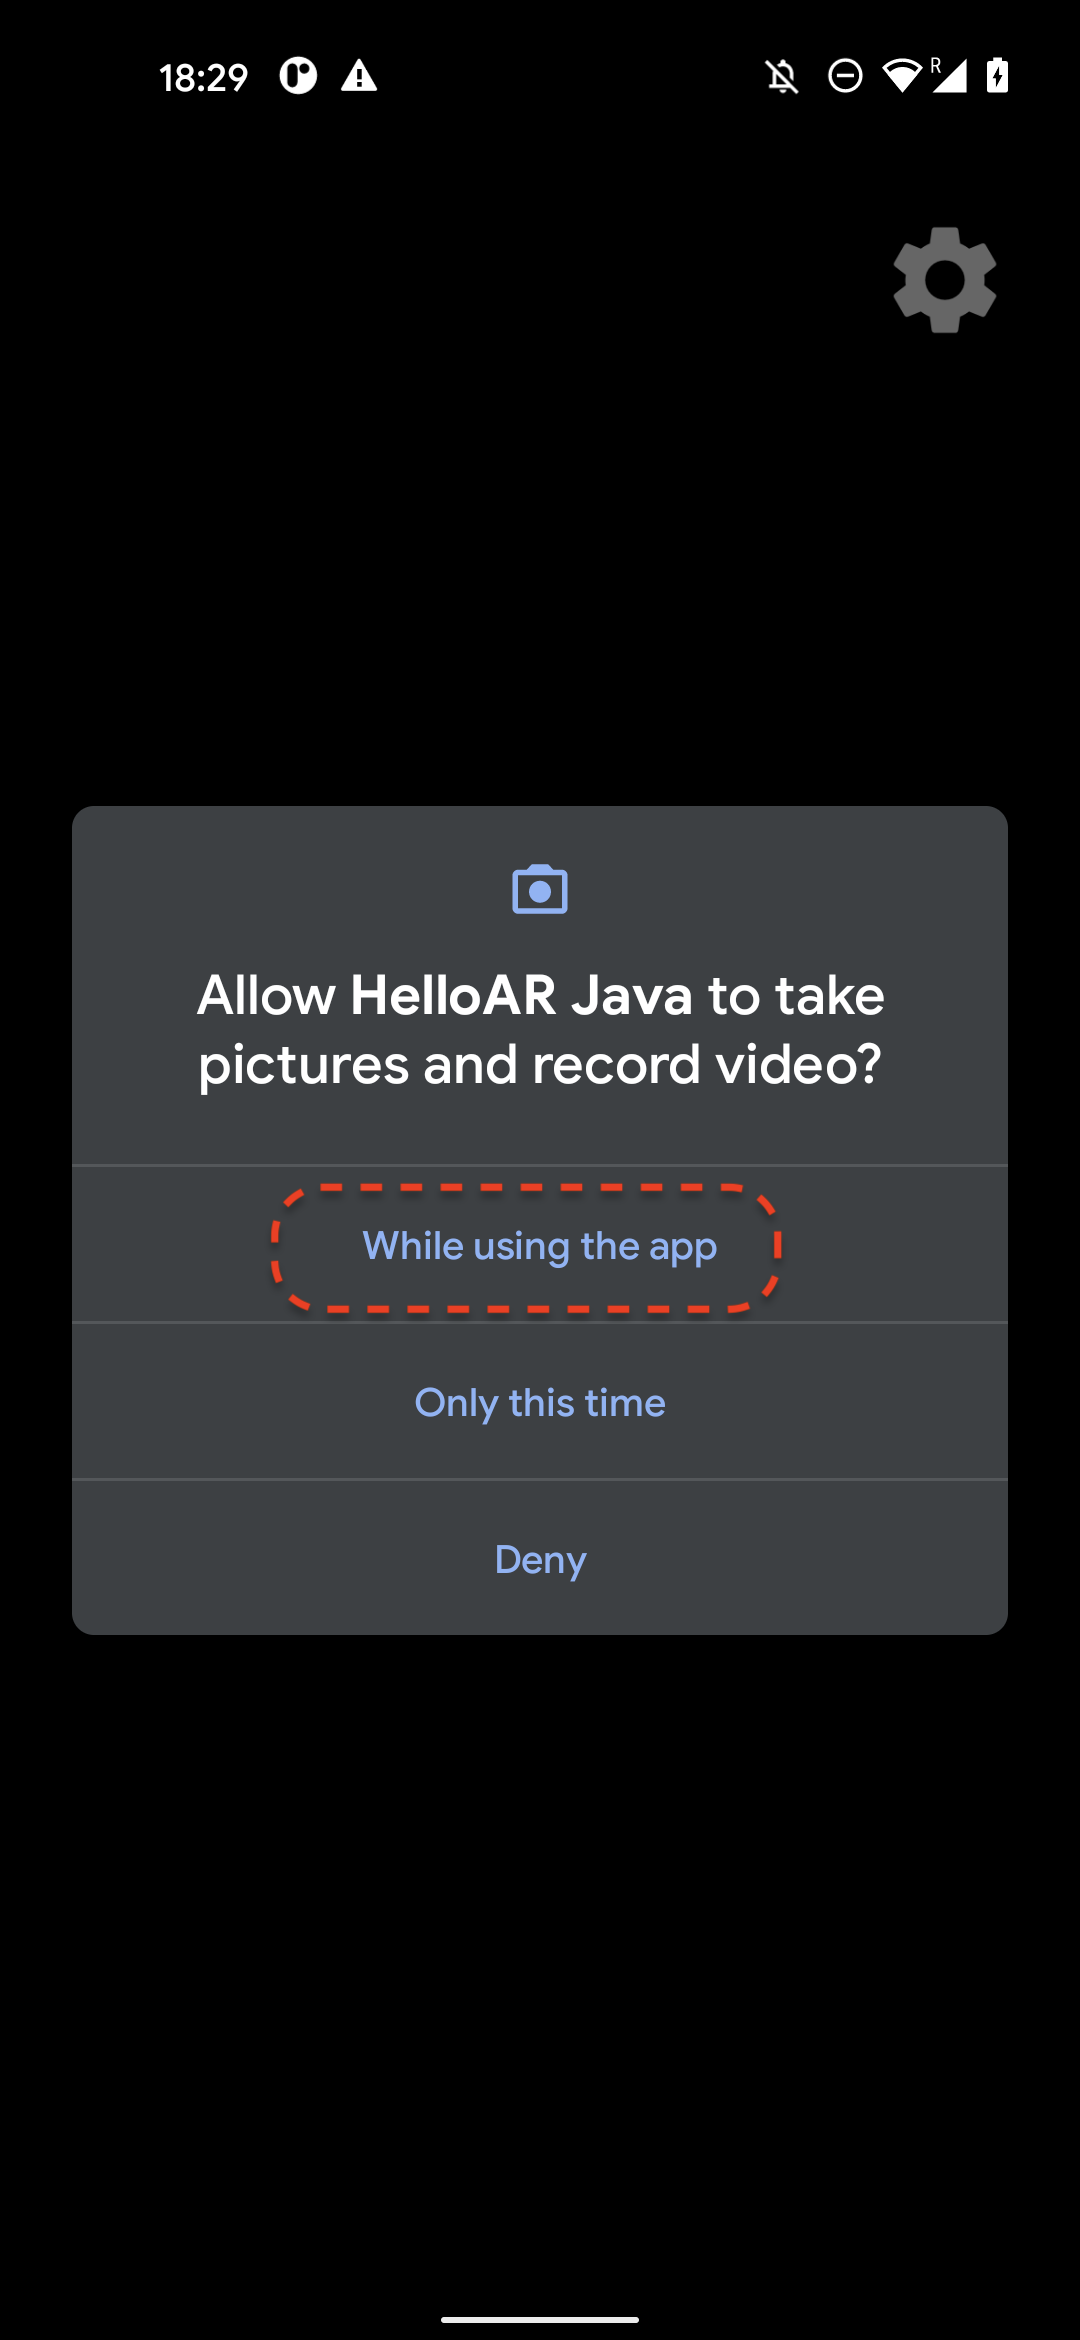
- 写真と動画の撮影許可を求めるメッセージが表示されます。[While using this app] を選択して、アプリにカメラへのアクセスを許可します。デバイスの画面に、現実世界における周囲の状況が表示されます。
- デバイスを水平に動かして平面をスキャンします。
- アプリが平面を検出すると、白いグリッドが表示されます。それをタップすると、平面上にマーカーが配置されます。
このステップで行った作業
- Hello AR Java プロジェクトを設定しました。
- ARCore 対応デバイスにサンプルアプリをビルドして実行しました。
次は、AR セッションを MP4 ファイルに録画します。
3. ARCore セッションを MP4 ファイルに録画する
このステップでは、録画機能を追加します。これは次の要素で構成されます。
- 録画を開始または停止するボタン。
- MP4 ファイルをデバイスに保存するストレージ関数。
- ARCore セッションの録画を開始または停止するための呼び出し。
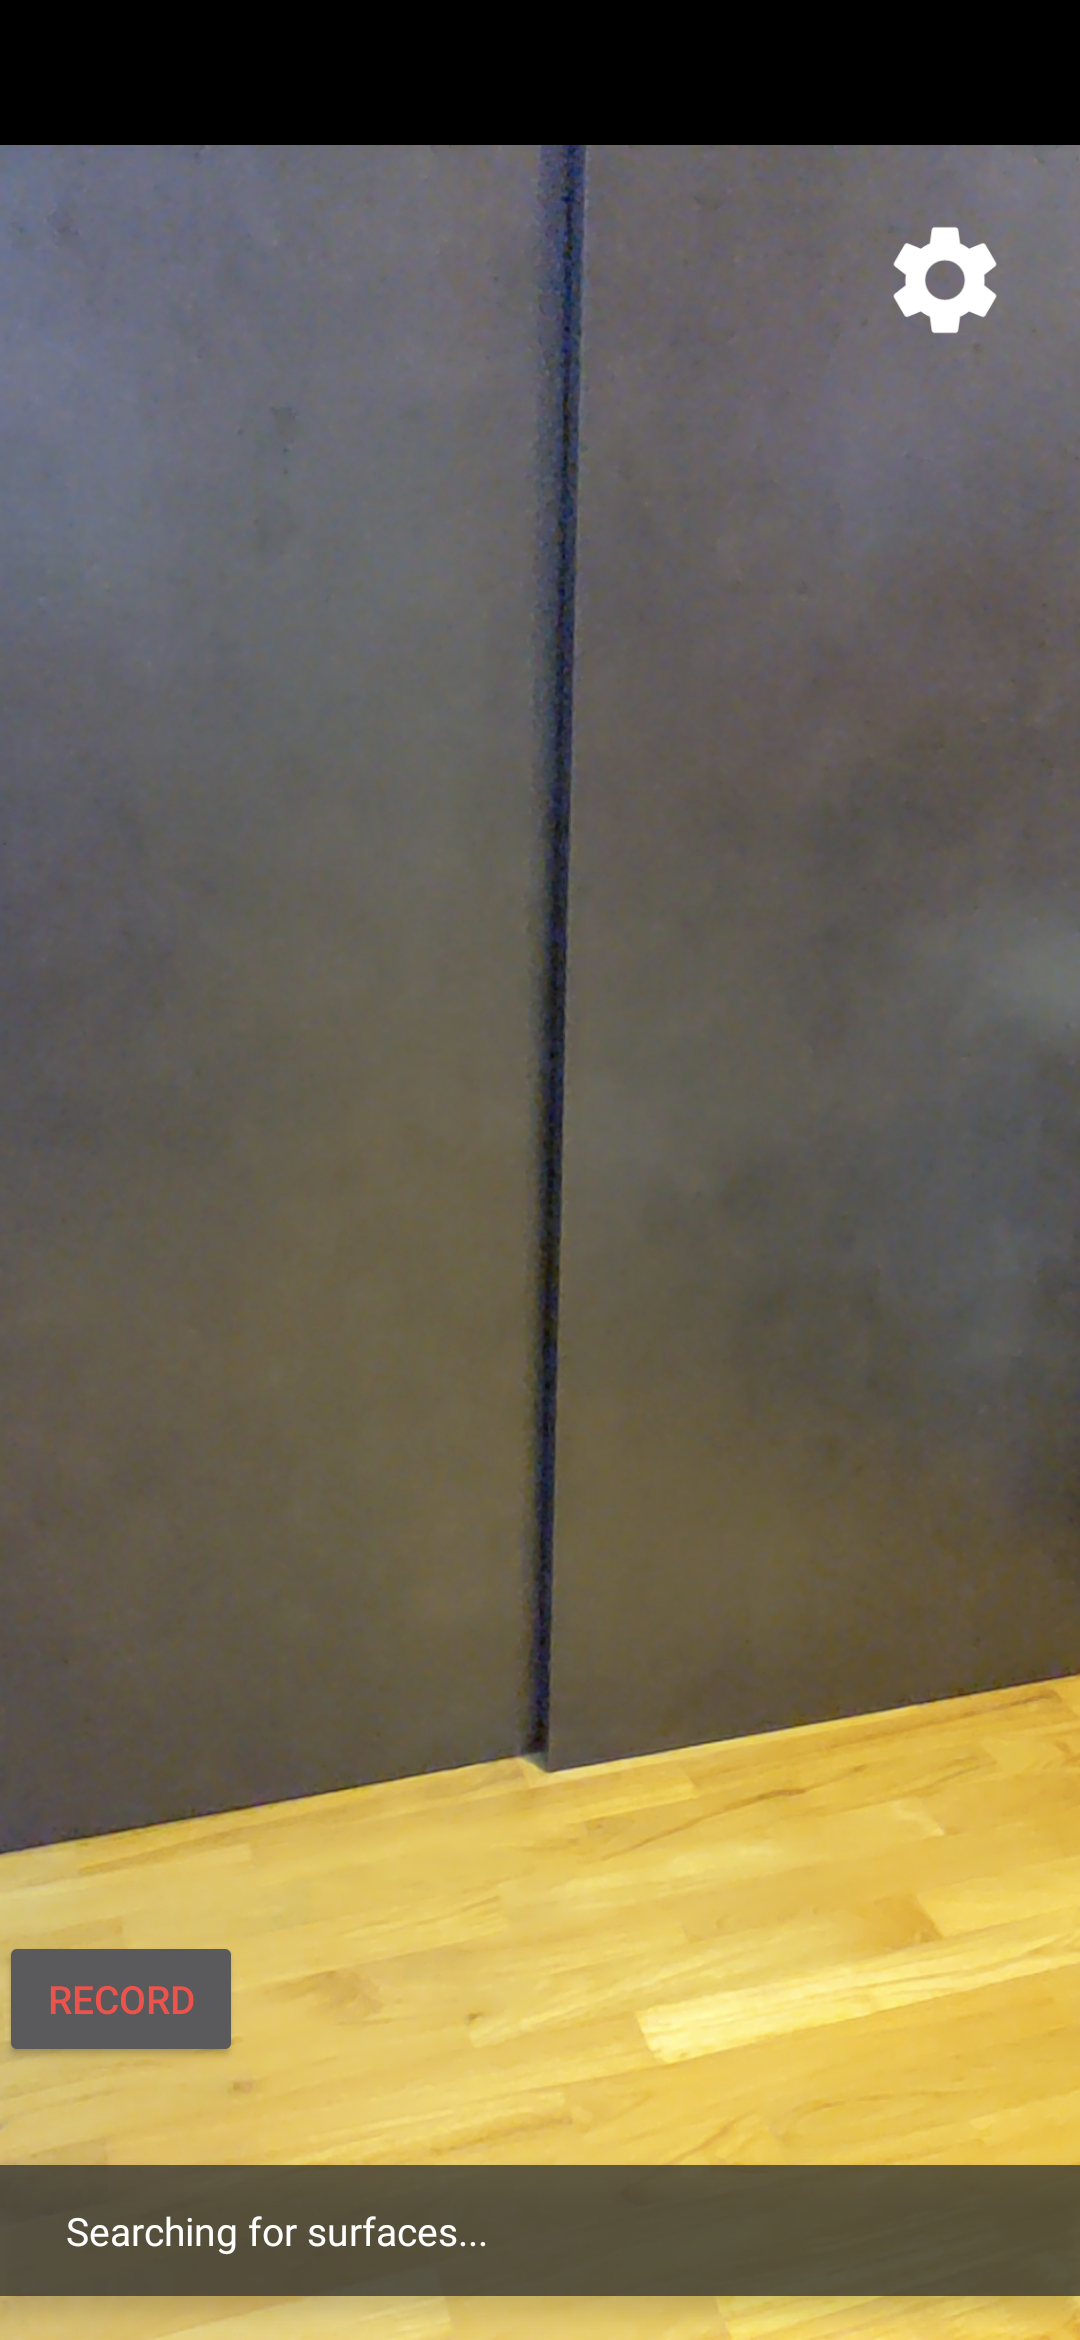
[Record] ボタンの UI を追加する
録画機能を実装する前に UI にボタンを追加して、録画の開始と停止のタイミングを ARCore に通知できるようにします。
[Project] パネルで、app/res/layout/activity_main.xml ファイルを開きます。
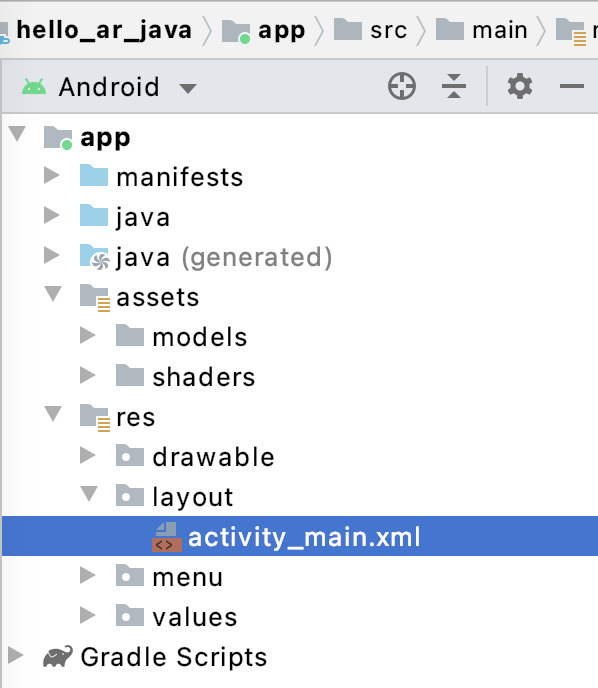
デフォルトでは、Android Studio で app/res/layout/activity_main.xml ファイルを開くと、デザインビューが使用されます。タブの右上にある [Code] ボタンをクリックして、コードビューに切り替えます。

activity_main.xml で、次のコードを終了タグの前に追加して、新しい [Record] ボタンを作成し、そのイベント ハンドラを onClickRecord() というメソッドに設定します。
  <!--
    Add a new "Record" button with those attributes:
        text is "Record",
        onClick event handler is "onClickRecord",
        text color is "red".
  -->
  <Button
      android:id="@+id/record_button"
      android:layout_width="wrap_content"
      android:layout_height="wrap_content"
      android:layout_alignLeft="@id/surfaceview"
      android:layout_alignBottom="@id/surfaceview"
      android:layout_marginBottom="100dp"
      android:onClick="onClickRecord"
      android:text="Record"
      android:textColor="@android:color/holo_red_light" />
上記のコードを追加すると、一時的に「Corresponding method handler 'public void onClickRecord(android.view.View)' not found"」というエラーが表示される場合があります。これは予期されたエラーです。このエラーは、次のステップで onClickRecord() 関数を作成することによって解決されます。
状態に基づいてボタンのテキストを変更する
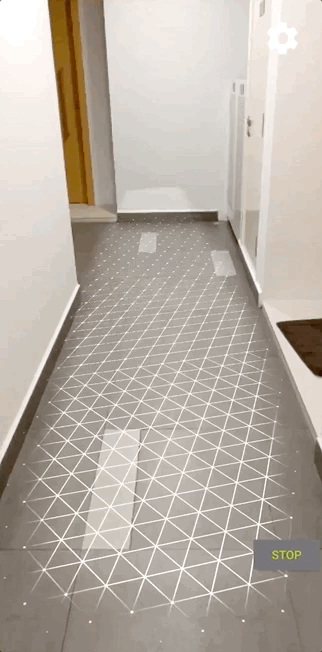
[Record] ボタンは、実際には録画と停止の両方を扱います。アプリが録画していないときは、「Record」という文字が表示されます。アプリが録画しているときは、ボタンが「Stop」に変わります。
ボタンにこの機能を持たせるには、アプリが現在の状態を把握している必要があります。次のコードでは、アプリの動作状態を表す AppState という列挙型を新しく作成し、appState という非公開のメンバー変数を通じてその状態変化を追跡します。これを、HelloArActivity.java の HelloArActivity クラスの先頭に追加します。
  // Represents the app's working state.
  public enum AppState {
    Idle,
    Recording
  }

  // Tracks app's specific state changes.
  private AppState appState = AppState.Idle;
以上でアプリの内部状態を追跡できるようになったので、アプリの現在状態に基づいてボタンの文字を変更する updateRecordButton() という関数を作成します。次のコードを、HelloArActivity.java の HelloArActivity クラス内に追加します。
// Add imports to the beginning of the file.
import android.widget.Button;

  // Update the "Record" button based on app's internal state.
  private void updateRecordButton() {
    View buttonView = findViewById(R.id.record_button);
    Button button = (Button) buttonView;

    switch (appState) {
      case Idle:
        button.setText("Record");
        break;
      case Recording:
        button.setText("Stop");
        break;
    }
  }
次に、onClickRecord() メソッドを作成します。このメソッドは、アプリの状態を確認して次の状態に変更し、ボタンの UI を変更するために updateRecordButton() を呼び出します。次のコードを、HelloArActivity.java の HelloArActivity クラス内に追加します。
  // Handle the "Record" button click event.
  public void onClickRecord(View view) {
    Log.d(TAG, "onClickRecord");

    // Check the app's internal state and switch to the new state if needed.
    switch (appState) {
        // If the app is not recording, begin recording.
      case Idle: {
        boolean hasStarted = startRecording();
        Log.d(TAG, String.format("onClickRecord start: hasStarted %b", hasStarted));

        if (hasStarted)
          appState = AppState.Recording;

        break;
      }

      // If the app is recording, stop recording.
      case Recording: {
        boolean hasStopped = stopRecording();
        Log.d(TAG, String.format("onClickRecord stop: hasStopped %b", hasStopped));

        if (hasStopped)
          appState = AppState.Idle;

        break;
      }

      default:
        // Do nothing.
        break;
    }

    updateRecordButton();
  }
アプリで録画を開始できるようにする
ARCore では、次の 2 つのことを行うだけで録画を開始できます。
RecordingConfigオブジェクトに録画ファイルの URI を指定する。RecordingConfigオブジェクトを指定してsession.startRecordingを呼び出す。
他の部分は、ただのボイラープレート コード(構成、ロギング、正確性の確認)です。
録画して、それを MP4 URI に保存する startRecording() という新しい関数を作成します。次のコードを、HelloArActivity.java の HelloArActivity クラス内に追加します。
// Add imports to the beginning of the file.
import android.net.Uri;
import com.google.ar.core.RecordingConfig;
import com.google.ar.core.RecordingStatus;
import com.google.ar.core.exceptions.RecordingFailedException;

  private boolean startRecording() {
    Uri mp4FileUri = createMp4File();
    if (mp4FileUri == null)
      return false;

    Log.d(TAG, "startRecording at: " + mp4FileUri);

    pauseARCoreSession();

    // Configure the ARCore session to start recording.
    RecordingConfig recordingConfig = new RecordingConfig(session)
        .setMp4DatasetUri(mp4FileUri)
        .setAutoStopOnPause(true);

    try {
      // Prepare the session for recording, but do not start recording yet.
      session.startRecording(recordingConfig);
    } catch (RecordingFailedException e) {
      Log.e(TAG, "startRecording - Failed to prepare to start recording", e);
      return false;
    }

    boolean canResume = resumeARCoreSession();
    if (!canResume)
      return false;

    // Correctness checking: check the ARCore session's RecordingState.
    RecordingStatus recordingStatus = session.getRecordingStatus();
    Log.d(TAG, String.format("startRecording - recordingStatus %s", recordingStatus));
    return recordingStatus == RecordingStatus.OK;
  }
ARCore セッションを安全に一時停止して再開するため、HelloArActivity.java に pauseARCoreSession() と resumeARCoreSession() を作成します。
  private void pauseARCoreSession() {
    // Pause the GLSurfaceView so that it doesn't update the ARCore session.
    // Pause the ARCore session so that we can update its configuration.
    // If the GLSurfaceView is not paused,
    //   onDrawFrame() will try to update the ARCore session
    //   while it's paused, resulting in a crash.
    surfaceView.onPause();
    session.pause();
  }

  private boolean resumeARCoreSession() {
    // We must resume the ARCore session before the GLSurfaceView.
    // Otherwise, the GLSurfaceView will try to update the ARCore session.
    try {
      session.resume();
    } catch (CameraNotAvailableException e) {
      Log.e(TAG, "CameraNotAvailableException in resumeARCoreSession", e);
      return false;
    }

    surfaceView.onResume();
    return true;
  }
アプリで録画を停止できるようにする
アプリが新しい録画を停止する、stopRecording() という関数を HelloArActivity.java に作成します。この関数は、session.stopRecording() を呼び出し、アプリが録画を停止できない場合はコンソールログにエラーを送信します。
  private boolean stopRecording() {
    try {
      session.stopRecording();
    } catch (RecordingFailedException e) {
      Log.e(TAG, "stopRecording - Failed to stop recording", e);
      return false;
    }

    // Correctness checking: check if the session stopped recording.
    return session.getRecordingStatus() == RecordingStatus.NONE;
  }
Android 11 の対象範囲別ストレージを使用してファイル ストレージを設計する
この Codelab では、Android 11 の新しい対象範囲別ストレージの要件に沿ってストレージ関連の関数が設計されています。
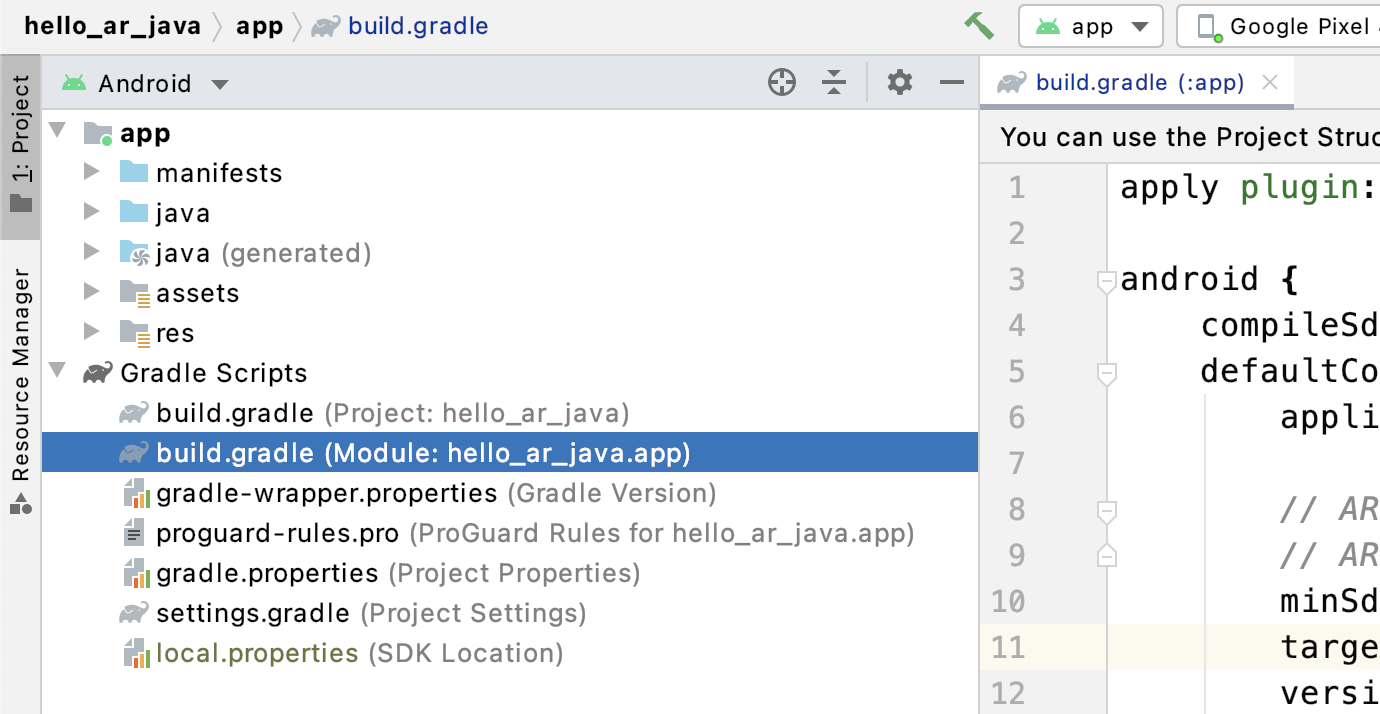
Android 11 を対象とするために、app/build.gradle ファイルを少し変更します。Android Studio の [Project] パネルで、このファイルは [Gradle Scripts] ノードの下にあり、app モジュールに関連付けられています。
compileSdkVersion と targetSdkVersion を、30 に変更します。
    compileSdkVersion 30
    defaultConfig {
      targetSdkVersion 30
    }
録画では、Android MediaStore API を使用して、共有の Movie ディレクトリに MP4 ファイルを作成します。
HelloArActivity.java に createMp4File() という名前の関数を作成します。
// Add imports to the beginning of the file.
import java.text.SimpleDateFormat;
import android.content.ContentResolver;
import android.net.Uri;
import android.os.Build;
import android.os.Environment;
import android.provider.MediaStore;
import android.content.ContentValues;
import java.io.File;
import android.content.CursorLoader;
import android.database.Cursor;
import java.util.Date;

  private final String MP4_VIDEO_MIME_TYPE = "video/mp4";

  private Uri createMp4File() {
    SimpleDateFormat dateFormat = new SimpleDateFormat("yyyyMMdd_HHmmss");
    String mp4FileName = "arcore-" + dateFormat.format(new Date()) + ".mp4";

    ContentResolver resolver = this.getContentResolver();

    Uri videoCollection = null;
    if (Build.VERSION.SDK_INT >= Build.VERSION_CODES.Q) {
      videoCollection = MediaStore.Video.Media.getContentUri(
          MediaStore.VOLUME_EXTERNAL_PRIMARY);
    } else {
      videoCollection = MediaStore.Video.Media.EXTERNAL_CONTENT_URI;
    }

    // Create a new Media file record.
    ContentValues newMp4FileDetails = new ContentValues();
    newMp4FileDetails.put(MediaStore.Video.Media.DISPLAY_NAME, mp4FileName);
    newMp4FileDetails.put(MediaStore.Video.Media.MIME_TYPE, MP4_VIDEO_MIME_TYPE);

    if (Build.VERSION.SDK_INT >= Build.VERSION_CODES.Q) {
      // The Relative_Path column is only available since API Level 29.
      newMp4FileDetails.put(MediaStore.Video.Media.RELATIVE_PATH, Environment.DIRECTORY_MOVIES);
    } else {
      // Use the Data column to set path for API Level <= 28.
      File mp4FileDir = Environment.getExternalStoragePublicDirectory(Environment.DIRECTORY_MOVIES);
      String absoluteMp4FilePath = new File(mp4FileDir, mp4FileName).getAbsolutePath();
      newMp4FileDetails.put(MediaStore.Video.Media.DATA, absoluteMp4FilePath);
    }

    Uri newMp4FileUri = resolver.insert(videoCollection, newMp4FileDetails);

    // Ensure that this file exists and can be written.
    if (newMp4FileUri == null) {
      Log.e(TAG, String.format("Failed to insert Video entity in MediaStore. API Level = %d", Build.VERSION.SDK_INT));
      return null;
    }

    // This call ensures the file exist before we pass it to the ARCore API.
    if (!testFileWriteAccess(newMp4FileUri)) {
      return null;
    }

    Log.d(TAG, String.format("createMp4File = %s, API Level = %d", newMp4FileUri, Build.VERSION.SDK_INT));

    return newMp4FileUri;
  }

  // Test if the file represented by the content Uri can be open with write access.
  private boolean testFileWriteAccess(Uri contentUri) {
    try (java.io.OutputStream mp4File = this.getContentResolver().openOutputStream(contentUri)) {
      Log.d(TAG, String.format("Success in testFileWriteAccess %s", contentUri.toString()));
      return true;
    } catch (java.io.FileNotFoundException e) {
      Log.e(TAG, String.format("FileNotFoundException in testFileWriteAccess %s", contentUri.toString()), e);
    } catch (java.io.IOException e) {
      Log.e(TAG, String.format("IOException in testFileWriteAccess %s", contentUri.toString()), e);
    }

    return false;
  }
ストレージの権限を処理する
Android 11 デバイスを使用している場合は、コードのテストを開始できます。Android 10 以前のデバイスをサポートするには、対象デバイスのファイル システムにデータを保存するためのストレージ権限をアプリに付与する必要があります。
AndroidManifest.xml で、Android 11(API レベル 30)より前のデバイスでは、アプリがストレージの読み取りおよび書き込み権限を必要とすることを宣言します。
  <!-- Inside the <manifest> tag, below the existing Camera permission -->
  <uses-permission android:name="android.permission.WRITE_EXTERNAL_STORAGE"
      android:maxSdkVersion="29" />

  <uses-permission android:name="android.permission.READ_EXTERNAL_STORAGE"
      android:maxSdkVersion="29" />
実行時に WRITE_EXTERNAL_STORAGE 権限をリクエストするように、checkAndRequestStoragePermission() という名前のヘルパー関数を HelloArActivity.java に追加します。
// Add imports to the beginning of the file.
import android.Manifest;
import android.content.pm.PackageManager;
import androidx.core.app.ActivityCompat;
import androidx.core.content.ContextCompat;

  private final int REQUEST_WRITE_EXTERNAL_STORAGE = 1;
  public boolean checkAndRequestStoragePermission() {
    if (ContextCompat.checkSelfPermission(this, Manifest.permission.WRITE_EXTERNAL_STORAGE)
        != PackageManager.PERMISSION_GRANTED) {
      ActivityCompat.requestPermissions(this,
          new String[]{Manifest.permission.WRITE_EXTERNAL_STORAGE},
          REQUEST_WRITE_EXTERNAL_STORAGE);
      return false;
    }

    return true;
  }
API レベル 29 以前を使用している場合は、createMp4File() の先頭にストレージ権限のチェックを追加し、アプリに正しい権限がない場合は早い段階で関数を終了します。API レベル 30(Android 11)では、MediaStore 内のファイルへのアクセスにストレージ権限は必要ありません。
  private Uri createMp4File() {
    // Since we use legacy external storage for Android 10,
    // we still need to request for storage permission on Android 10.
    if (Build.VERSION.SDK_INT <= Build.VERSION_CODES.Q) {
      if (!checkAndRequestStoragePermission()) {
        Log.i(TAG, String.format(
            "Didn't createMp4File. No storage permission, API Level = %d",
            Build.VERSION.SDK_INT));
        return null;
      }
    }
    // ... omitted code ...
  }
対象デバイスから録画する
ここまでに作成したものを確認してみましょう。モバイル デバイスを開発マシンに接続し、Android Studio で [Run] をクリックします。
画面の左下に赤い [Record] ボタンが表示されます。ボタンをタップすると、文字が [Stop] に変わります。デバイスを適当に動かしてセッションを録画し、録画を終了するときは [Stop] ボタンをクリックします。これにより、デバイスの外部ストレージに「arcore-xxxxxx_xxxxxx.mp4」という新しいファイルが保存されます。
この時点で、デバイスの外部ストレージには、新しい arcore-xxxxxx_xxxxxx.mp4 ファイルが作成されています。Pixel 5 デバイスでは、ファイルのパスが /storage/emulated/0/Movies/ に設定されます。録画を開始すると、Logcat ウィンドウでパスを確認できます。
com.google.ar.core.examples.java.helloar D/HelloArActivity: startRecording at:/storage/emulated/0/Movies/arcore-xxxxxxxx_xxxxxx.mp4
com.google.ar.core.examples.java.helloar D/HelloArActivity: startRecording - RecordingStatus OK
録画した内容を確認する
Files by Google などのファイル システム アプリを使用して録画内容を表示する、または開発マシンに録画内容をコピーすることが可能です。以下に 2 つの adb コマンドを示します。Android デバイスのファイルを一覧表示するコマンドと、ファイルを取得するコマンドです。
- 「
adb shell ls '$EXTERNAL_STORAGE/Movies/*'」は、デバイスの外部ストレージにある Movies ディレクトリ内のファイルを表示します。 - 「
adb pull /absolute_path_from_previous_adb_shell_ls/arcore-xxxxxxxx_xxxxxx.mp4」は、デバイスから開発マシンにファイルをコピーします。
これらの 2 つのコマンドを(macOS から)使用した出力例を次に示します。
$ adb shell ls '$EXTERNAL_STORAGE/Movies/*'
/sdcard/Movies/arcore-xxxxxxxx_xxxxxx.mp4

$ adb pull /sdcard/Movies/arcore-xxxxxxxx_xxxxxx.mp4
/sdcard/Movies/arcore-xxxxxxxx_xxxxxx.mp4: ... pulled
このステップで行った作業
- 録画を開始 / 停止するボタンを追加しました。
- 録画を開始する関数と、停止する関数を実装しました。
- デバイスでアプリをテストしました。
- 録画した MP4 を自分のマシンにコピーして確認しました。
次は、MP4 ファイルから AR セッションを再生します。
4.MP4 ファイルから ARCore セッションを再生する
この時点で、[Record] ボタンと、セッションが録画された MP4 ファイルがあります。ここでは、ARCore Playback API を使用してそれらを再生します。
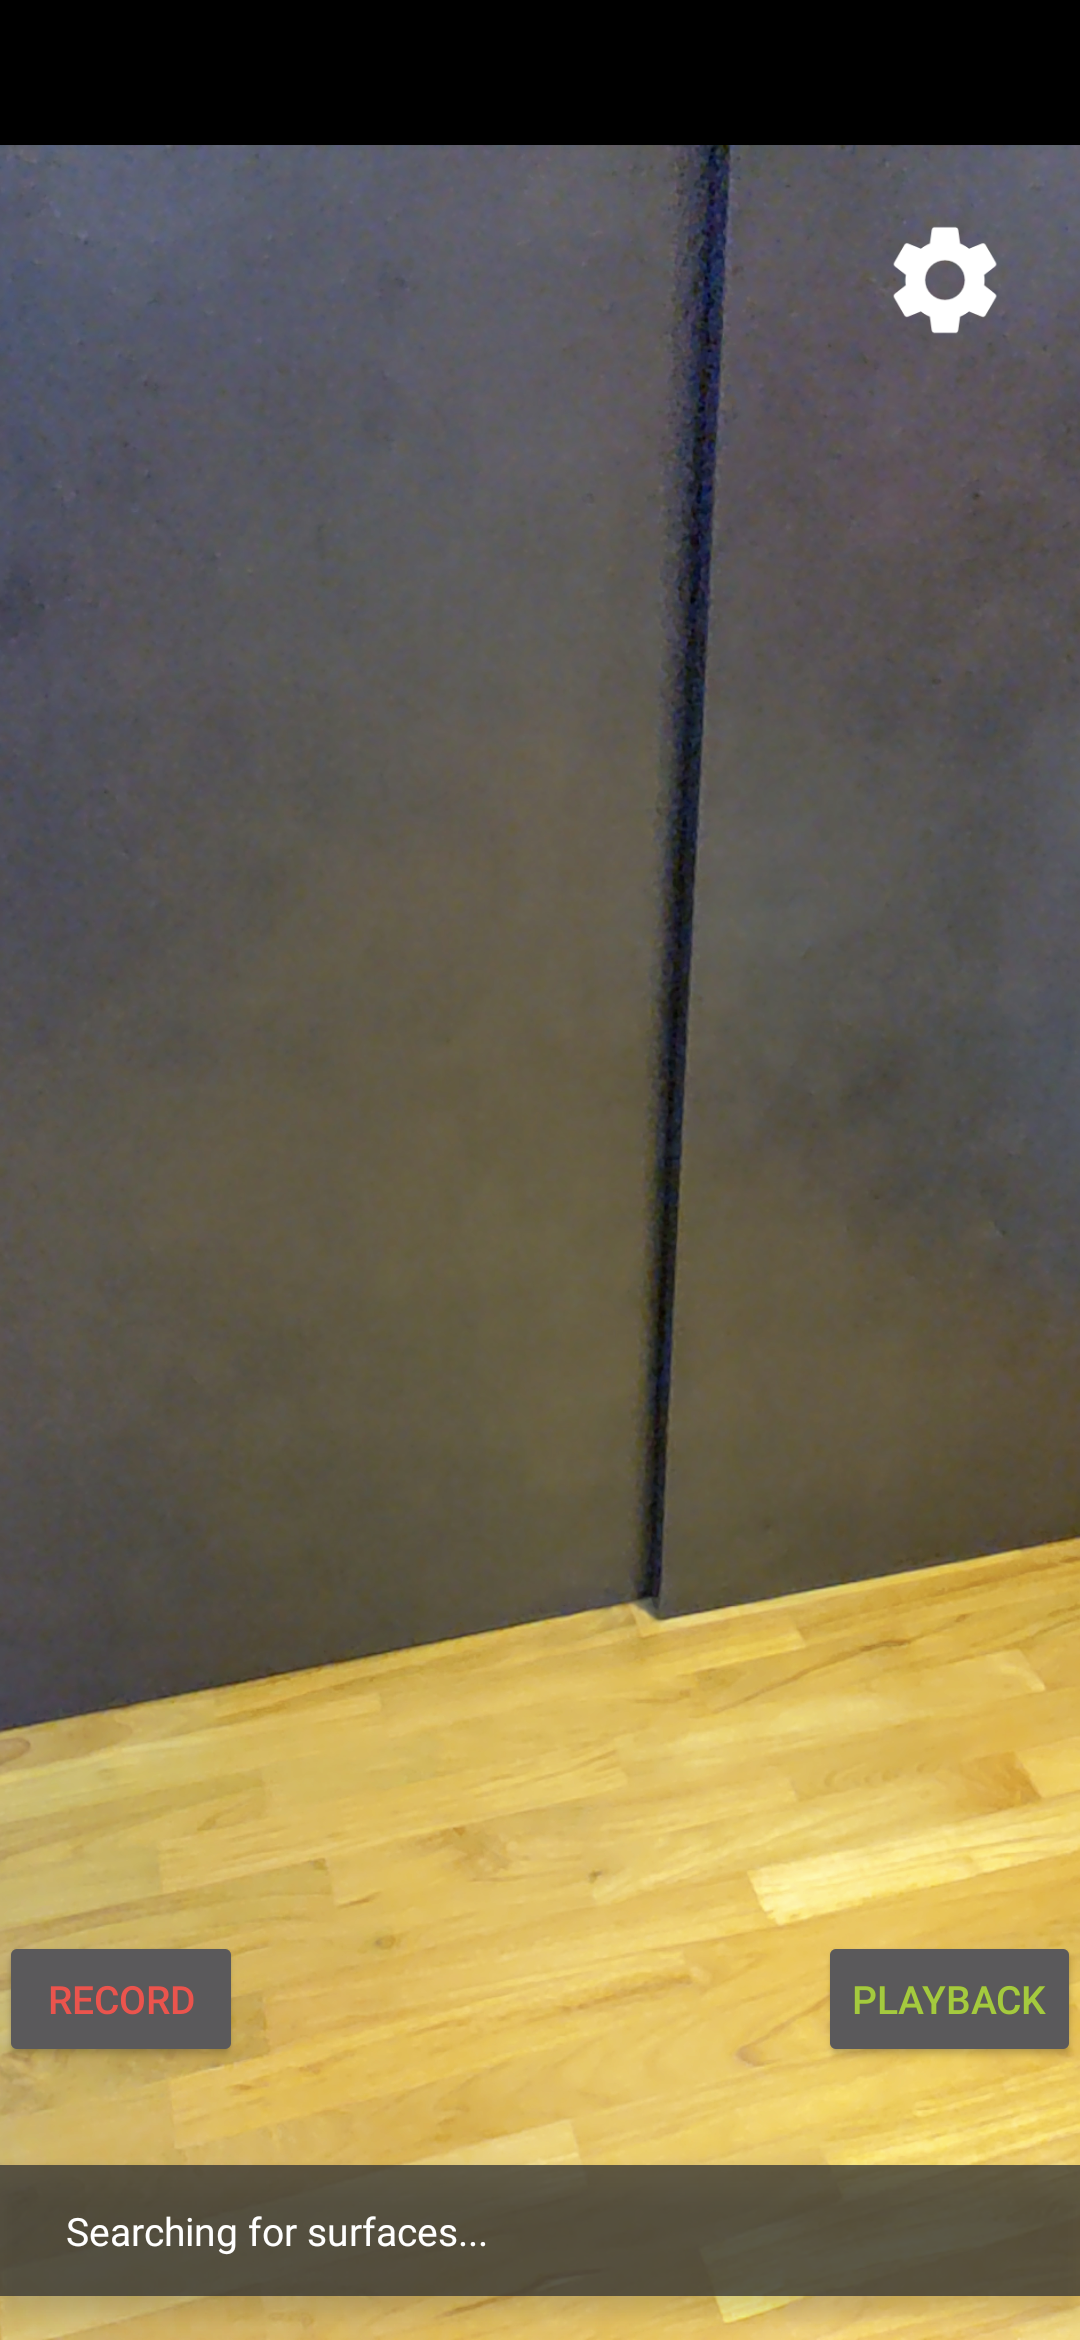
再生ボタンの UI を追加する
再生部分を実装する前に UI にボタンを 1 つ追加して、セッションの再生と停止のタイミングを ARCore に通知できるようにします。
[Project] パネルで、app/res/layout/activity_main.xml ファイルを開きます。
activity_main.xml で、終了タグの前に次のコードを追加して、新しい [Playback] ボタンを作成し、そのイベント ハンドラを onClickPlayback() というメソッドに設定します。このボタンは [Record] ボタンに似ており、画面右側に表示されます。
  <!--
    Add a new "Playback" button with those attributes:
        text is "Playback",
        onClick event handler is "onClickPlayback",
        text color is "green".
  -->
  <Button
      android:id="@+id/playback_button"
      android:layout_width="wrap_content"
      android:layout_height="wrap_content"
      android:layout_alignEnd="@id/surfaceview"
      android:layout_alignBottom="@id/surfaceview"
      android:layout_marginBottom="100dp"
      android:onClick="onClickPlayback"
      android:text="Playback"
      android:textColor="@android:color/holo_green_light" />
再生中にボタンを更新する
ここで、アプリに Playingback という新しい状態を追加します。AppState 列挙型と、引数として appState を受け取るすべての既存の関数を更新し、これを扱うようにします。
Playingback を HelloArActivity.java の AppState 列挙型に追加します。
  public enum AppState {
    Idle,
    Recording,
    Playingback // New enum value.
  }
再生中に [Record] ボタンが引き続き画面に表示されていると、ユーザーが誤ってクリックしてしまう可能性があります。これを回避するため、再生中は [Record] ボタンを非表示にします。こうすることで、onClickRecord() の Playingback 状態を処理する必要がなくなります。
アプリが Playingback 状態の場合は、[Record] ボタンを非表示とするように、HelloArActivity.java の updateRecordButton() 関数を変更します。
  // Update the "Record" button based on app's internal state.
  private void updateRecordButton() {
    View buttonView = findViewById(R.id.record_button);
    Button button = (Button)buttonView;

    switch (appState) {

      // The app is neither recording nor playing back. The "Record" button is visible.
      case Idle:
        button.setText("Record");
        button.setVisibility(View.VISIBLE);
        break;

      // While recording, the "Record" button is visible and says "Stop".
      case Recording:
        button.setText("Stop");
        button.setVisibility(View.VISIBLE);
        break;

      // During playback, the "Record" button is not visible.
      case Playingback:
        button.setVisibility(View.INVISIBLE);
        break;
    }
  }
同様に、ユーザーがセッションを録画している場合は [Playback] ボタンを非表示にし、ユーザーがセッションを再生している場合は「Stop」に変更します。こうすると、再生の完了を待たずに再生を停止できます。
updatePlaybackButton() 関数を HelloArActivity.java に追加します。
  // Update the "Playback" button based on app's internal state.
  private void updatePlaybackButton() {
    View buttonView = findViewById(R.id.playback_button);
    Button button = (Button)buttonView;

    switch (appState) {

      // The app is neither recording nor playing back. The "Playback" button is visible.
      case Idle:
        button.setText("Playback");
        button.setVisibility(View.VISIBLE);
        break;

      // While playing back, the "Playback" button is visible and says "Stop".
      case Playingback:
        button.setText("Stop");
        button.setVisibility(View.VISIBLE);
        break;

      // During recording, the "Playback" button is not visible.
      case Recording:
        button.setVisibility(View.INVISIBLE);
        break;
    }
  }
最後に、updatePlaybackButton() を呼び出すように onClickRecord() を更新します。次の行を HelloArActivity.java に追加します。
  public void onClickRecord(View view) {
    // ... omitted code ...
    updatePlaybackButton(); // Add this line to the end of the function.
  }
再生ボタンでファイルを選択する
[Playback] ボタンは、それがタップされると、ユーザーが再生するファイルを選択できるようにする必要があります。Android におけるファイルの選択は、別のアクティビティのシステム ファイル選択ツールで処理されます。これは、ストレージ アクセス フレームワーク(SAF)を介して行われます。ユーザーがファイルを選択すると、アプリは onActivityResult() というコールバックを受け取ります。実際の再生は、このコールバック関数内で開始します。
HelloArActivity.java の中に、ファイルの選択を行って再生を停止する onClickPlayback() 関数を作成します。
  // Handle the click event of the "Playback" button.
  public void onClickPlayback(View view) {
    Log.d(TAG, "onClickPlayback");

    switch (appState) {

      // If the app is not playing back, open the file picker.
      case Idle: {
        boolean hasStarted = selectFileToPlayback();
        Log.d(TAG, String.format("onClickPlayback start: selectFileToPlayback %b", hasStarted));
        break;
      }

      // If the app is playing back, stop playing back.
      case Playingback: {
        boolean hasStopped = stopPlayingback();
        Log.d(TAG, String.format("onClickPlayback stop: hasStopped %b", hasStopped));
        break;
      }

      default:
        // Recording - do nothing.
        break;
    }

    // Update the UI for the "Record" and "Playback" buttons.
    updateRecordButton();
    updatePlaybackButton();
  }
HelloArActivity.java に、デバイスからファイルを選択する selectFileToPlayback() 関数を作成します。Android ファイル システムからファイルを選択するため、ACTION_OPEN_DOCUMENT インテントを使用します。
// Add imports to the beginning of the file.
import android.content.Intent;
import android.provider.DocumentsContract;

  private boolean selectFileToPlayback() {
    // Start file selection from Movies directory.
    // Android 10 and above requires VOLUME_EXTERNAL_PRIMARY to write to MediaStore.
    Uri videoCollection;
    if (Build.VERSION.SDK_INT >= Build.VERSION_CODES.Q) {
      videoCollection = MediaStore.Video.Media.getContentUri(
          MediaStore.VOLUME_EXTERNAL_PRIMARY);
    } else {
      videoCollection = MediaStore.Video.Media.EXTERNAL_CONTENT_URI;
    }

    // Create an Intent to select a file.
    Intent intent = new Intent(Intent.ACTION_OPEN_DOCUMENT);

    // Add file filters such as the MIME type, the default directory and the file category.
    intent.setType(MP4_VIDEO_MIME_TYPE); // Only select *.mp4 files
    intent.putExtra(DocumentsContract.EXTRA_INITIAL_URI, videoCollection); // Set default directory
    intent.addCategory(Intent.CATEGORY_OPENABLE); // Must be files that can be opened

    this.startActivityForResult(intent, REQUEST_MP4_SELECTOR);

    return true;
  }
REQUEST_MP4_SELECTOR は、このリクエストを識別する定数です。HelloArActivity.java で、HelloArActivity 内のプレースホルダ値を使用して定義できます。
private int REQUEST_MP4_SELECTOR = 1;
HelloArActivity.java で、onActivityResult() 関数をオーバーライドして、ファイル選択ツールからのコールバックを処理します。
  // Begin playback once the user has selected the file.
  @Override
  protected void onActivityResult(int requestCode, int resultCode, Intent data) {
    // Check request status. Log an error if the selection fails.
    if (resultCode != android.app.Activity.RESULT_OK || requestCode != REQUEST_MP4_SELECTOR) {
      Log.e(TAG, "onActivityResult select file failed");
      return;
    }

    Uri mp4FileUri = data.getData();
    Log.d(TAG, String.format("onActivityResult result is %s", mp4FileUri));

    // Begin playback.
    startPlayingback(mp4FileUri);
  }
アプリで再生できるようにする
ARCore セッションで MP4 ファイルを再生するには、3 つの API 呼び出しが必要です。
session.pause()session.setPlaybackDataset()session.resume()
HelloArActivity.java で、startPlayingback() 関数を作成します。
// Add imports to the beginning of the file.
import com.google.ar.core.PlaybackStatus;
import com.google.ar.core.exceptions.PlaybackFailedException;

  private boolean startPlayingback(Uri mp4FileUri) {
    if (mp4FileUri == null)
      return false;

    Log.d(TAG, "startPlayingback at:" + mp4FileUri);

    pauseARCoreSession();

    try {
      session.setPlaybackDatasetUri(mp4FileUri);
    } catch (PlaybackFailedException e) {
      Log.e(TAG, "startPlayingback - setPlaybackDataset failed", e);
    }

    // The session's camera texture name becomes invalid when the
    // ARCore session is set to play back.
    // Workaround: Reset the Texture to start Playback
    // so it doesn't crashes with AR_ERROR_TEXTURE_NOT_SET.
    hasSetTextureNames = false;

    boolean canResume = resumeARCoreSession();
    if (!canResume)
      return false;

    PlaybackStatus playbackStatus = session.getPlaybackStatus();
    Log.d(TAG, String.format("startPlayingback - playbackStatus %s", playbackStatus));

    if (playbackStatus != PlaybackStatus.OK) { // Correctness check
      return false;
    }

    appState = AppState.Playingback;
    updateRecordButton();
    updatePlaybackButton();

    return true;
  }
アプリで再生を停止できるようにする
HelloArActivity.java に stopPlayingback() という関数を作成し、アプリの状態の変化を次のタイミングで処理します。
- MP4 の再生がユーザーによって停止された後
- 自動的に MP4 の再生が終わった後
ユーザーが再生を停止した場合、アプリはユーザーが最初に起動したときと同じ状態に戻る必要があります。
  // Stop the current playback, and restore app status to Idle.
  private boolean stopPlayingback() {
    // Correctness check, only stop playing back when the app is playing back.
    if (appState != AppState.Playingback)
      return false;

    pauseARCoreSession();

    // Close the current session and create a new session.
    session.close();
    try {
      session = new Session(this);
    } catch (UnavailableArcoreNotInstalledException
        |UnavailableApkTooOldException
        |UnavailableSdkTooOldException
        |UnavailableDeviceNotCompatibleException e) {
      Log.e(TAG, "Error in return to Idle state. Cannot create new ARCore session", e);
      return false;
    }
    configureSession();

    boolean canResume = resumeARCoreSession();
    if (!canResume)
      return false;

    // A new session will not have a camera texture name.
    // Manually set hasSetTextureNames to false to trigger a reset.
    hasSetTextureNames = false;

    // Reset appState to Idle, and update the "Record" and "Playback" buttons.
    appState = AppState.Idle;
    updateRecordButton();
    updatePlaybackButton();

    return true;
  }
再生が MP4 ファイルの末尾に達したときも自然に停止します。この場合は、stopPlayingback() が、アプリの状態を Idle に戻す必要があります。onDrawFrame() では、PlaybackStatus を確認します。それが FINISHED の場合は、UI スレッドで stopPlayingback() 関数を呼び出します。
  public void onDrawFrame(SampleRender render) {
      // ... omitted code ...

      // Insert before this line:
      // frame = session.update();

      // Check the playback status and return early if playback reaches the end.
      if (appState == AppState.Playingback
          && session.getPlaybackStatus() == PlaybackStatus.FINISHED) {
        this.runOnUiThread(this::stopPlayingback);
        return;
      }

      // ... omitted code ...
  }
対象デバイスから再生する
ここまでに作成したものを確認してみましょう。モバイル デバイスを開発マシンに接続し、Android Studio で [Run] をクリックします。
アプリが起動すると、画面の左に赤い [Record] ボタン、右に緑の [Playback] ボタンが表示されます。
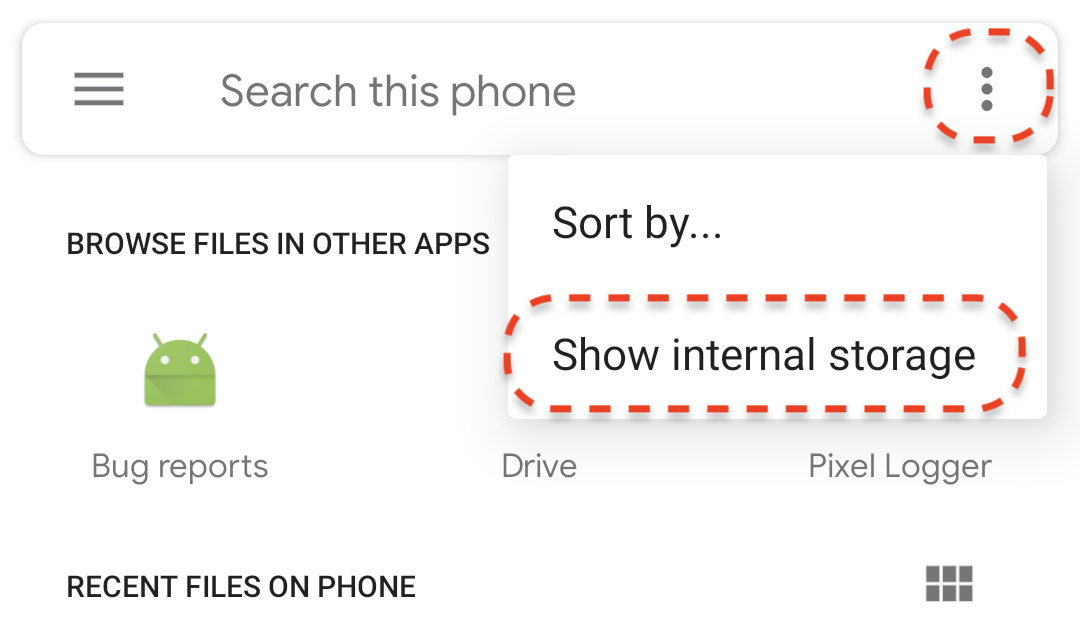
[Playback] ボタンをタップし、先ほど録画した MP4 ファイルを選択します。arcore- で始まるファイル名が表示されない場合は、デバイスに Movies フォルダが表示されていない可能性があります。その場合は、左上のメニューで [Phone model] > [Movies] フォルダに移動します。また、[Show internal storage] オプションを有効にして、スマートフォン モデルのフォルダを表示する必要がある場合もあります。

画面のファイル名をタップして MP4 ファイルを選択します。アプリによって MP4 ファイルが再生されます。
セッションの再生と通常の動画の再生との違いは、録画したセッションを操作できることです。検出された平面をタップすると、画面にマーカーが配置されます。
このステップで行った作業
- 再生を開始 / 停止するボタンを追加しました。
- アプリに録画の開始と停止を行わせる関数を実装しました。
- デバイスで前に録画した ARCore セッションを再生しました。
5. MP4 に追加的に録画する
ARCore 1.24 を使用すると、MP4 ファイルに追加的に録画できます。AR オブジェクト プレースメントの Pose を録画して、再生時に同じ場所に AR オブジェクトを作成できます。
録画する新しいトラックを構成する
UUID と MIME タグを指定して新しいトラックを HelloArActivity.java に定義します。
// Add imports to the beginning of the file.
import java.util.UUID;
import com.google.ar.core.Track;

  // Inside the HelloArActiity class.
  private static final UUID ANCHOR_TRACK_ID = UUID.fromString("53069eb5-21ef-4946-b71c-6ac4979216a6");;
  private static final String ANCHOR_TRACK_MIME_TYPE = "application/recording-playback-anchor";

  private boolean startRecording() {
    // ... omitted code ...

    // Insert after line:
    //   pauseARCoreSession();

    // Create a new Track, with an ID and MIME tag.
    Track anchorTrack = new Track(session)
        .setId(ANCHOR_TRACK_ID).
        .setMimeType(ANCHOR_TRACK_MIME_TYPE);
    // ... omitted code ...
  }
addTrack() の呼び出しを指定して RecordingConfig オブジェクトを作成するように既存のコードを更新します。
  private boolean startRecording() {
    // ... omitted code ...

    // Update the lines below with a call to the addTrack() function:
    //   RecordingConfig recordingConfig = new RecordingConfig(session)
    //    .setMp4DatasetUri(mp4FileUri)
    //    .setAutoStopOnPause(true);

    RecordingConfig recordingConfig = new RecordingConfig(session)
        .setMp4DatasetUri(mp4FileUri)
        .setAutoStopOnPause(true)
        .addTrack(anchorTrack); // add the new track onto the recordingConfig

    // ... omitted code ...
  }
録画中にアンカーのポーズを保存する
検出された平面をユーザーがタップするたびに、AR マーカーが Anchor に配置され、そのポーズは ARCore によって更新されます。
ARCore セッションを録画中の場合は、作成されたフレームでの Anchor のポーズを録画します。
HelloArActivity.java の handleTap() 関数を変更します。
// Add imports to the beginning of the file.
import com.google.ar.core.Pose;
import java.nio.FloatBuffer;

  private void handleTap(Frame frame, Camera camera) {
          // ... omitted code ...

          // Insert after line:
          // anchors.add(hit.createAnchor());

          // If the app is recording a session,
          // save the new Anchor pose (relative to the camera)
          // into the ANCHOR_TRACK_ID track.
          if (appState == AppState.Recording) {
            // Get the pose relative to the camera pose.
            Pose cameraRelativePose = camera.getPose().inverse().compose(hit.getHitPose());
            float[] translation = cameraRelativePose.getTranslation();
            float[] quaternion = cameraRelativePose.getRotationQuaternion();
            ByteBuffer payload = ByteBuffer.allocate(4 * (translation.length + quaternion.length));
            FloatBuffer floatBuffer = payload.asFloatBuffer();
            floatBuffer.put(translation);
            floatBuffer.put(quaternion);

            try {
              frame.recordTrackData(ANCHOR_TRACK_ID, payload);
            } catch (IllegalStateException e) {
              Log.e(TAG, "Error in recording anchor into external data track.", e);
            }
          }
          // ... omitted code ...
  }
世界相対 Pose ではなく、カメラ相対 Pose を保持する理由は、録画セッションの世界原点と再生セッションの世界原点が同じではないためです。録画セッションの世界原点は、初めてセッション再開したとき(初めて Session.resume() が呼び出されたとき)です。再生セッションの世界原点は、最初のフレームが録画されたとき(Session.resume() が Session.startRecording() の後に初めて呼び出されたとき)です。
再生アンカーの作成
Anchor の再作成は単純です。createRecordedAnchors() という関数を HelloArActivity.java に追加します。
// Add imports to the beginning of the file.
import com.google.ar.core.TrackData;

  // Extract poses from the ANCHOR_TRACK_ID track, and create new anchors.
  private void createRecordedAnchors(Frame frame, Camera camera) {
    // Get all `ANCHOR_TRACK_ID` TrackData from the frame.
    for (TrackData trackData : frame.getUpdatedTrackData(ANCHOR_TRACK_ID)) {
      ByteBuffer payload = trackData.getData();
      FloatBuffer floatBuffer = payload.asFloatBuffer();

      // Extract translation and quaternion from TrackData payload.
      float[] translation = new float[3];
      float[] quaternion = new float[4];

      floatBuffer.get(translation);
      floatBuffer.get(quaternion);

      // Transform the recorded anchor pose
      // from the camera coordinate
      // into world coordinates.
      Pose worldPose = camera.getPose().compose(new Pose(translation, quaternion));

      // Re-create an anchor at the recorded pose.
      Anchor recordedAnchor = session.createAnchor(worldPose);

      // Add the new anchor into the list of anchors so that
      // the AR marker can be displayed on top.
      anchors.add(recordedAnchor);
    }
  }
HelloArActivity.java の onDrawFrame() 関数で createRecordedAnchors() を呼び出します。
  public void onDrawFrame(SampleRender render) {
    // ... omitted code ...

    // Insert after this line:
    // handleTap(frame, camera);

    // If the app is currently playing back a session, create recorded anchors.
    if (appState == AppState.Playingback) {
      createRecordedAnchors(frame, camera);
    }
    // ... omitted code ...
  }
対象デバイスでテストする
モバイル デバイスを開発マシンに接続し、Android Studio で [Run] をクリックします。
まず、[Record] ボタンをタップしてセッションを録画します。録画しているとき、検出された平面をタップすると、AR マーカーがいくつか配置されます。
録画を停止したら、[Playback] ボタンをタップして、今録画したファイルを選択します。再生が開始されます。前の AR マーカーが、アプリをタップしたときと同じように配置されていることが確認できます。
以上で、この Codelab で行う必要があるコーディングが完了しました。
6. 完了
この Codelab は以上で終了です。この Codelab で学習した内容をおさらいしましょう。
- ARCore の Hello AR Java サンプルをビルドして実行しました。
- アプリに [Record] ボタンを追加し、AR セッションを MP4 ファイルに保存しました。
- アプリに [Playback] ボタンを追加し、MP4 ファイルの AR セッションを再生しました。
- ユーザーが作成したアンカーを、再生用の MP4 に保存する新機能を追加しました。