
1. Before you begin
Desk Connector is a ChromeOS feature that lets web pages programmatically access ChromeOS virtual desks. In this codelab, you learn how to use Desk Connector with Chrome DevTools.
Prerequisites
- Understanding of ChromeOS virtual desks
What you'll learn
- How to set window properties.
- How to launch a desk.
- How to remove a desk.
- How to get an active desk.
- How to switch to another desk.
What you'll need
- A Chromebook
- ChromeOS version 113.* or higher. If the version is not available to you yet, switch to beta channel.
- Google Chrome
- The Desk Connector Demo extension
2. Get set up
To get set up, follow these steps:
- Right-click this web page and click Inspect.
- In the Chrome DevTools panel, click Console. You run all the code in this codelab in the Console panel.
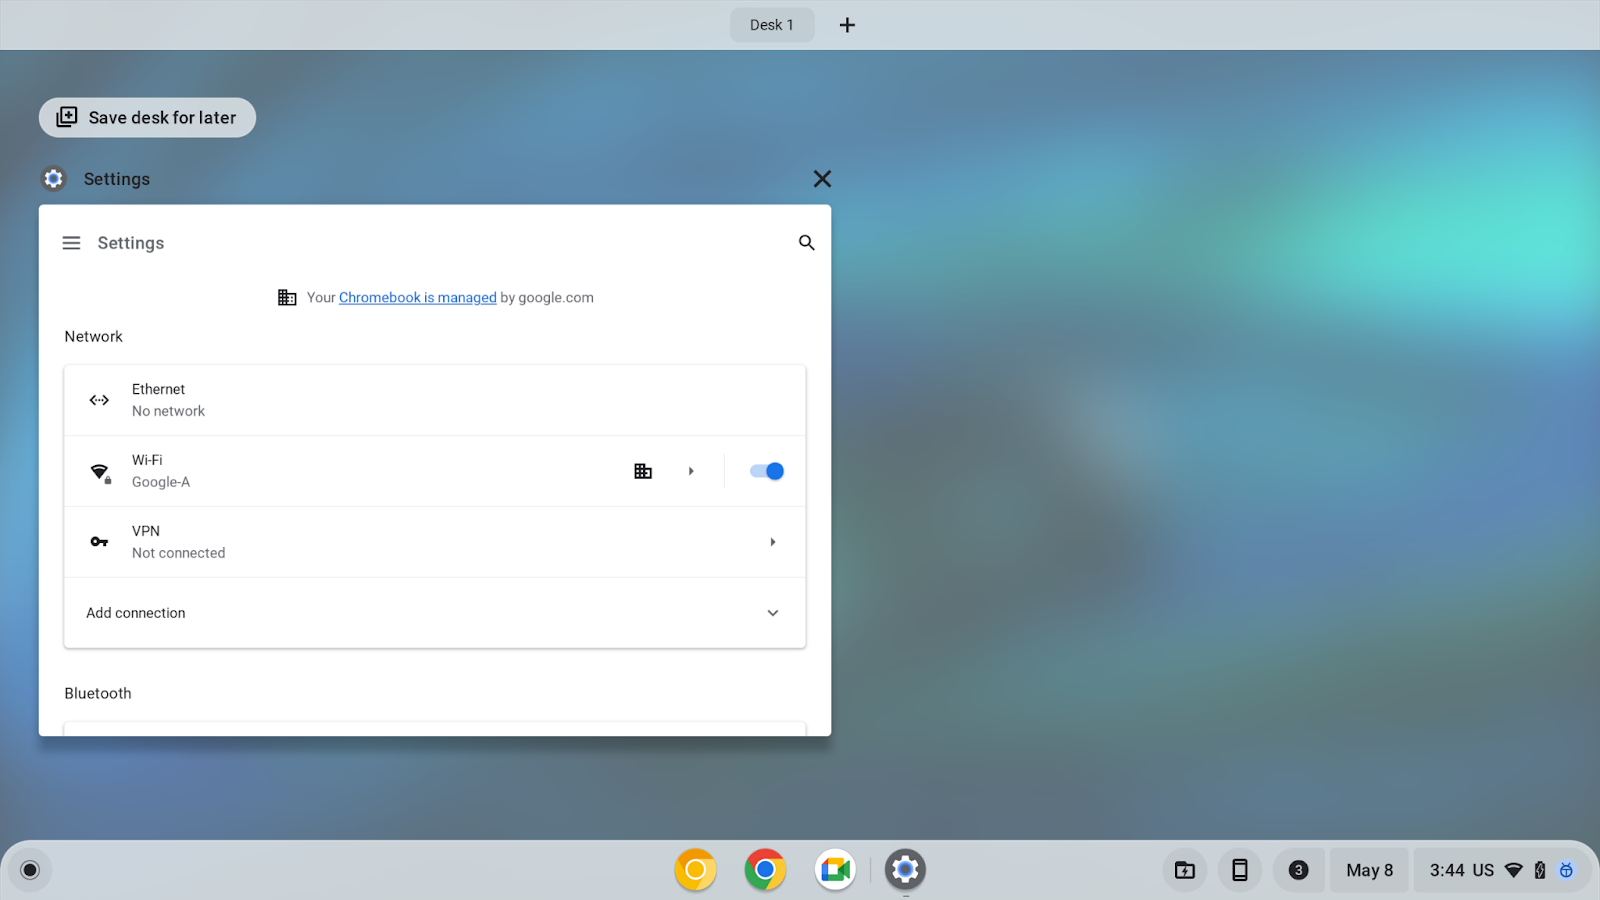
- (Optional) You can interact with the virtual desks manually throughout the codelab by press
F5or[]||to enter overview mode.
3. Set window properties
The SetWindowProperties API lets a web page programmatically set properties of its window. When you set the allDesks property to a true value, it pins the current tab's window to all desks.
To set window properties, follow these steps:
- In the Console panel, set the window to appear on all desks:
chrome.runtime.sendMessage("oagemgapjncacjdaockjfaidedggjond", {
    "messageType": "SetWindowProperties",
    "operands": {
        "allDesks": true
    }
   },
  function(response) {
      console.log(response);
  }
);
- Set the window to appear on a single desk again:
chrome.runtime.sendMessage("oagemgapjncacjdaockjfaidedggjond",{
    "messageType": "SetWindowProperties",
    "operands": {
        "allDesks": false
    }
   },
  function(response) {
     console.log(response);
  }
);
- Pin the window to all desks again for easier demonstration:
chrome.runtime.sendMessage("oagemgapjncacjdaockjfaidedggjond", {
    "messageType": "SetWindowProperties",
    "operands": {
        "allDesks": true
    }
   },
  function(response) {
     console.log(response);
  }
);
If you have more than one virtual desk on your Chromebook, now you can see the current window on all desks.
4. Get the current active desk
The GetActiveDesk API lets a web page programmatically query the current active desk.
- To get the current active desk, retrieve the current desk ID, and store the
deskUuidproperty in abaseDeskvariable:
let baseDesk;
chrome.runtime.sendMessage("oagemgapjncacjdaockjfaidedggjond", {
    "messageType": "GetActiveDesk",
    },
   function(response) {
    console.log(response);
    if(response && response.operands) {
    baseDesk = response.operands.deskUuid;
   }
  }
);
5. Launch a desk
The LaunchDesk API lets a web page programmatically launch an empty desk and switch to it.
To launch a desk, follow these steps:
- Launch a desk named
test. - Create a
newDesk1variable that stores the desk'sdeskUuidproperty.
let newDesk1;
chrome.runtime.sendMessage(
    "oagemgapjncacjdaockjfaidedggjond", {
        "messageType": "LaunchDesk",
        "operands": {
            "deskName": "test"
        }
    },
    function(response) {
     console.log(response);
     if(response&&response.operands) {
     newDesk1 = response.operands.deskUuid;
    }
   }
);
You're brought to the newly launched desk. If your console window is on its own window, the console window will be on the original desk. You can switch to original desk by pressing F5 or []|| key.
You can have as many as eight desks at the same time. If the API returns a DesksCountCheckFailedError error, you need to remove some desks before you launch more.
6. Remove a desk
The RemoveDesk API lets a web page programmatically remove a desk by its desk ID. It can close all windows on the desk.
For simplicity, you remove the newly launched desk. However, in practice, the web page could remove any designated desk by its desk ID.
To remove a desk, follow these steps:
- Remove the newly launched desk:
chrome.runtime.sendMessage("oagemgapjncacjdaockjfaidedggjond", {
    "messageType": "RemoveDesk",
    "operands": {
        "deskId": newDesk1
    }
  },
  function(response) {
     console.log(response);
  }
);
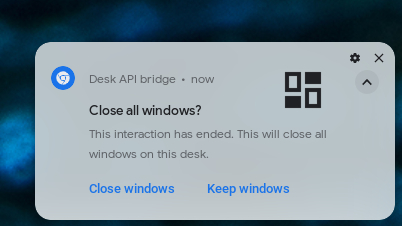
- In the dialog that asks you to confirm or abandon the removal, confirm the removal of the desk. All windows on the desk close.
- If you want to call the API to remove the desk without a confirmation window, use the
skipConfirmationparameter:
chrome.runtime.sendMessage("oagemgapjncacjdaockjfaidedggjond", {
    "messageType": "RemoveDesk",
    "operands": {
        "deskId": newDesk1,
        "skipConfirmation":true
   }
  },
  function(response) {
     console.log(response);
  }
);
7. Switch to another desk
The SwitchDesk API lets a web page programmatically switch to an appointed desk.
For simplicity, you launch a desk, and switch to a previous desk. However, in practice, the web page could switch to any designated desk by its desk ID.
To switch to another desk, follow these steps:
- Launch a desk:
let newDesk1;
chrome.runtime.sendMessage(
    "oagemgapjncacjdaockjfaidedggjond", {
        "messageType": "LaunchDesk",
        "operands": {
            "deskName": "test"
        }
    },
    function(response) {
     console.log(response);
     if(response && response.operands) {
     newDesk1 = response.operands.deskUuid;
    }
   }
);
- Switch to the previous desk:
chrome.runtime.sendMessage("oagemgapjncacjdaockjfaidedggjond", {
    "messageType": "SwitchDesk",
    "operands": {
        "deskId": baseDesk
   }
  },
   function(response) {
       console.log(response);
  }
);
8. Congratulations
Congratulations! You learned how to give web pages programmatic access to ChromeOS Desk with the Desk Connector Demo extension and Chrome DevTools.